Tag Archives: repair toys

How to bleach Whiten Yellow Plastic Toys

How to bleach Whiten Yellow Plastic Toys

How to remove yellow from Vintage Plastic

How to bleach Whiten Yellow Plastic Toys : Why does it turn yellow?

How to bleach Whiten Yellow Plastic Toys : From my research, which was a while ago, the yellow color is the bromine in the plastic, that migrates to the surface over time. It helps the plastic to be more flexible, and if it is removed, the plastic will become more brittle. Heat will help the bromine migrate faster. So a window display toy, will yellow quickly in the window of the store, because the heat, from the sunlight, will move the bromine faster to the surface. Or a toy that was too close to a heater, will yellow on the heater side. This particular yellowing is not from cigarette smoke. I have seen things stained from smoking, but the smell is really the over whelming thing you notice, not the yellow color.

How to bleach Whiten Yellow Plastic Toys : My personal experience with doing it.

This is a narrative of my journey into using, sunlight, bleach, and peroxide to remove the yellow color in the aging plastic toys. I have heard of other people doing this too, and I would love to hear from them as well on their experiences.

If you decide to try these techniques, know that it is at your own risk. Each toy is different, and requires different approaches to restoring them. Also please take the necessary safety measures, such as eye protection, and be careful, as bleach, and peroxide can hurt your skin. I always start a new unknown project slowly, and then as I know how it works out, I can make it go faster with stronger peroxides.

I found hydrogen peroxide, with bleach, along with a lot of sun, works the best. And really, the best, for preserving toys, is just the sunlight method only. If time is an issue, then I carefully use the peroxide, and bleach method to whiten up older toys. Most decals will not survive being bleached, so try to avoid getting bleach on them. I do sell a lot of replacement decals, and you can check out my store to see if I have what you need,

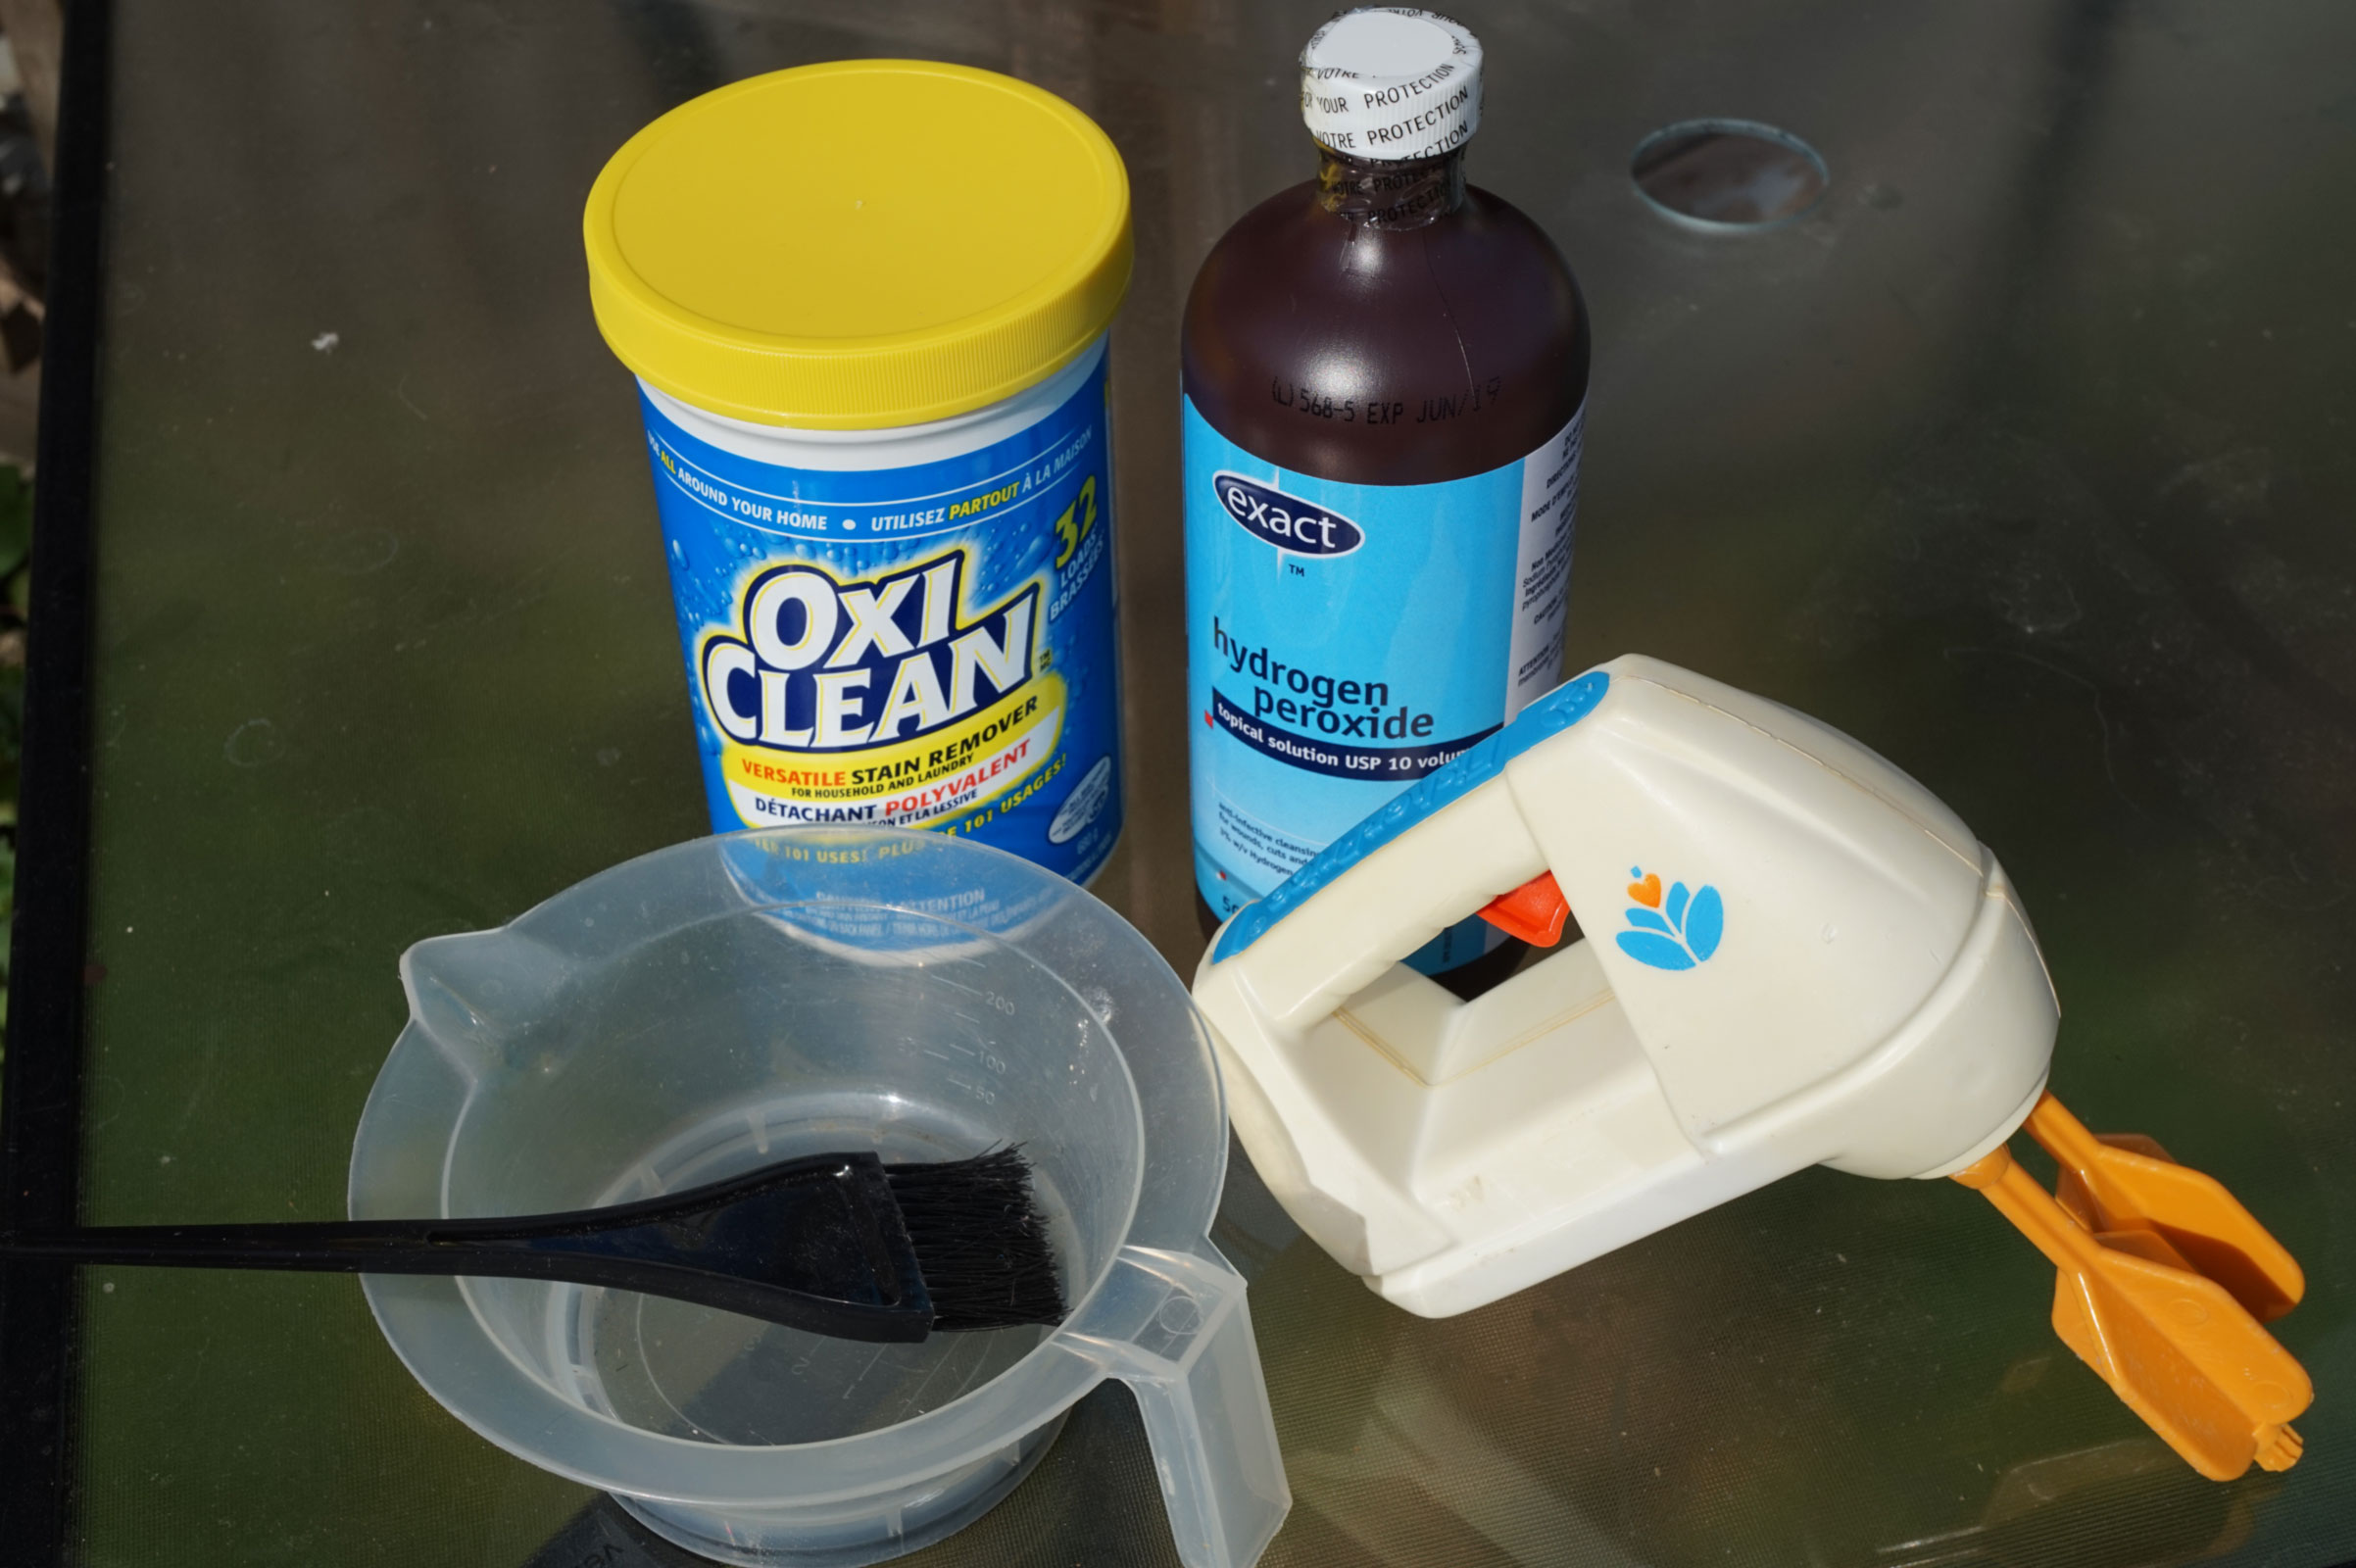
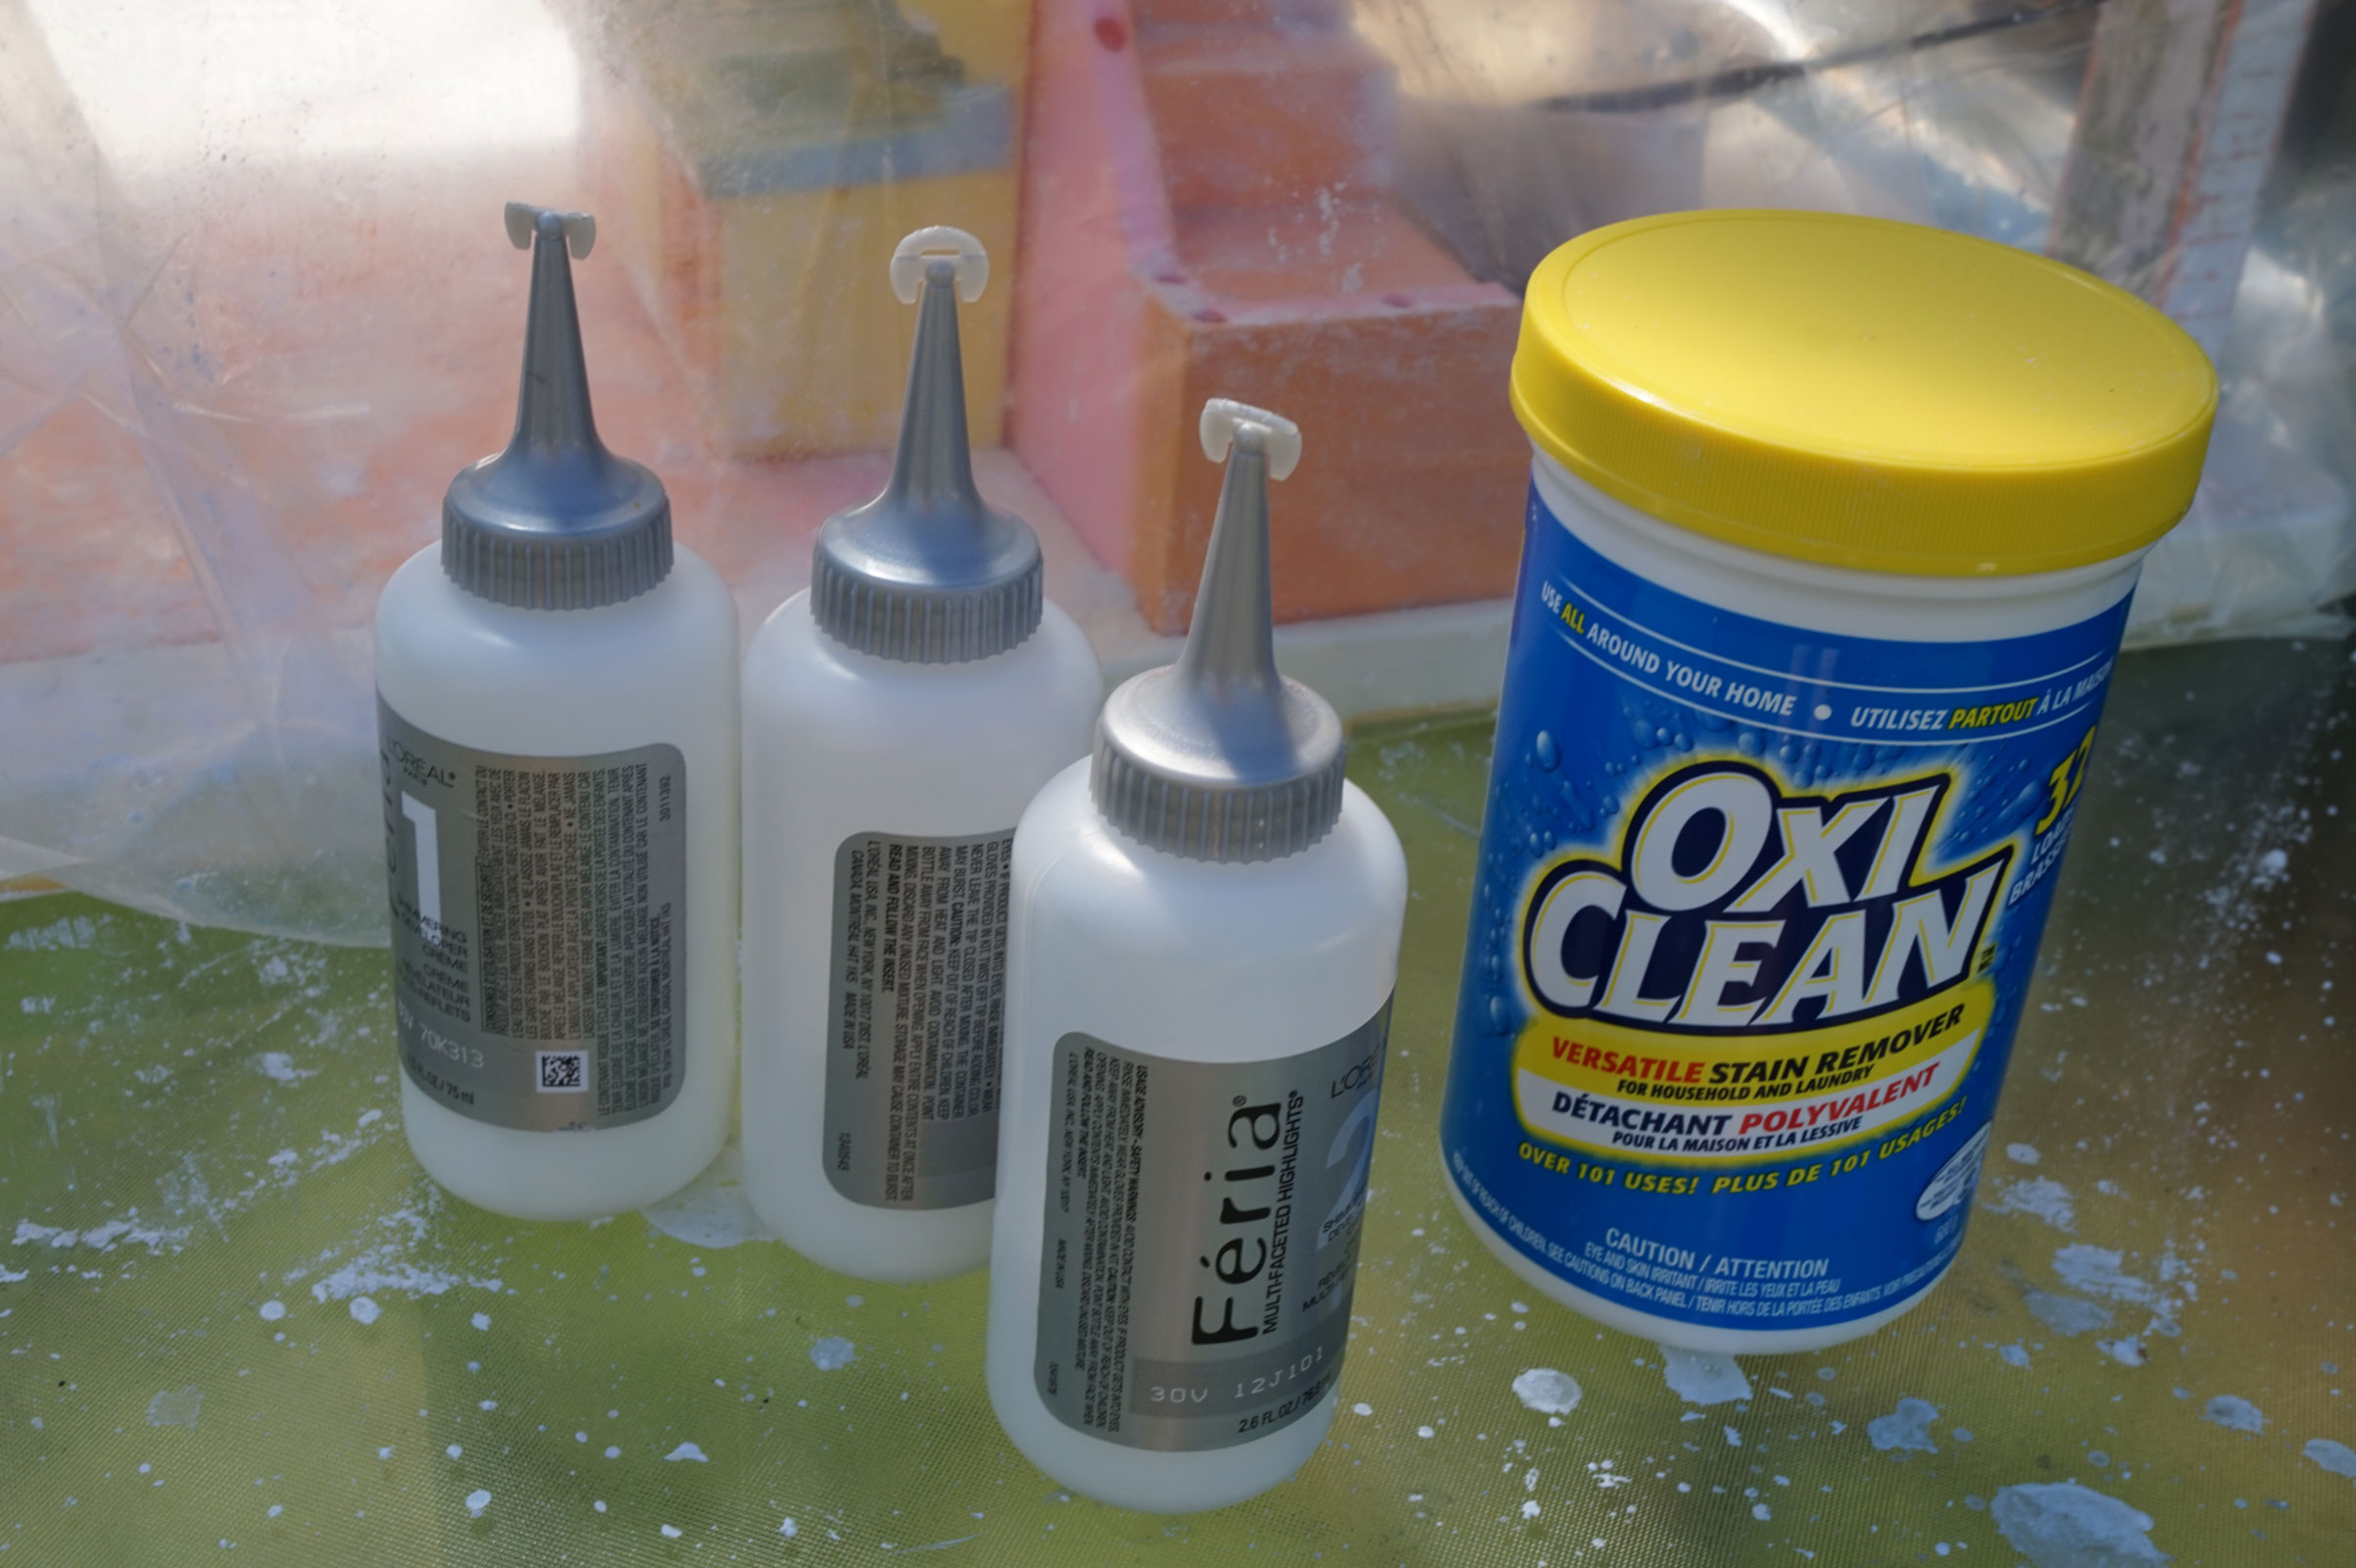
You can find peroxide pretty much anywhere, but in Canada, we are not allowed to buy it from a beauty store, so I just used over the counter hair color peroxide, and Oxi clean from the cleaning isle. I do think that the cream bleach or fine powder bleach would work better, but I had to use what I had. I might try to grind up the Oxi Clean next time, or even just do a good soak in a water solution with just Oxi Clean first.
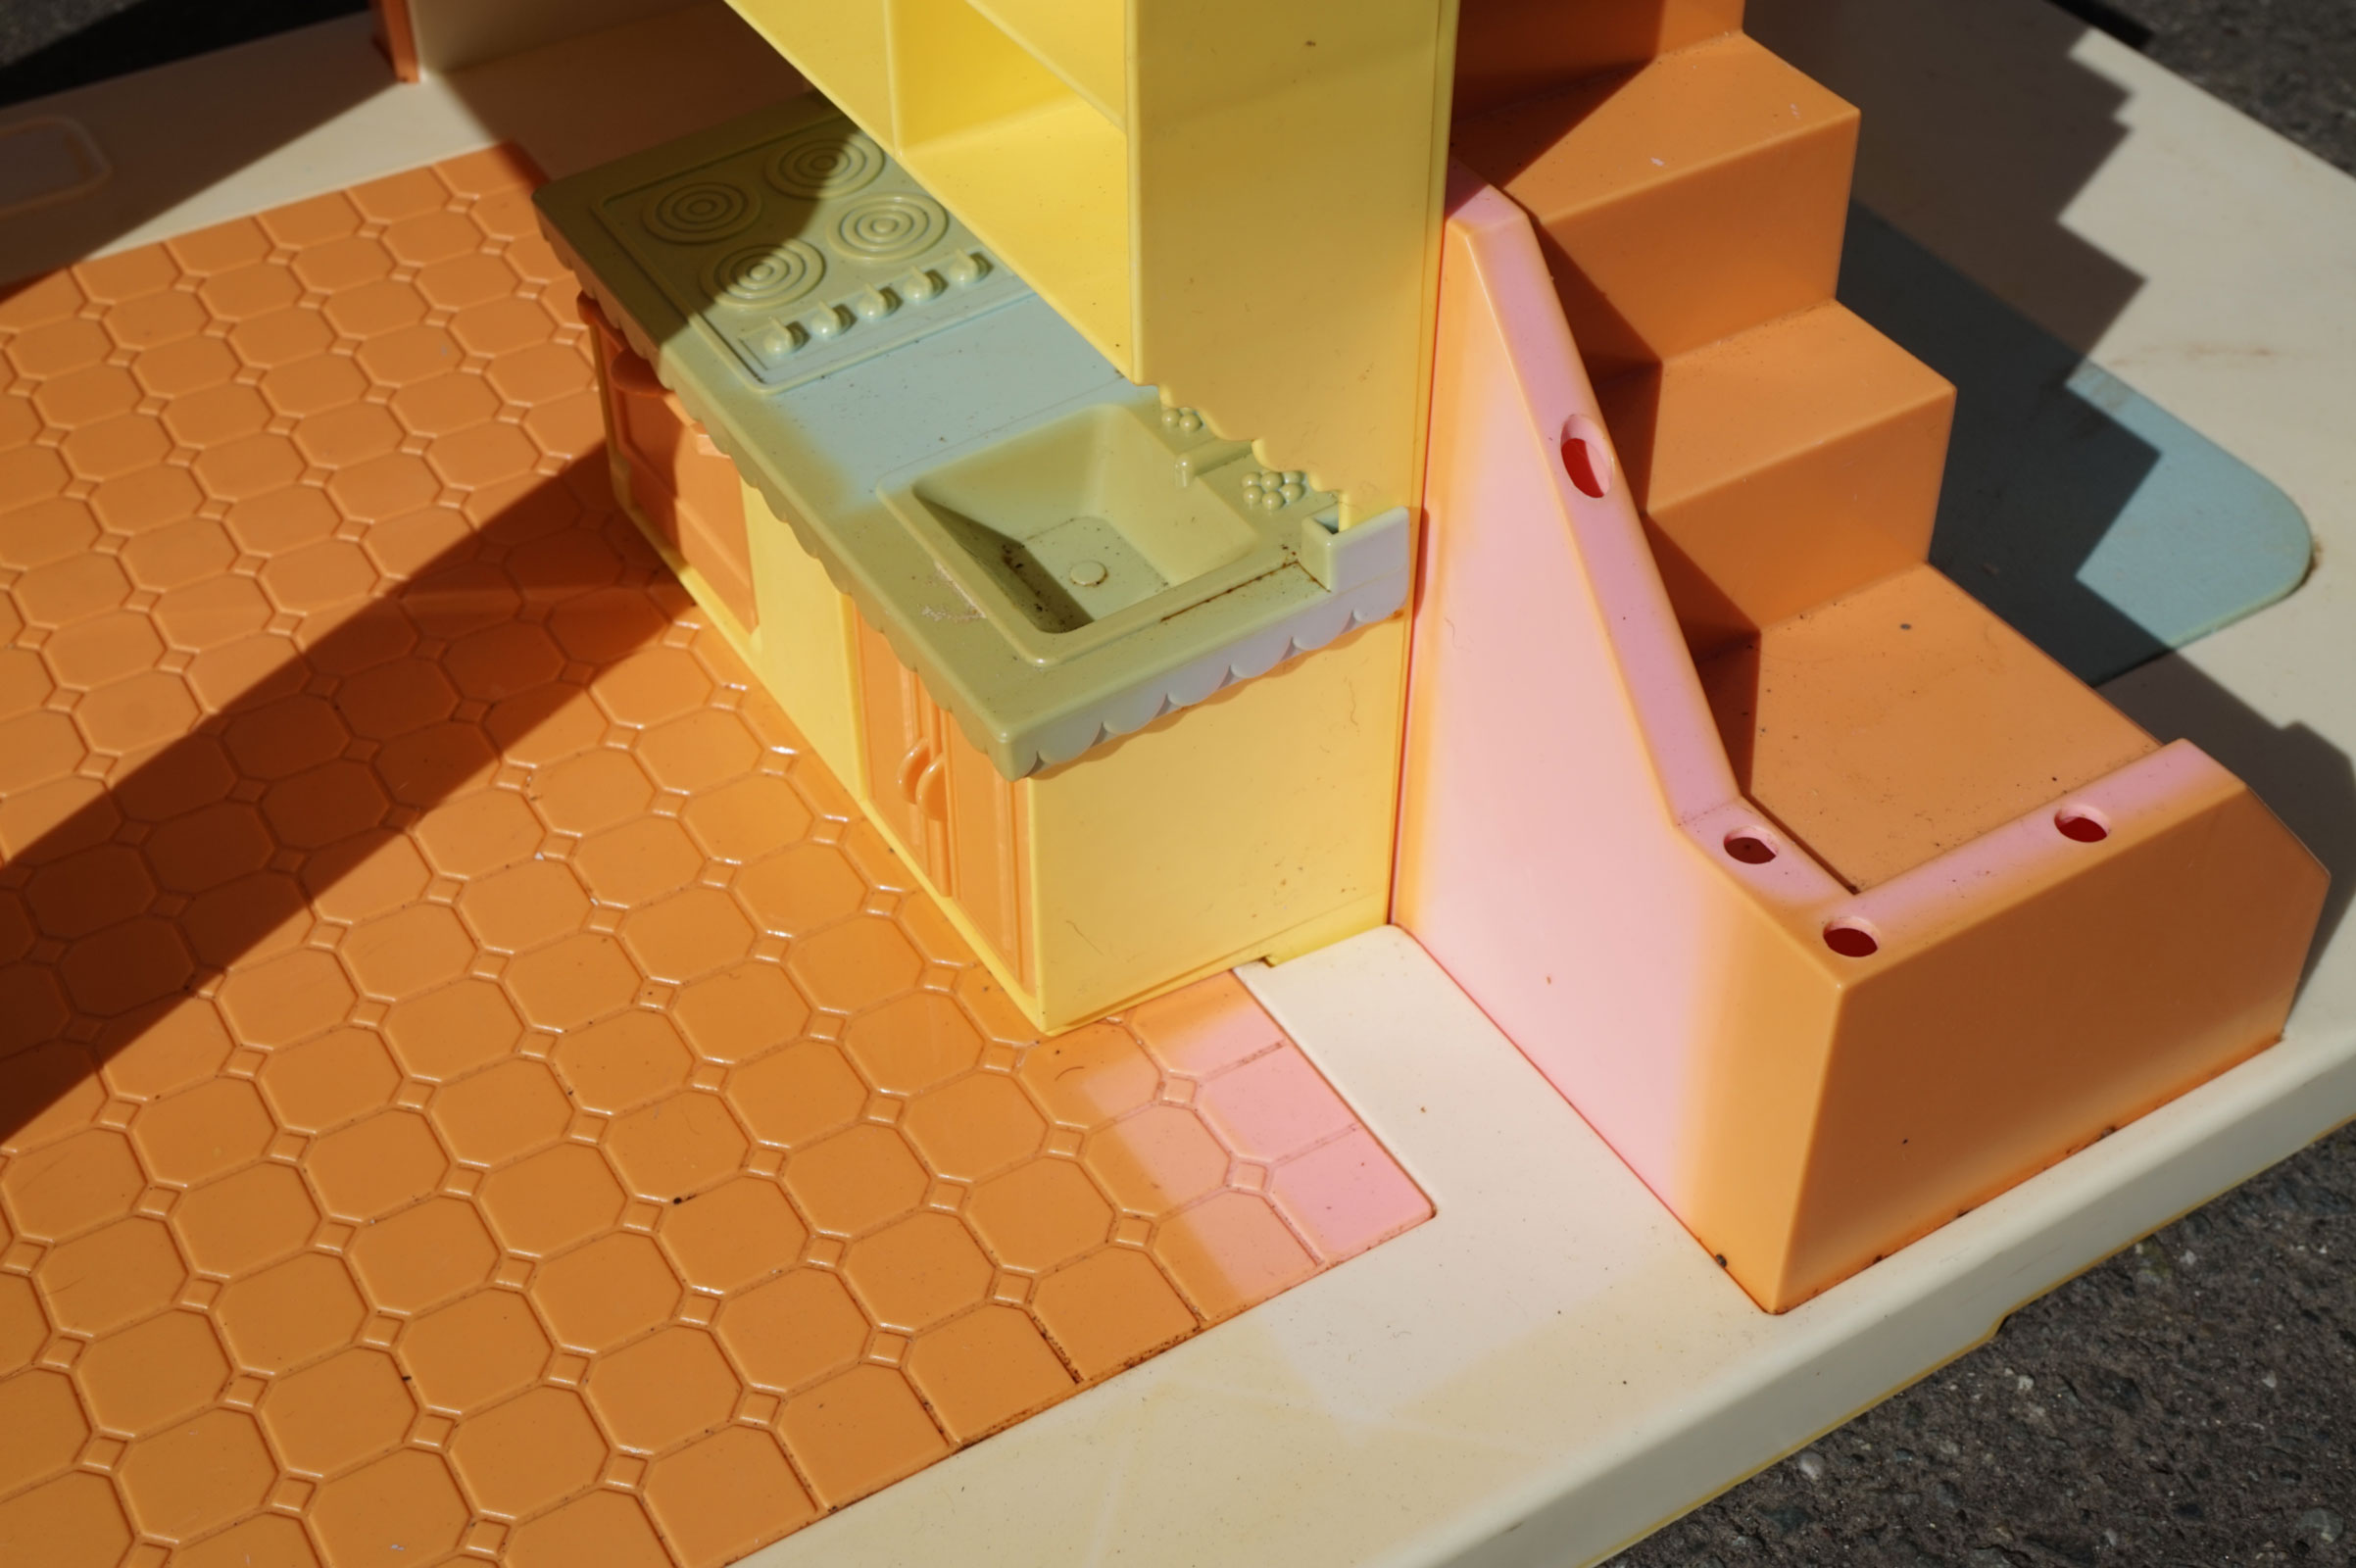
How to bleach Whiten Yellow Plastic Toys

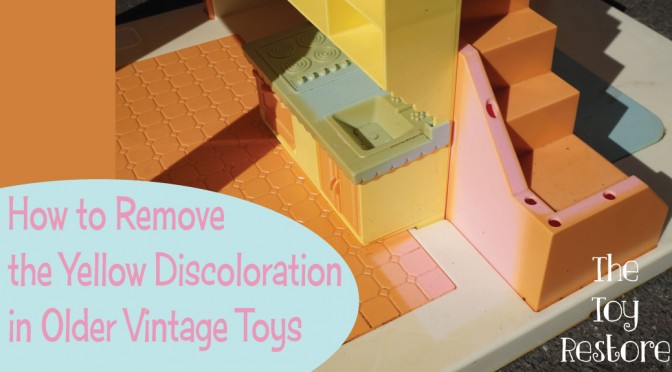
If you make your solution too thick in any area, that area gets whiter faster, so it is very important you have an even coat. One of my featured projects is this Playskool Victorian Dollhouse Restore.
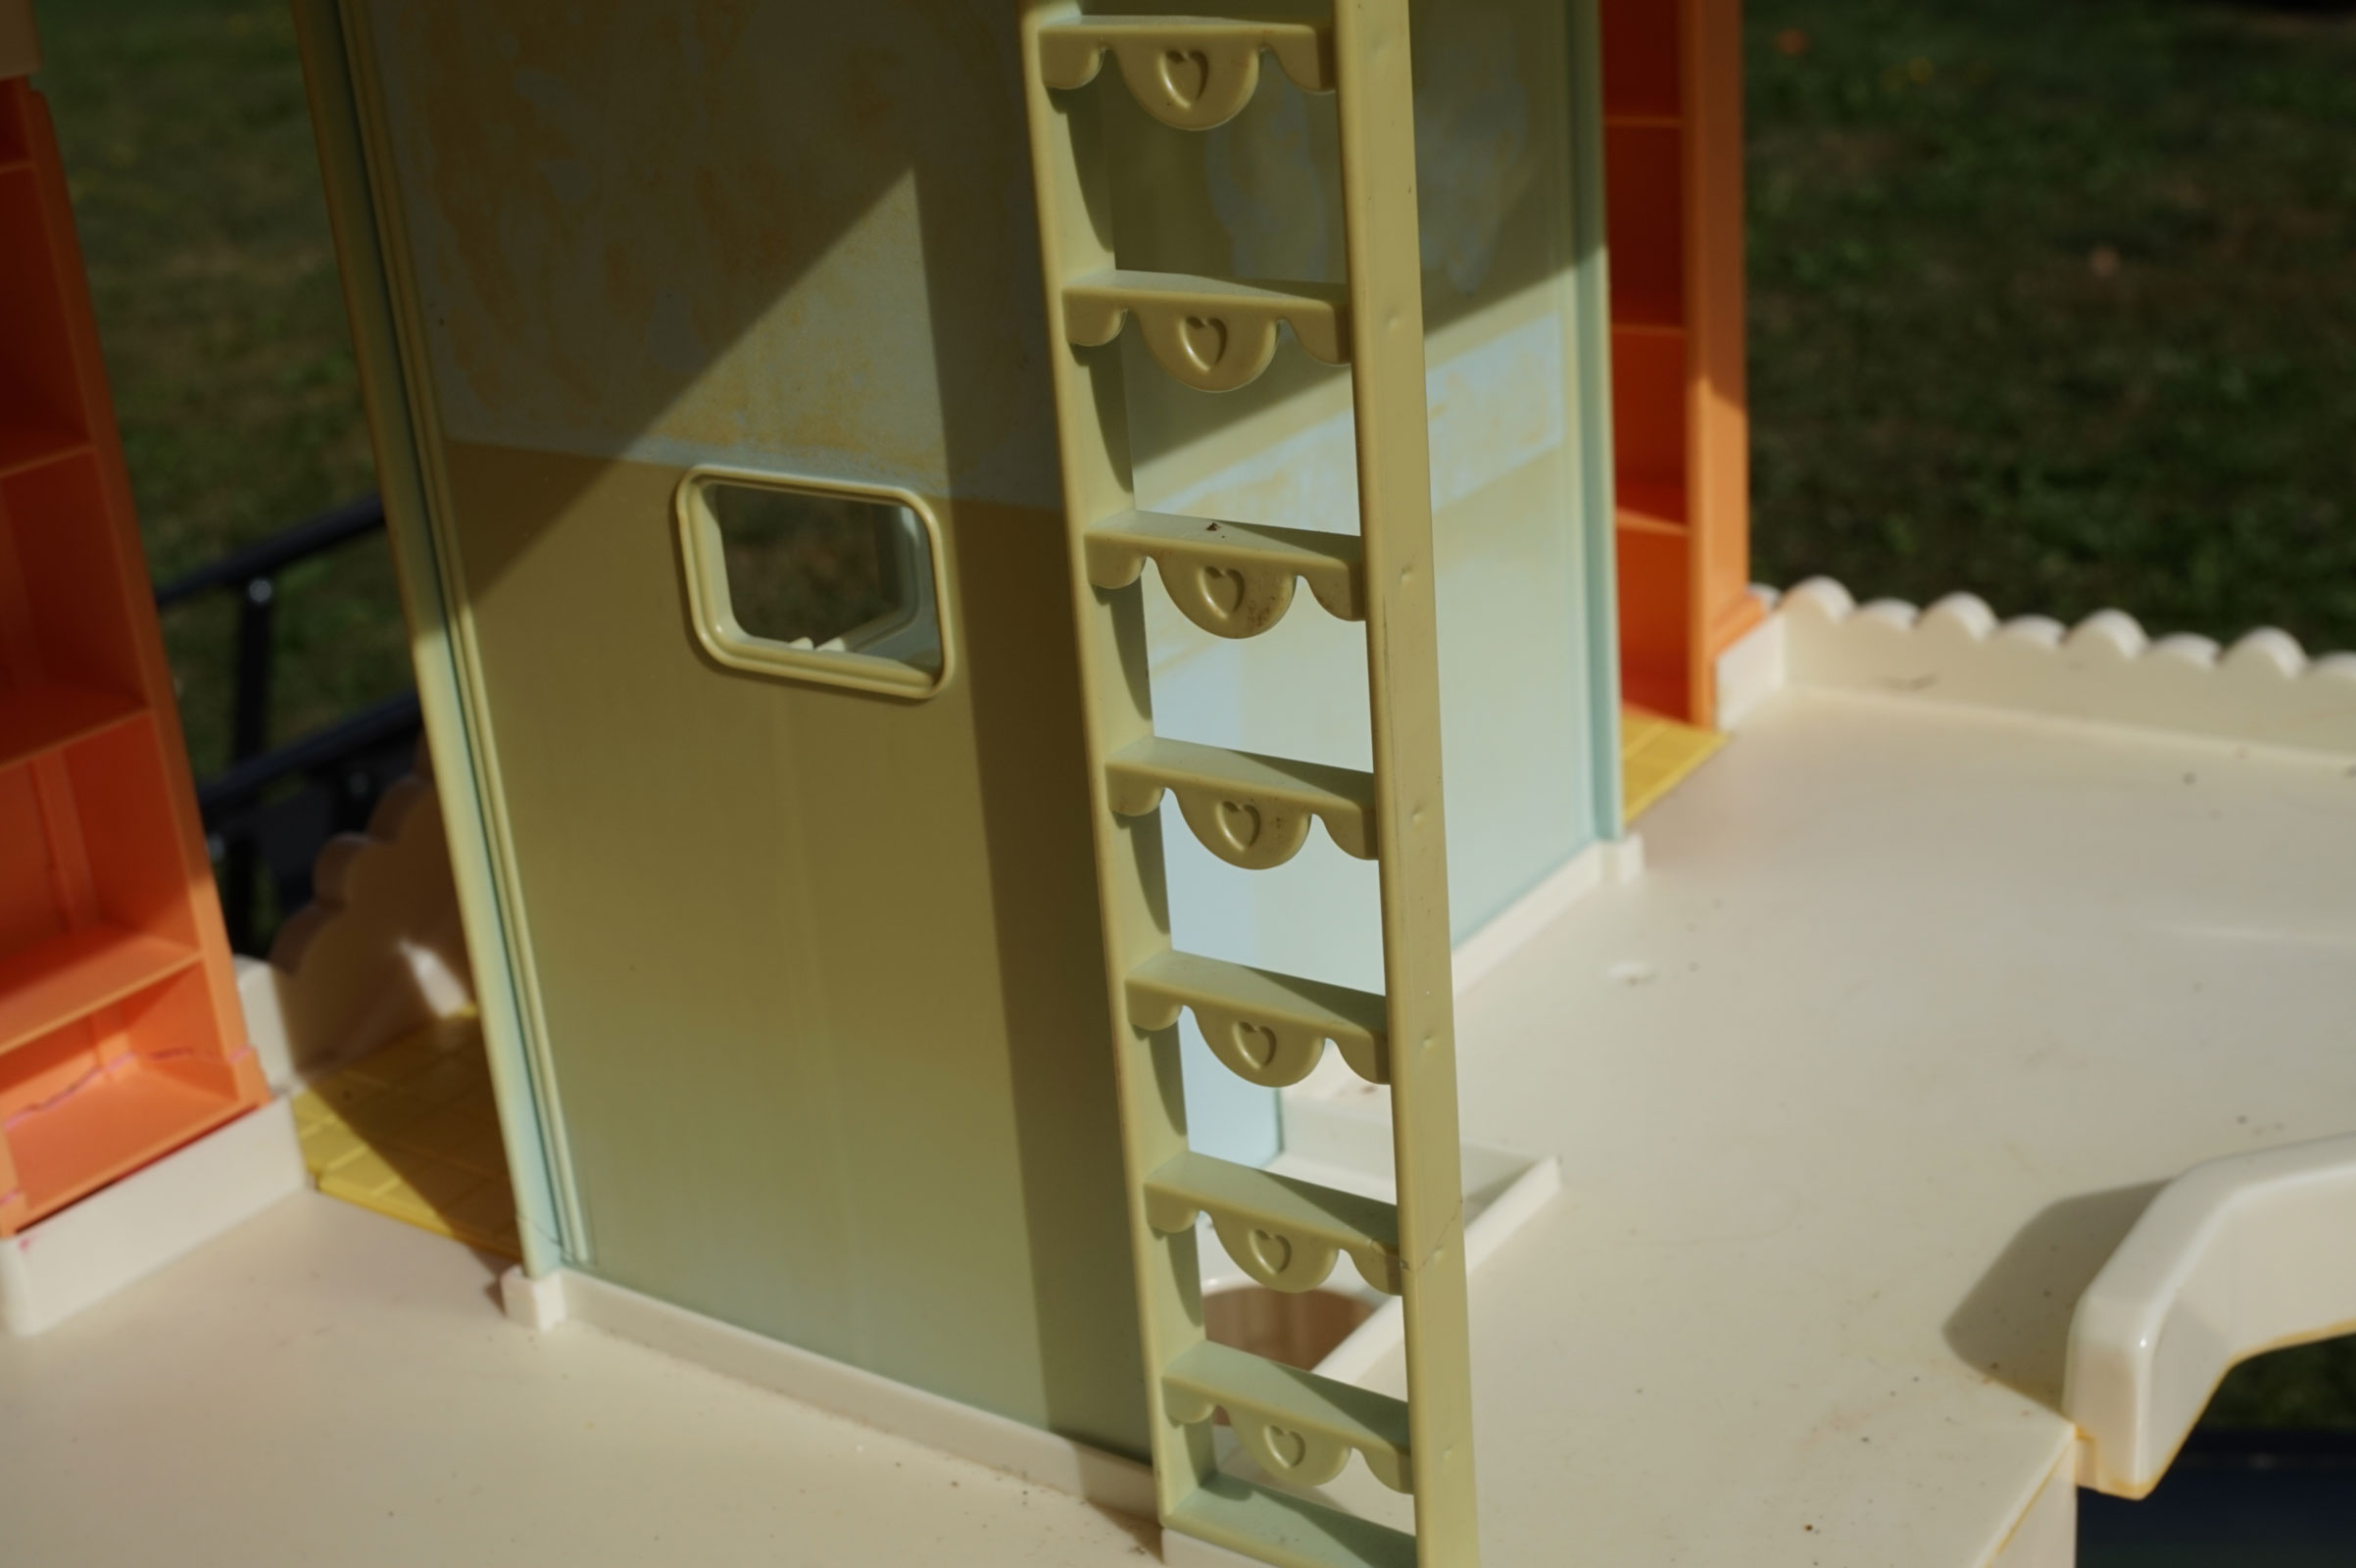
how-to-bleach-whiten-yellow-plastic-toys

I used a hair color brush, to as evenly as possible, paste the bleach on. And I avoided the areas that were not discolored.
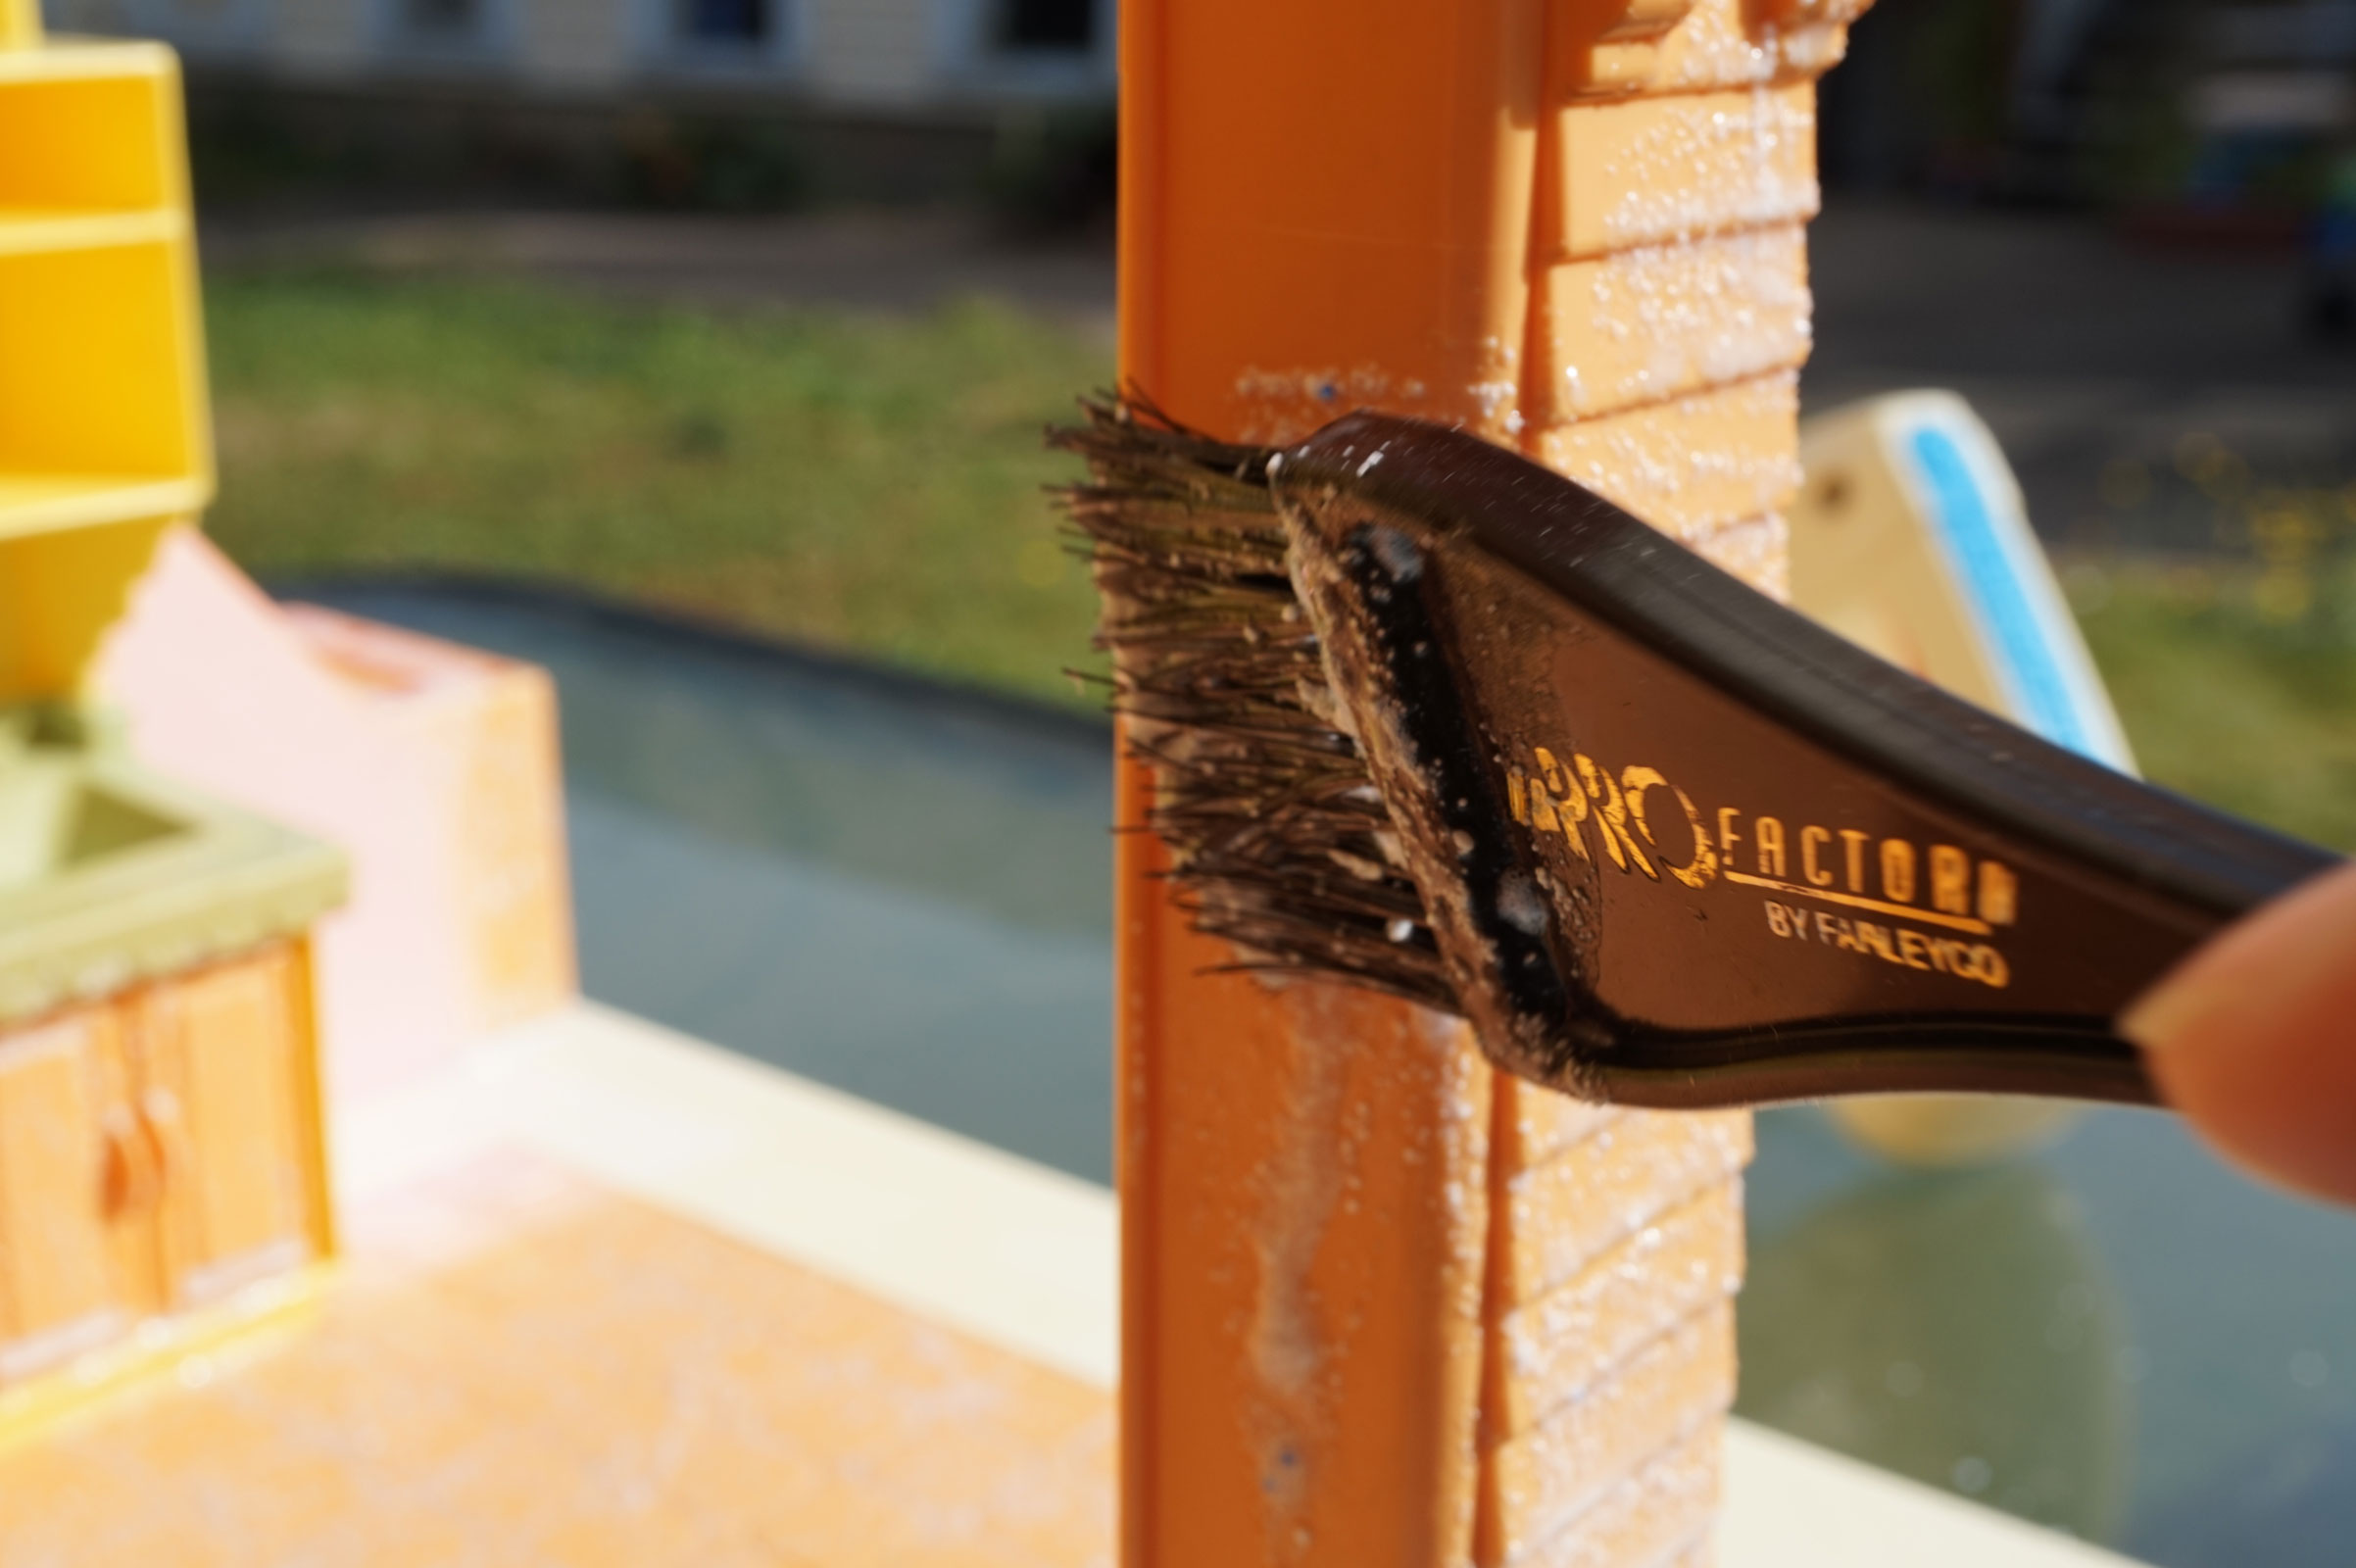
how-to-bleach-whiten-yellow-plastic-toys

Then I put the dollhouse in a clear plastic recycling bag.
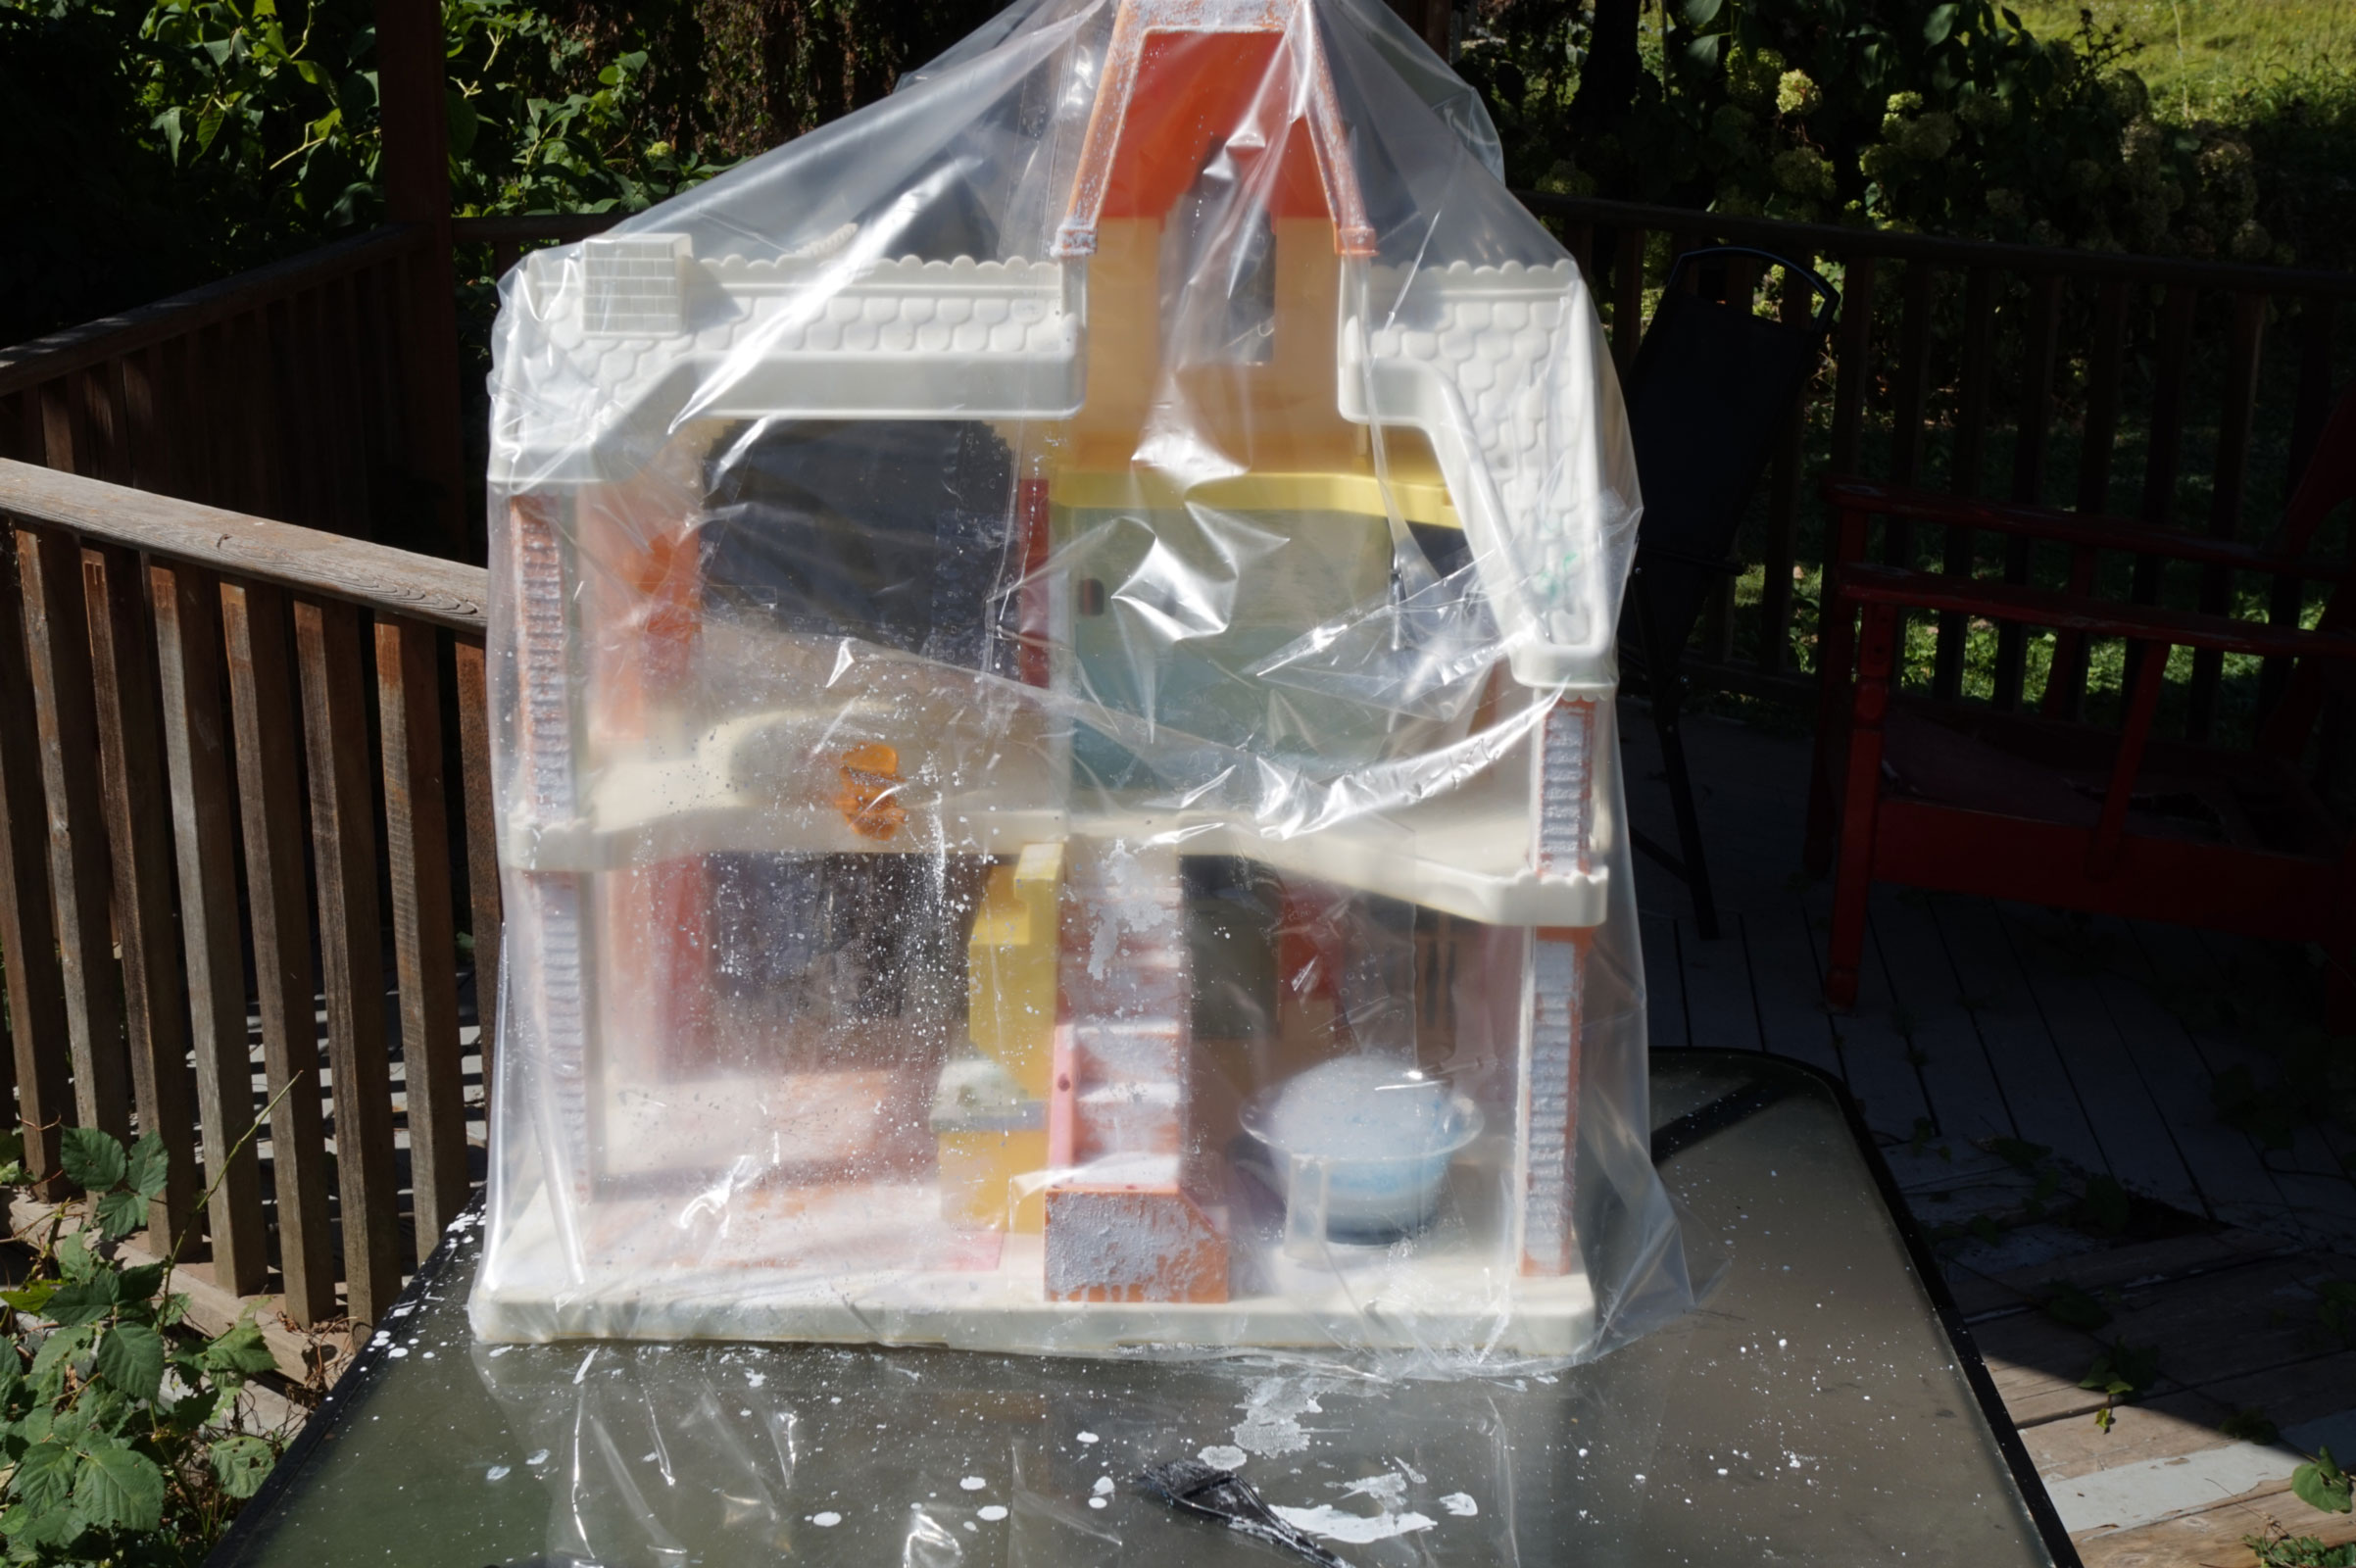
how-to-bleach-whiten-yellow-plastic-toys

And I watched it closely for the entire day. Making sure it was wet, and that it was in constant sunlight.
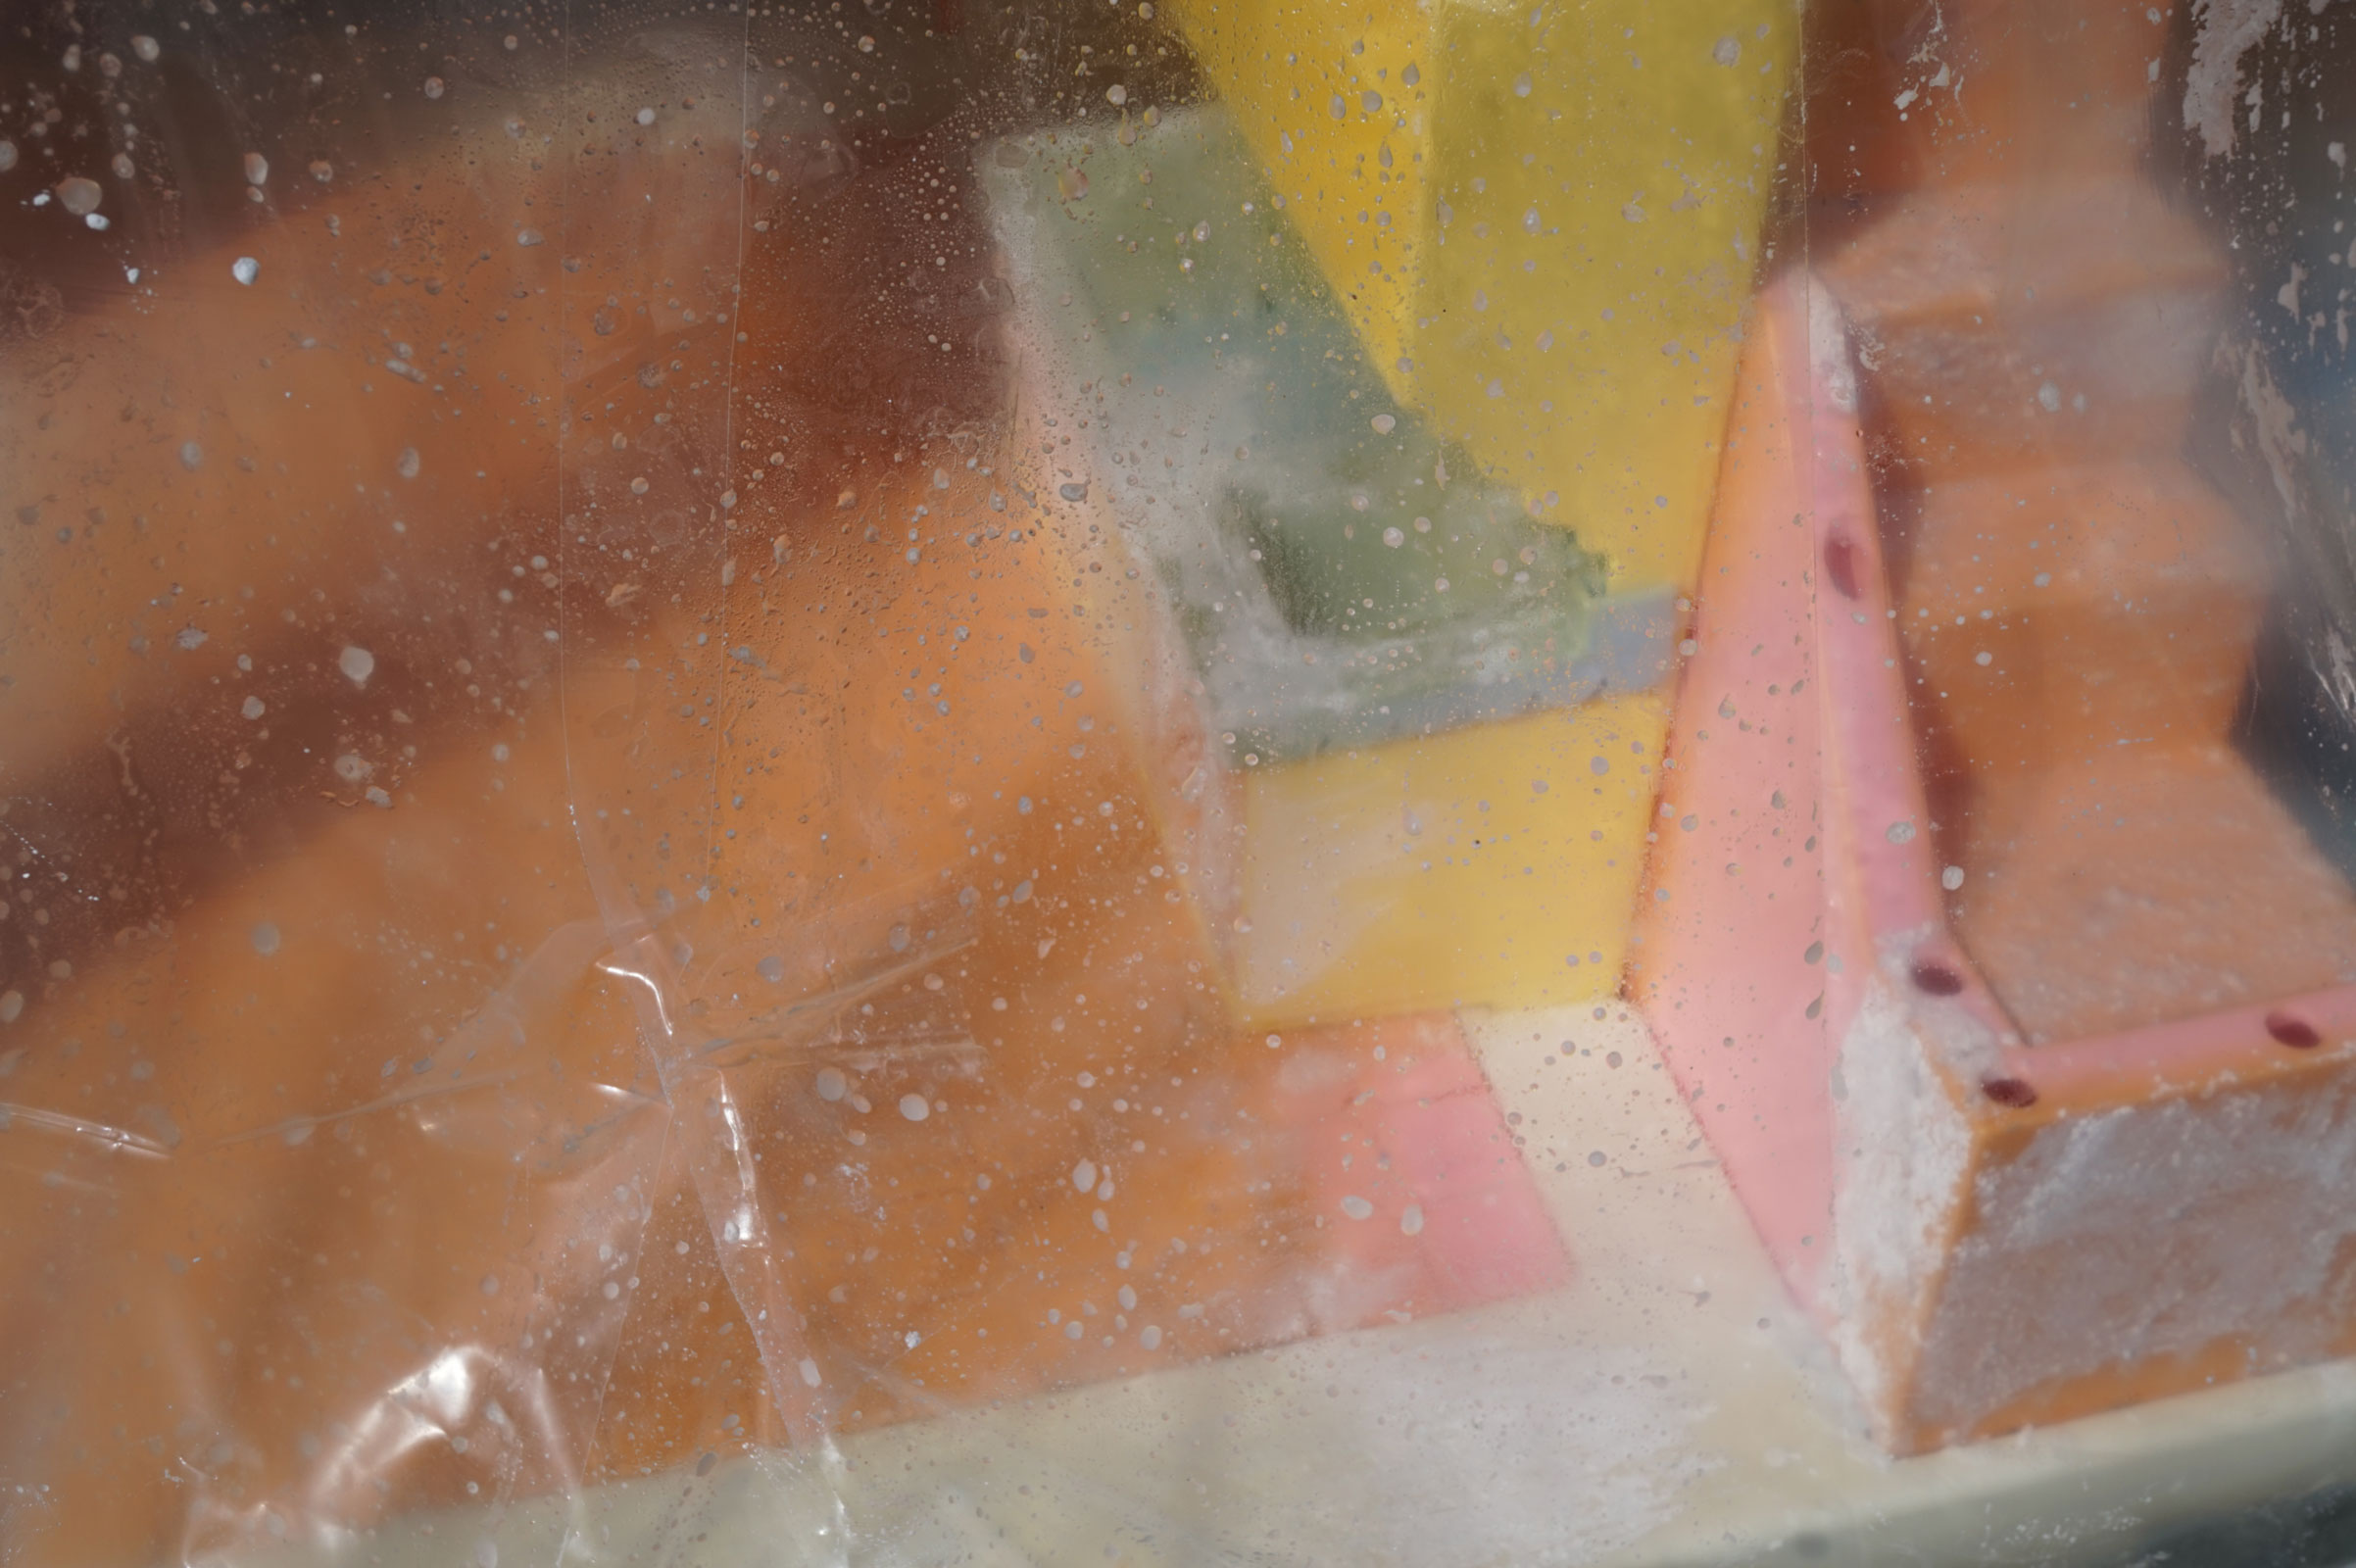
how-to-bleach-whiten-yellow-plastic-toys

I noticed the yellow color was not lifting evenly.  For this Dollhouse, it would have been much better to take it apart, and bleach each piece out flat, so the bleach stayed on it evenly. But I really didn’t have 60 hours to put into the project. I do have a green house. I quickly cleaned off the bleach, and dried it out.  There was discoloration, in blotches. Therefore the best I could do at that point, was slow….    I just put the dollhouse in my green house for about a month. I kept watching it, seeing how much it changed, but I was able to turn it as I needed to, and it didn’t get over done, and having all the color washed out.
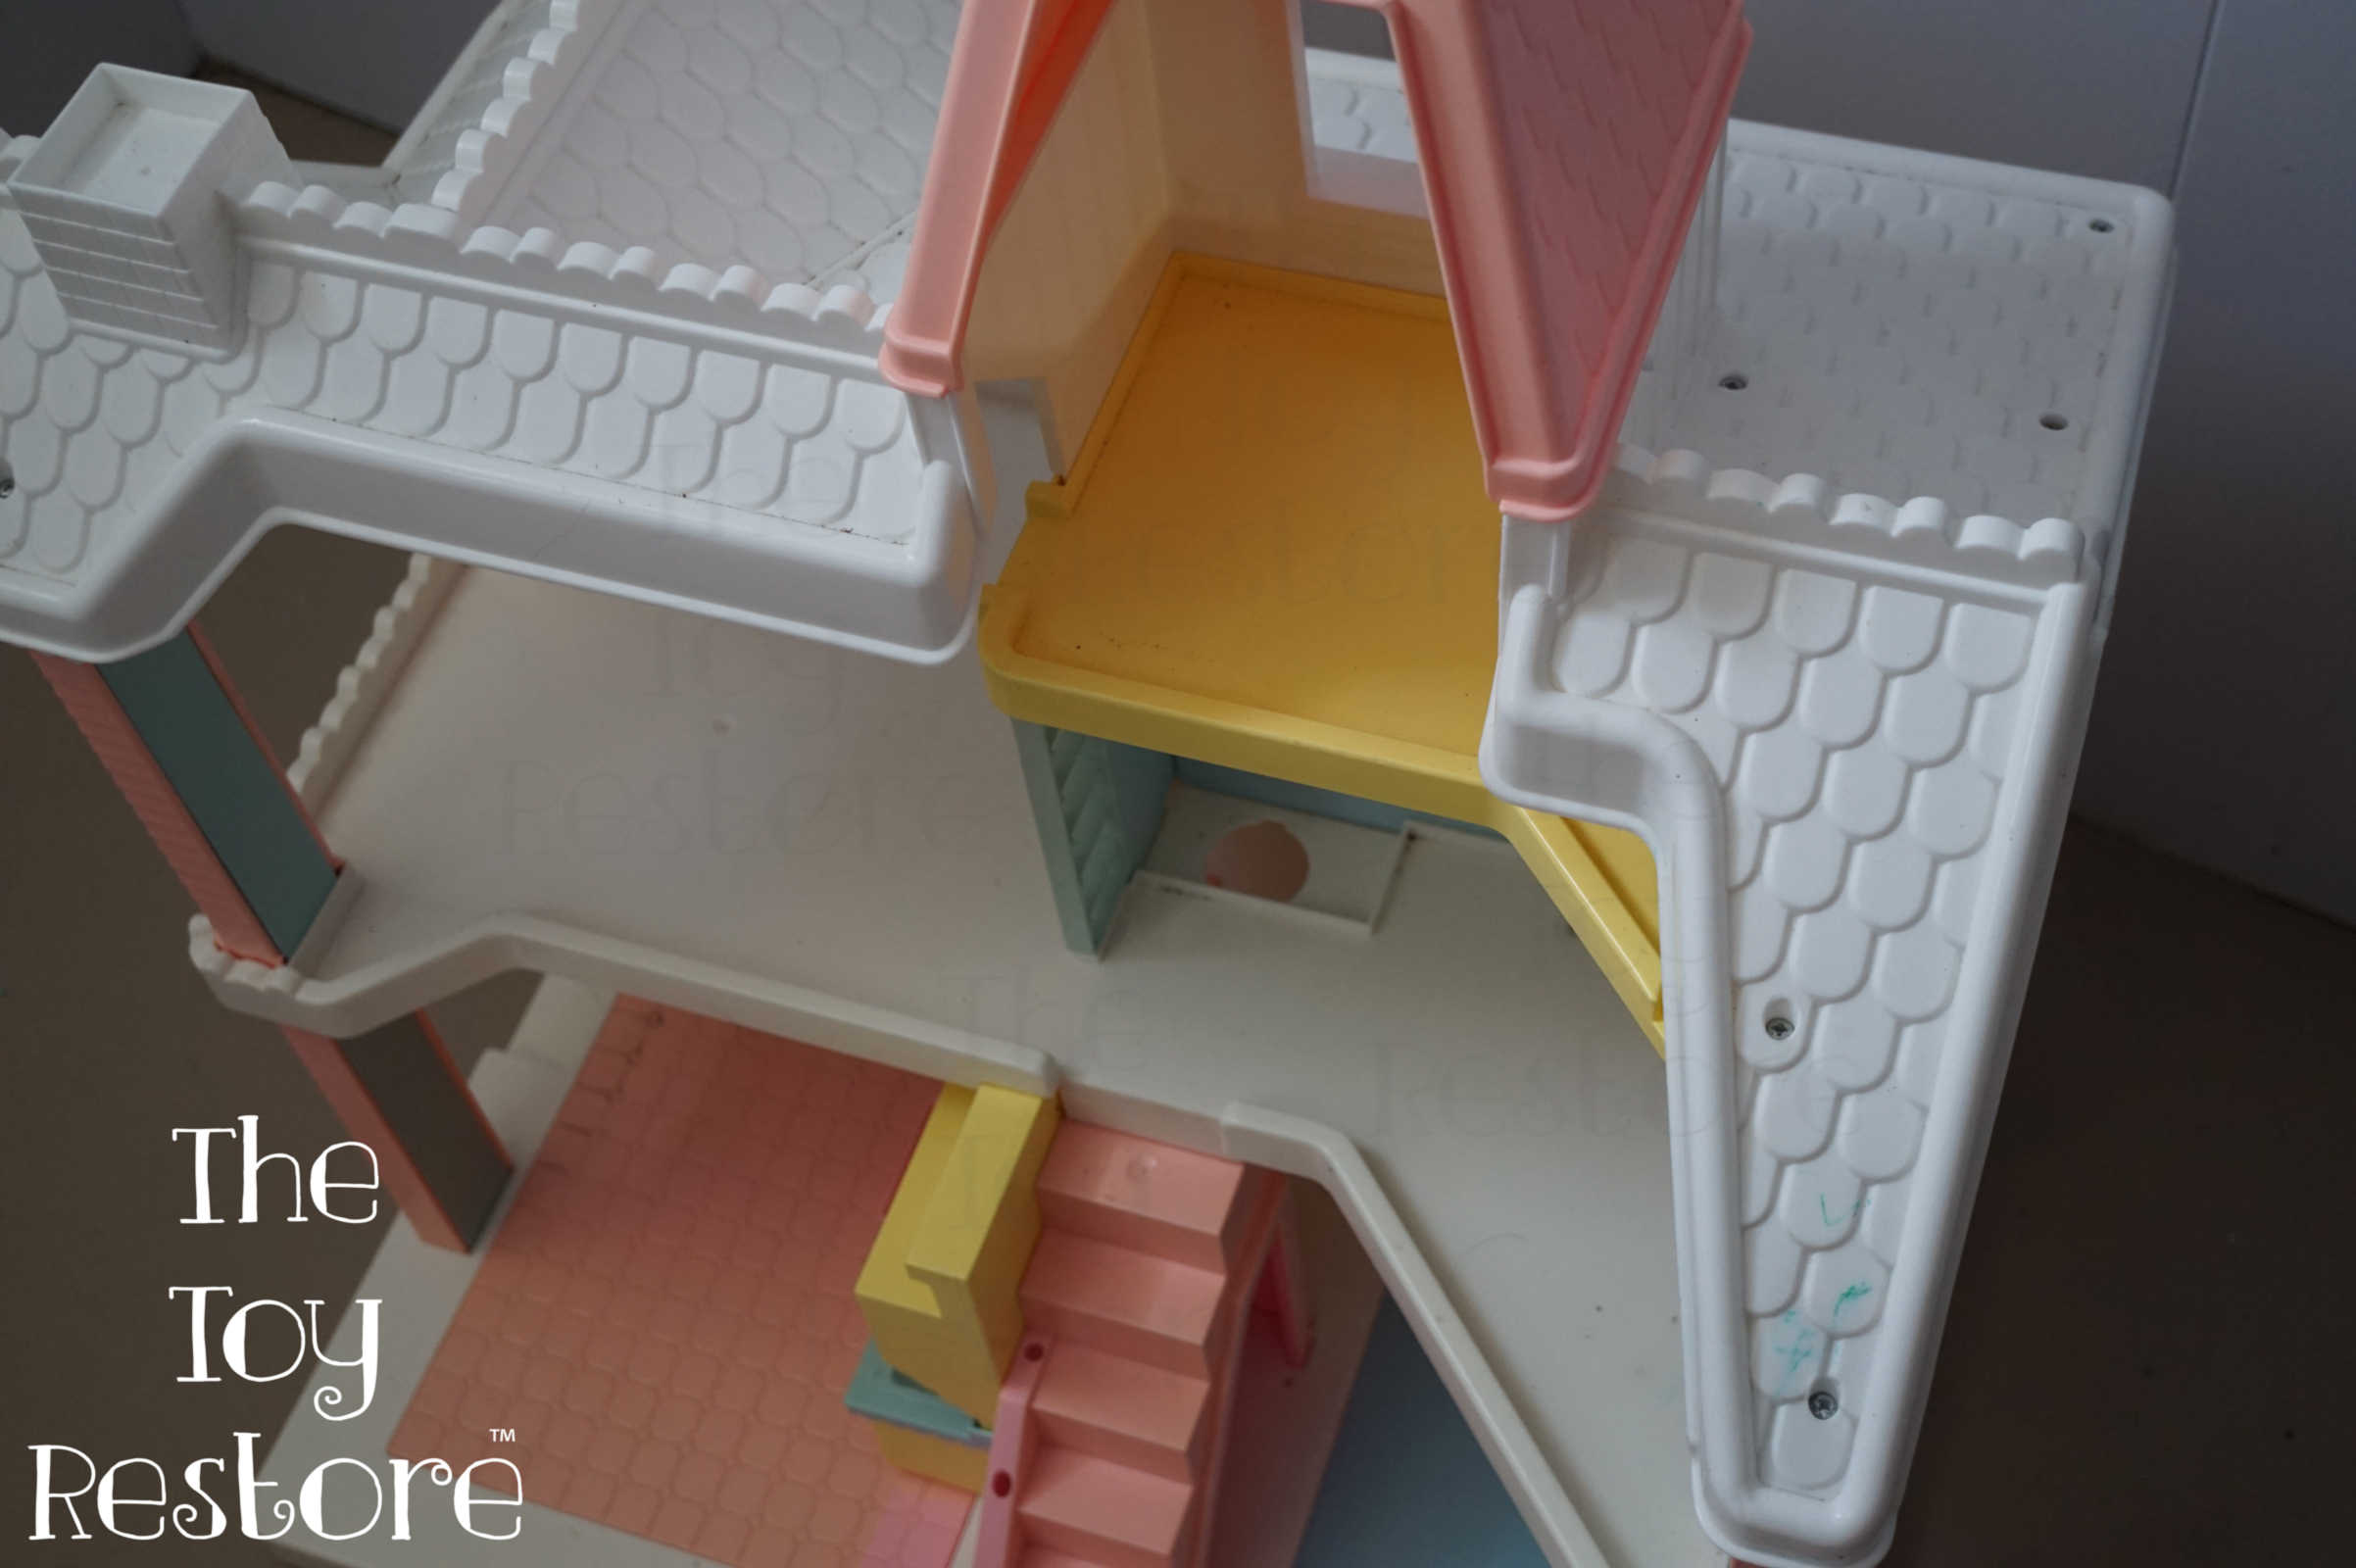
How to Whiten Yellowed Plastic Toys

Eventually, the color, including the blotches evened out as best as it could. There is still a lot more work needed on this dollhouse, but I am too afraid to continue with bleaching it. The plastic has already become brittle.
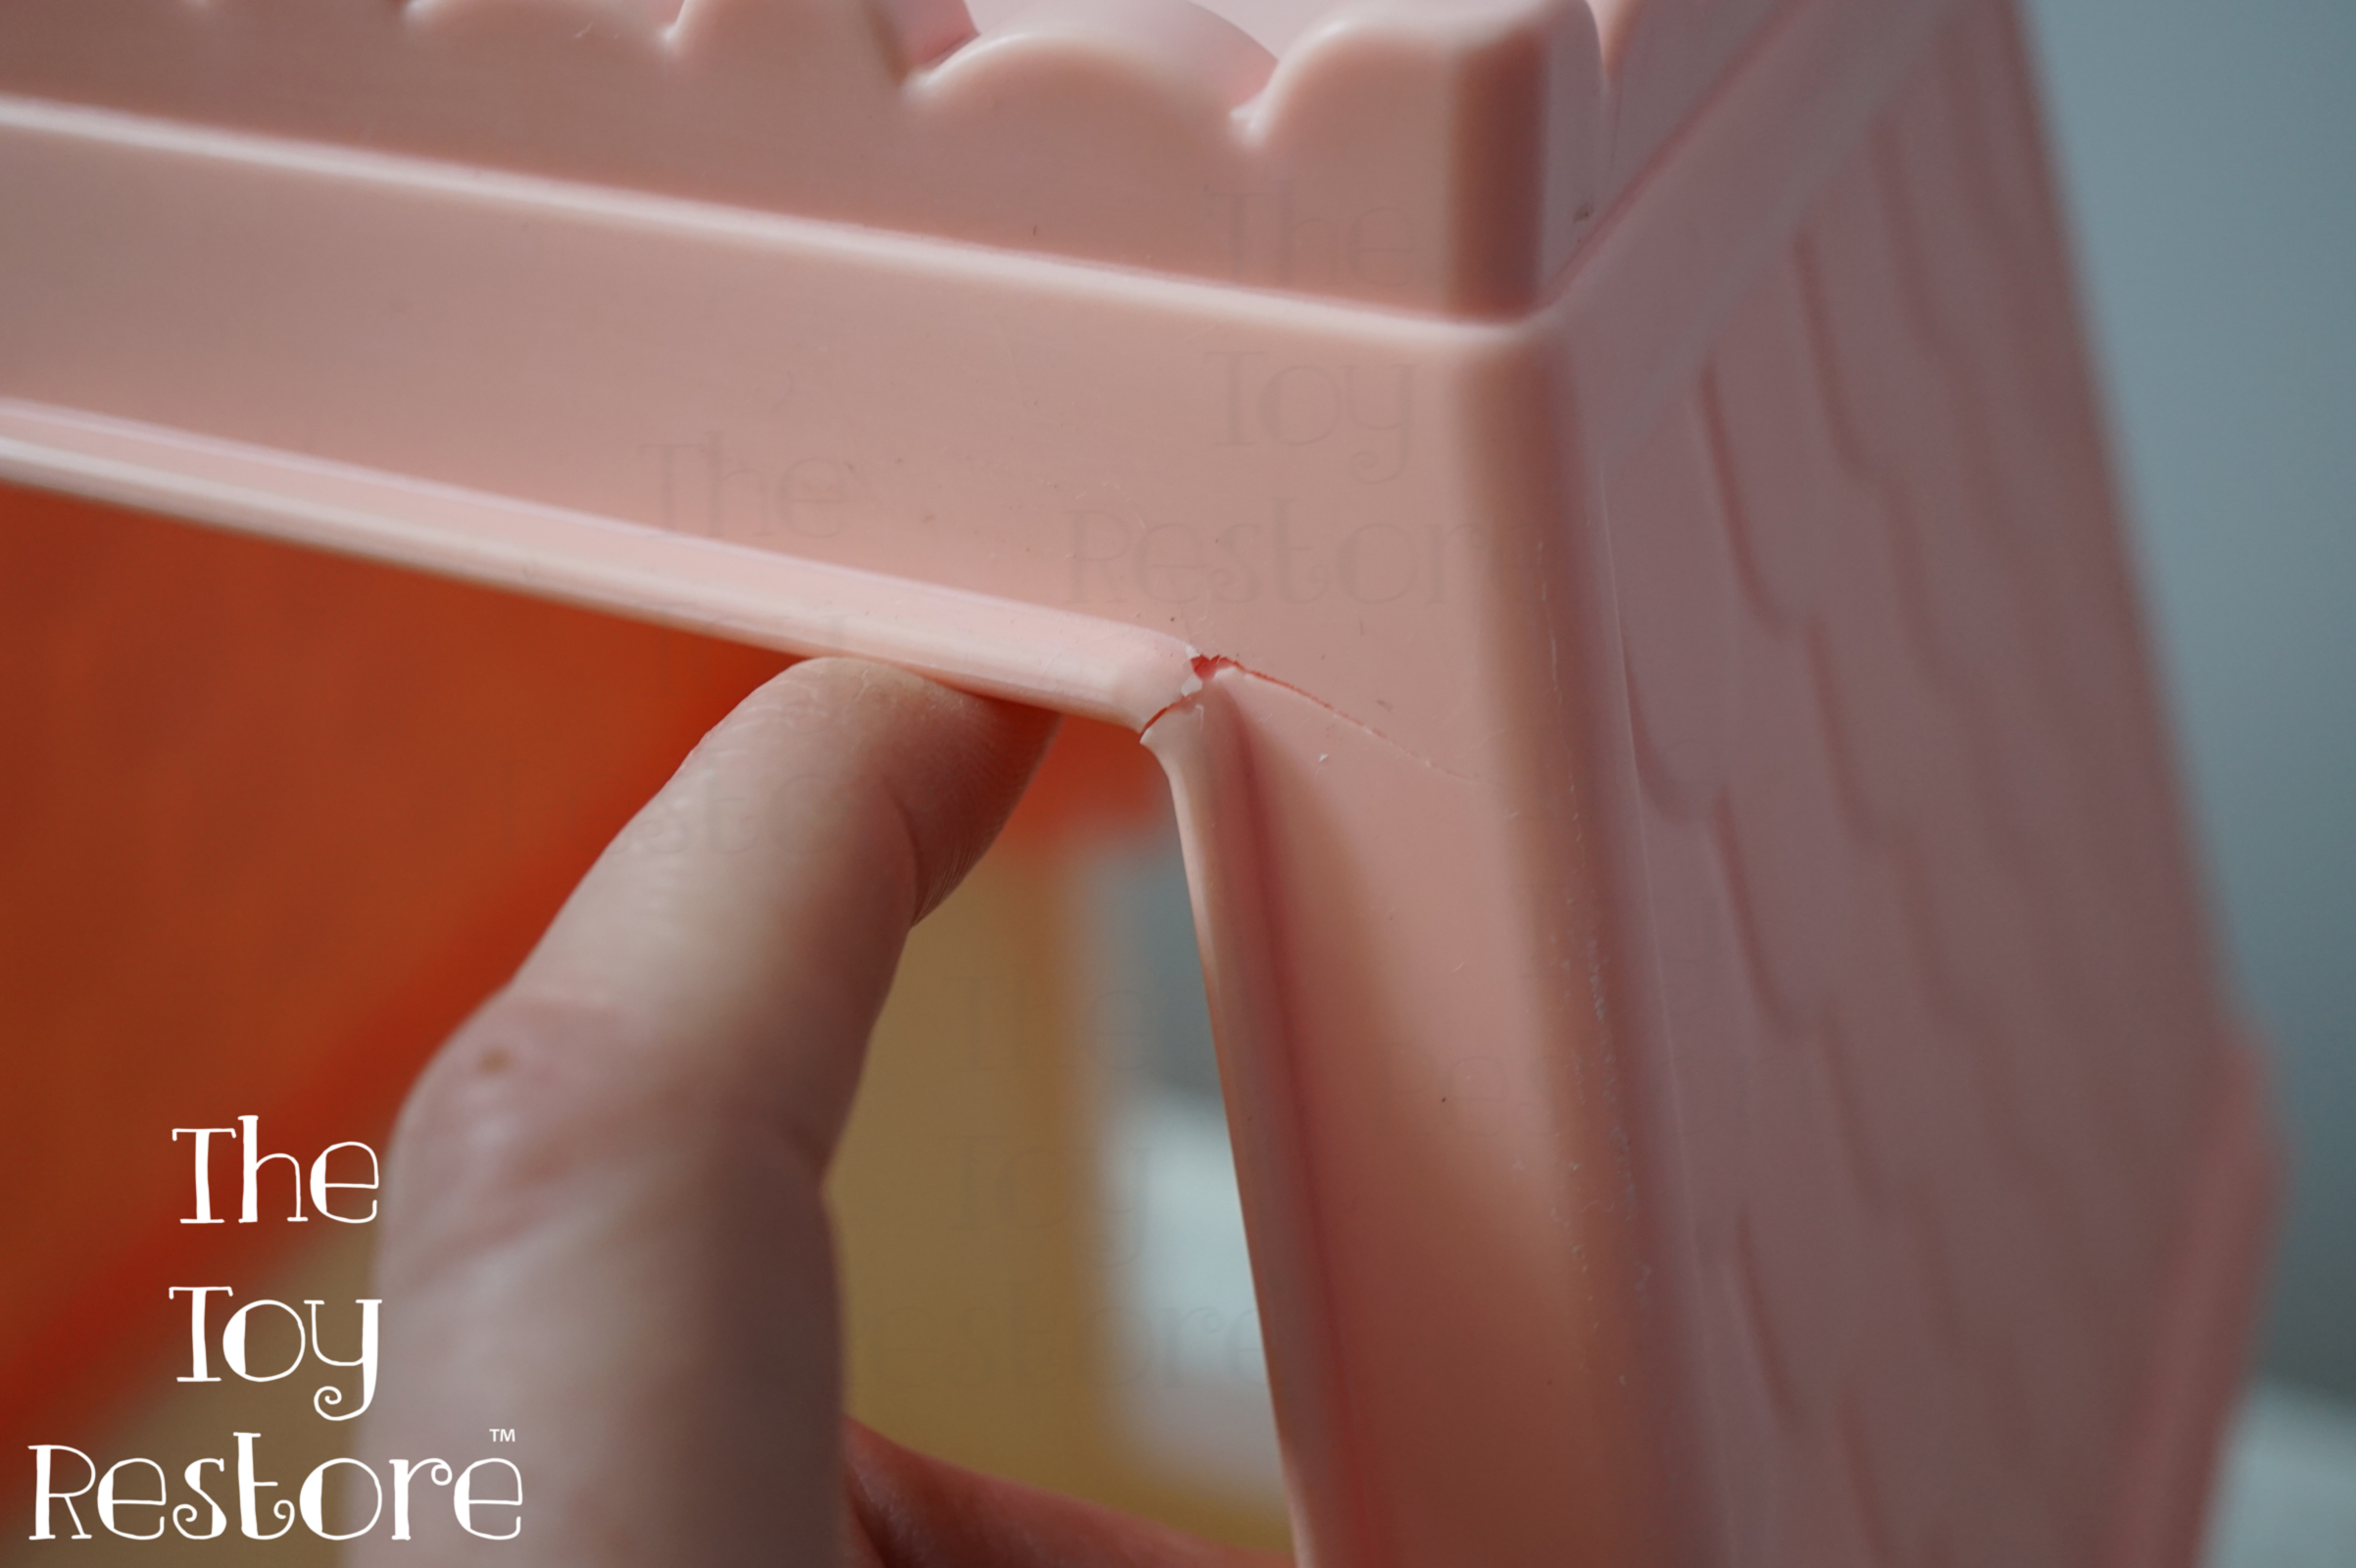
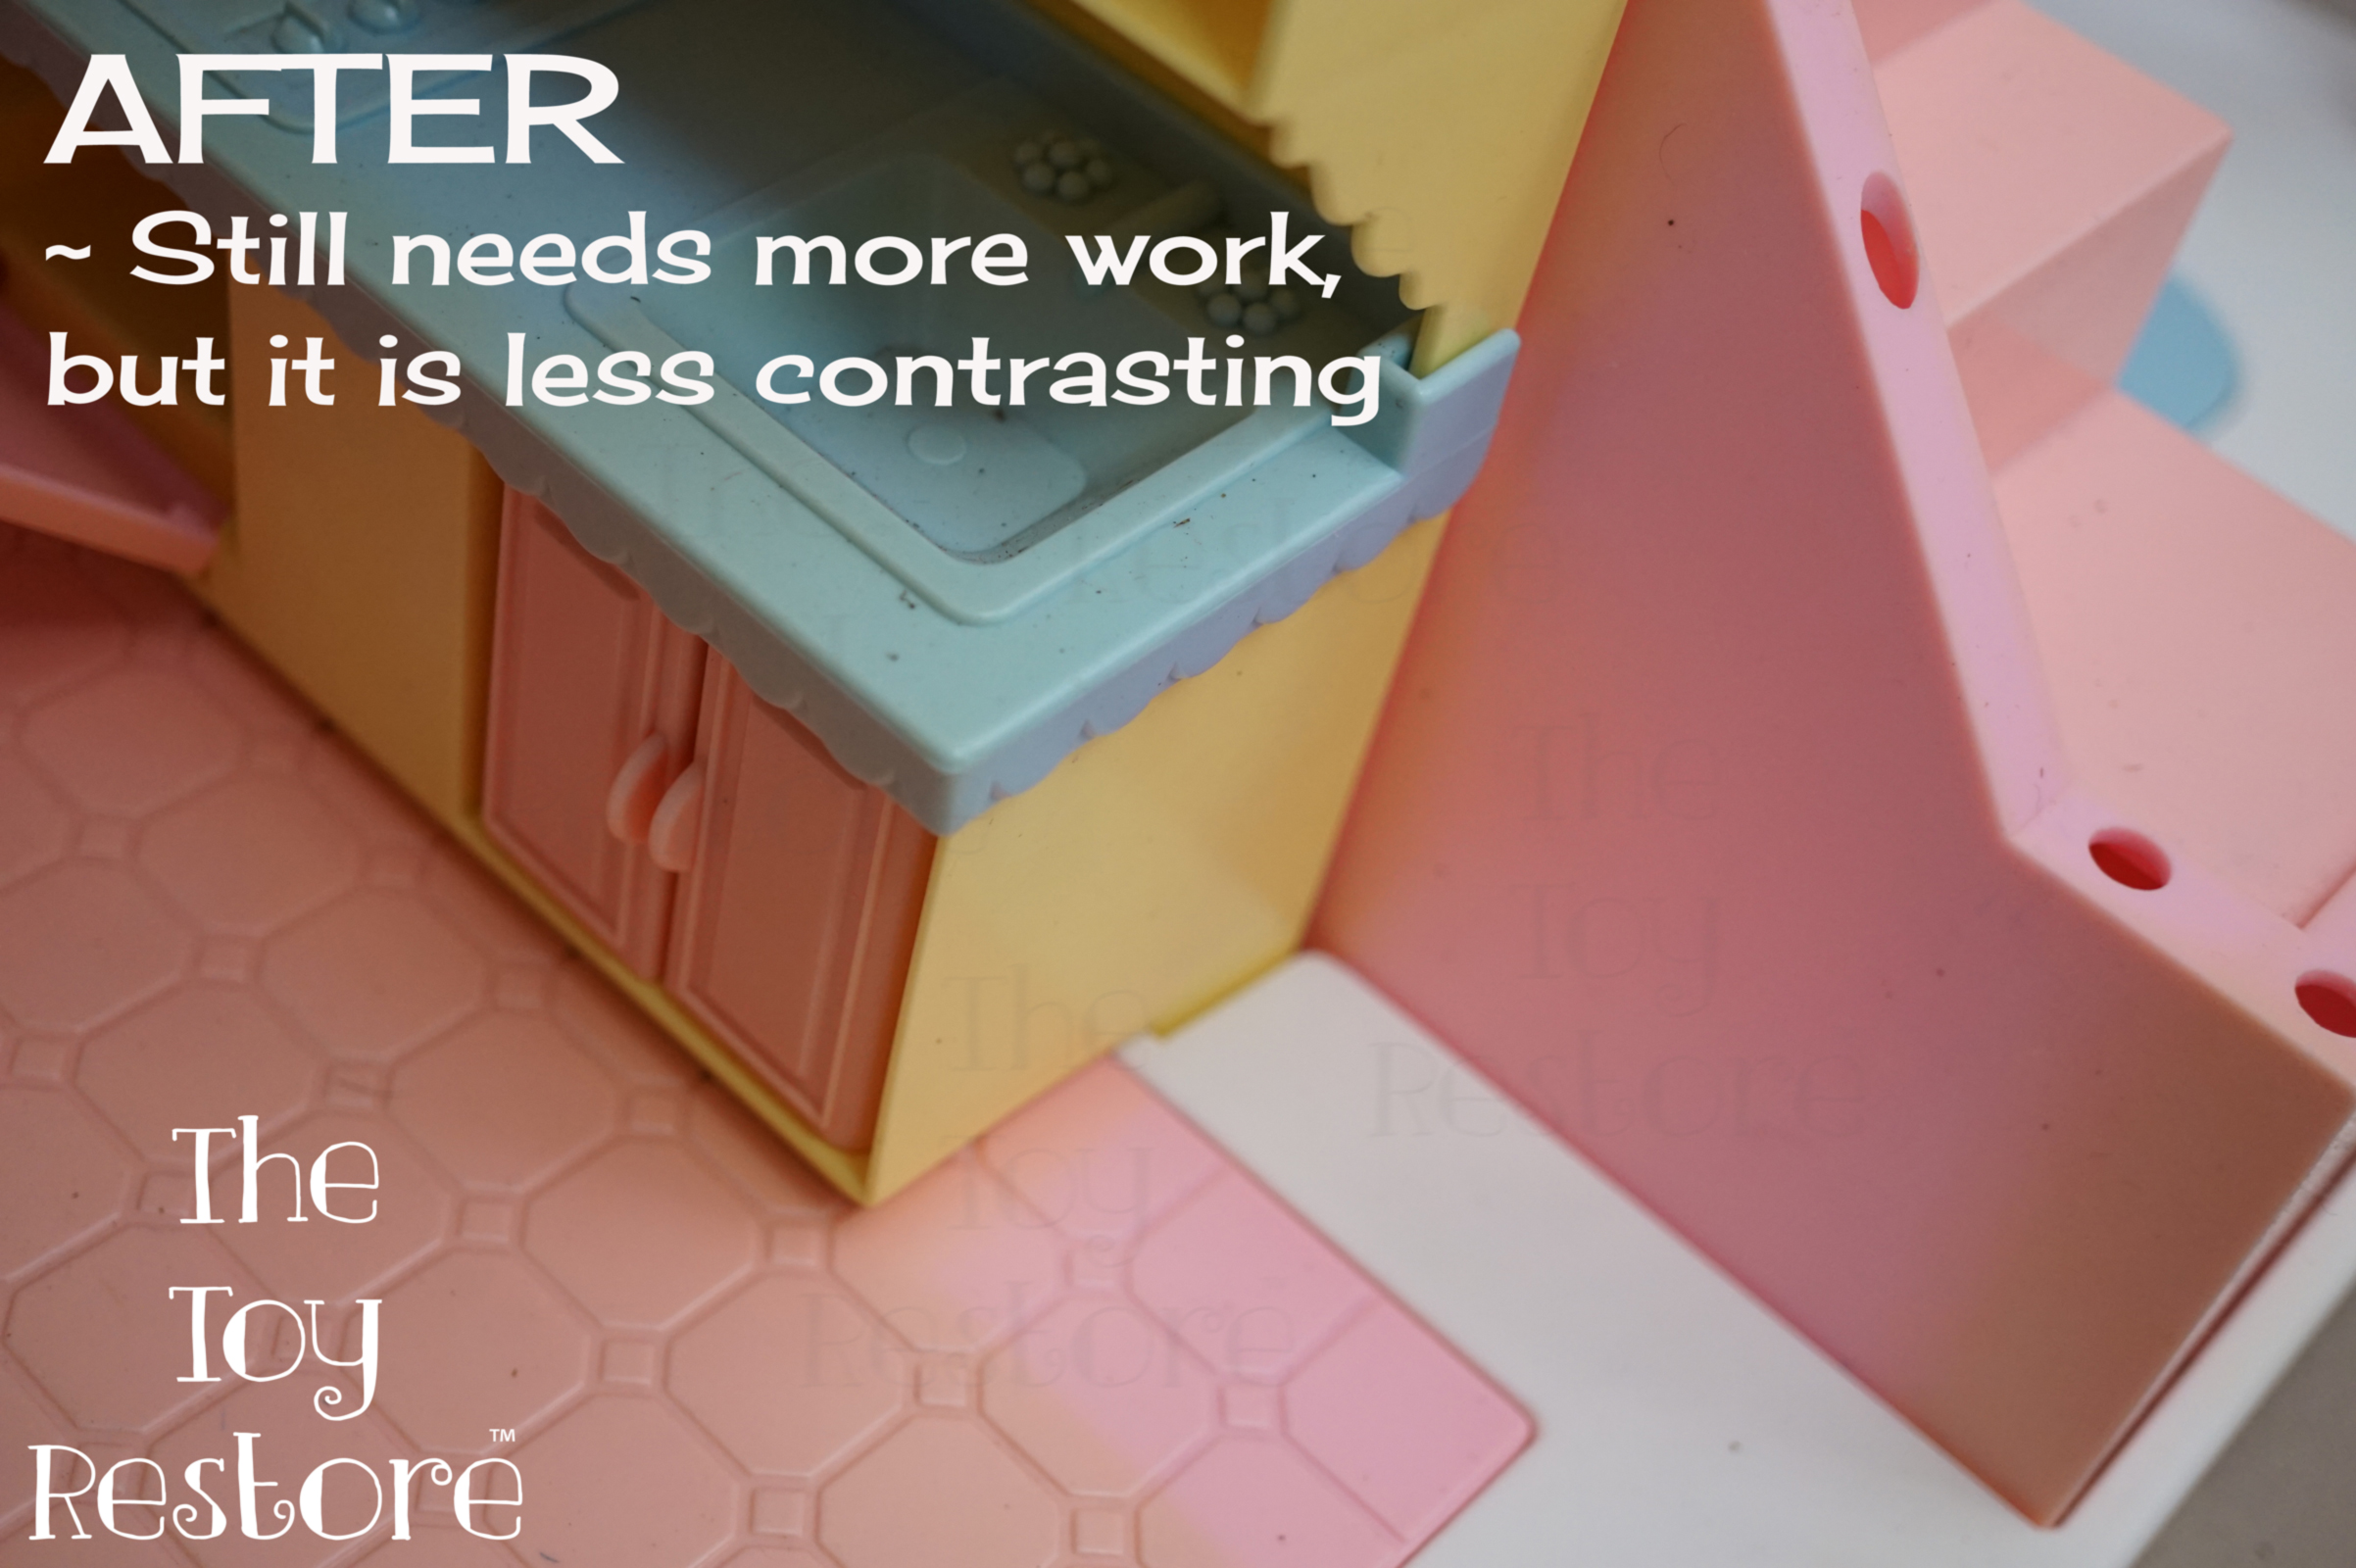
How to Whiten Yellowed Plastic Toys

The pink on the finished project is more pink now, than orange / salmon color, the blue is more blue, rather than greeny blue, and the yellow, is more like the original pastel yellow, rather than the bright yellow.

How to bleach Whiten Yellow Plastic Toys : Whitening Vintage Fisher Price Toys

how-to-bleach-whiten-yellow-plastic-toys-fp-fwf

I have done this whitening process, with tones of Fisher Price Fun With food toys.
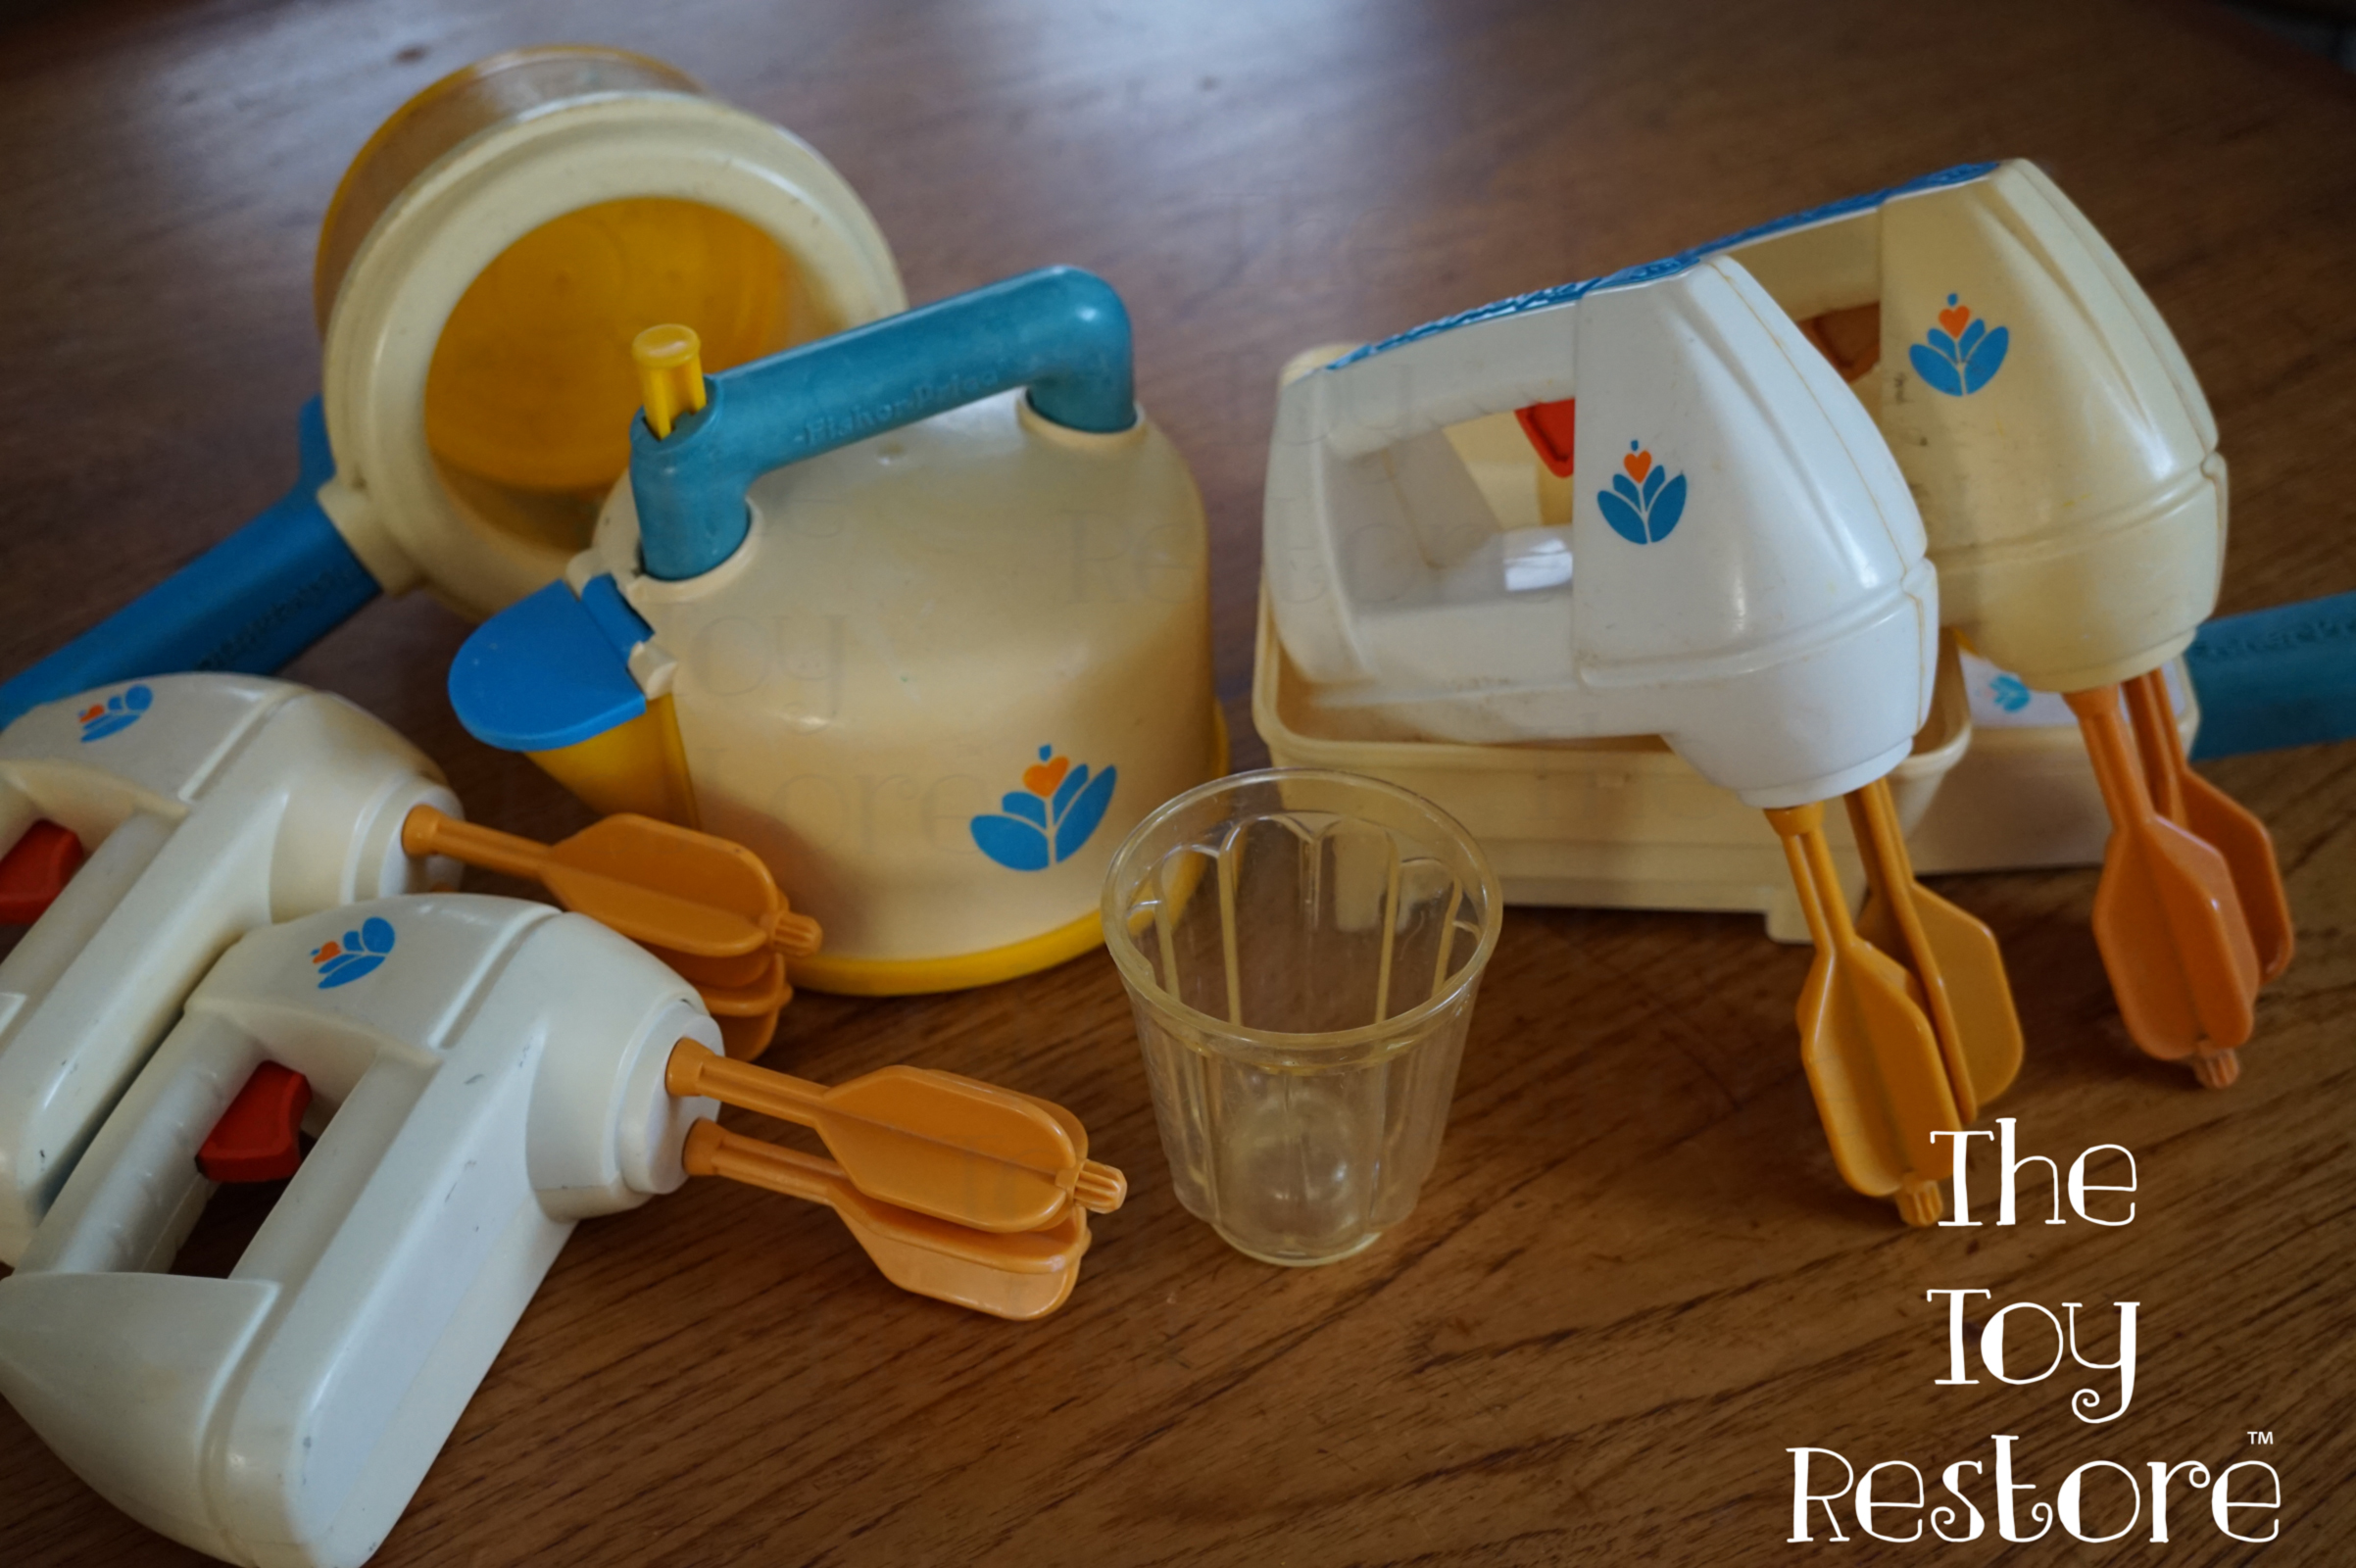
Fisher Price Fun With Food Yellowed Toys

The sunlight gets the yellow out nicely. But adding the bleach and peroxide, speeds up the process. I just make sure I only used it on the white areas, and watch it like a hawk. I make sure it is spread evenly, so that it doesn’t look blotchy.
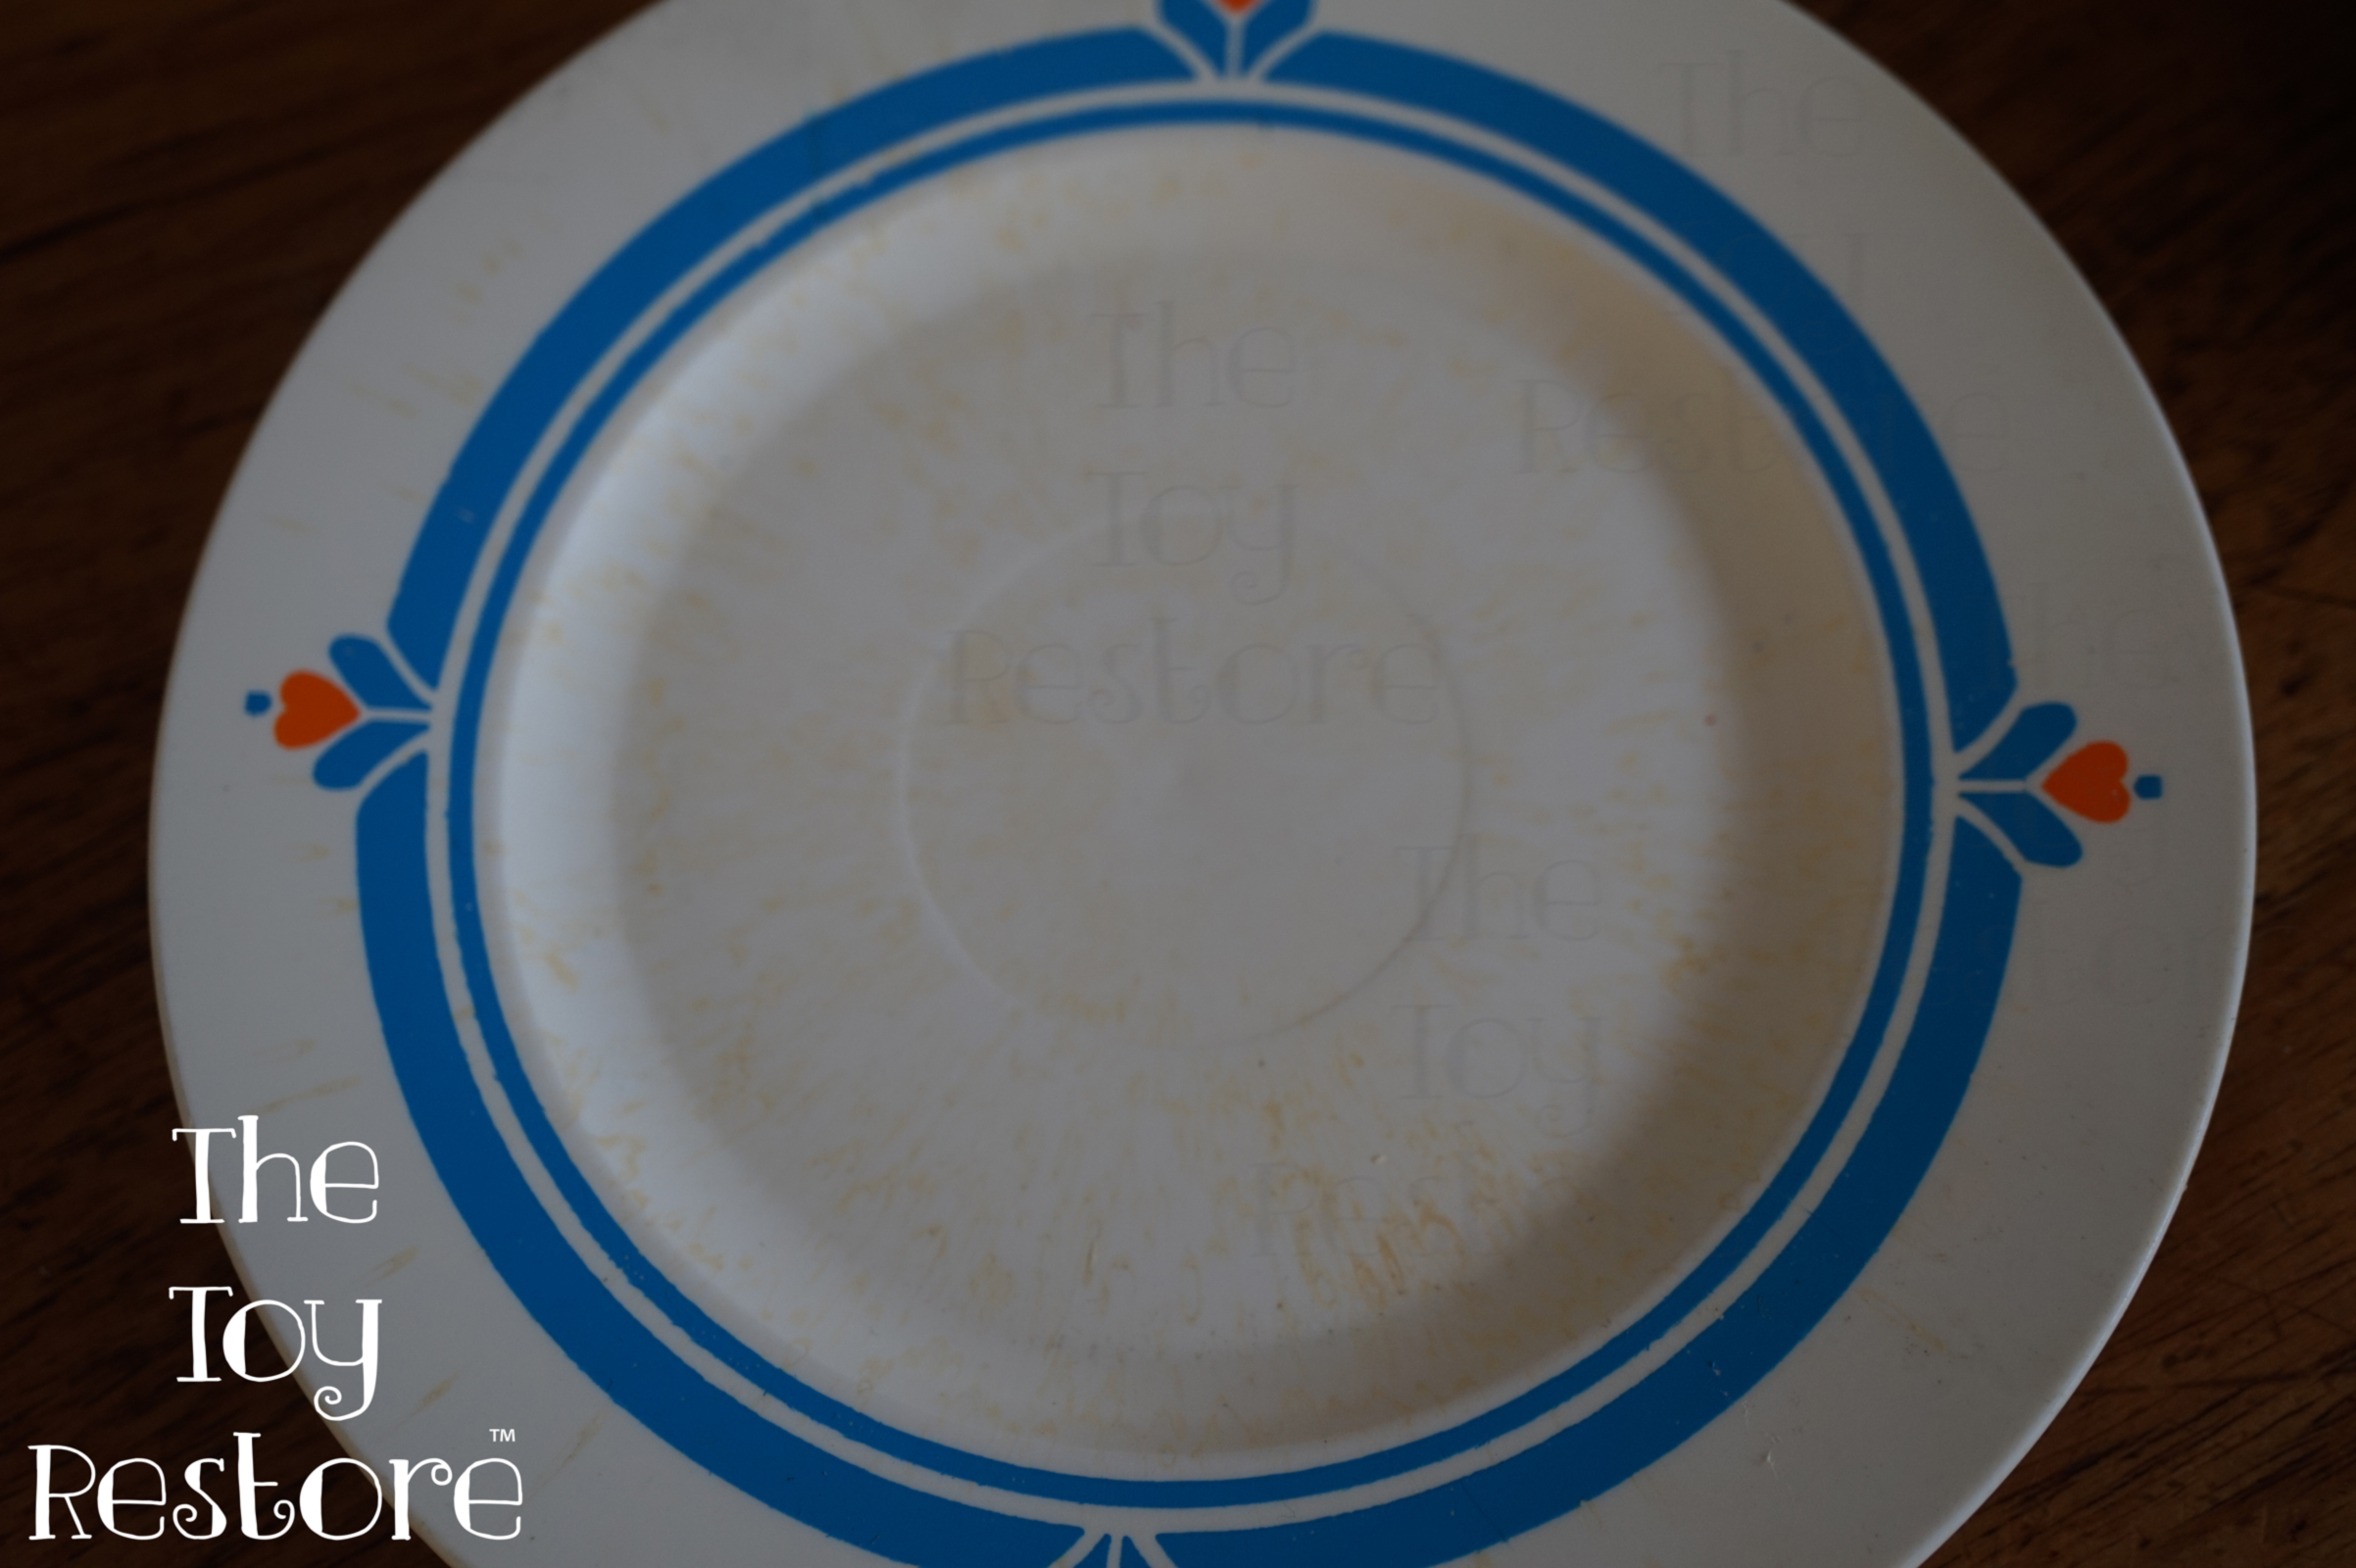
Bleaching yellow toys, Fisher Price Fun with Food dish, got blotchy from not having an even coat.
How to bleach Whiten Yellow Plastic Toys


How to bleach Whiten Yellow Plastic Toys : Sunlight also quickly removes markers, and most pen marks.

I have picked up quite a few large plastic furniture items for kids, that have marker on them. The thrift store usually sells them cheap. The best way to get rid of the marker, is to put the chair in the sunlight. That’s it, and it usually goes away quickly depending on the time of year it is.

How to bleach Whiten Yellow Plastic Toys : Does it matter what time of the year it is, for the sunlight?

Here in Canada, in July we get a lot stronger sun, and more hours a day for it. So I do all my whitening in July / Aug. The heat of the summer will help the chemicals along faster.

How to bleach Whiten Yellow Plastic Toys : Yes, you can over do it! Color can fade.

Pink, and purple, seem to be colors that fade quickly. Red, will fade to pink… etc.. I got my daughter this beautiful Vintage Little Tikes Beauty Salon. We played with it for a long time. I put it outside in the shade when she didn’t play with it anymore. It is now white. And it was in the shady spot in my yard for maybe six months. It wasn’t long.
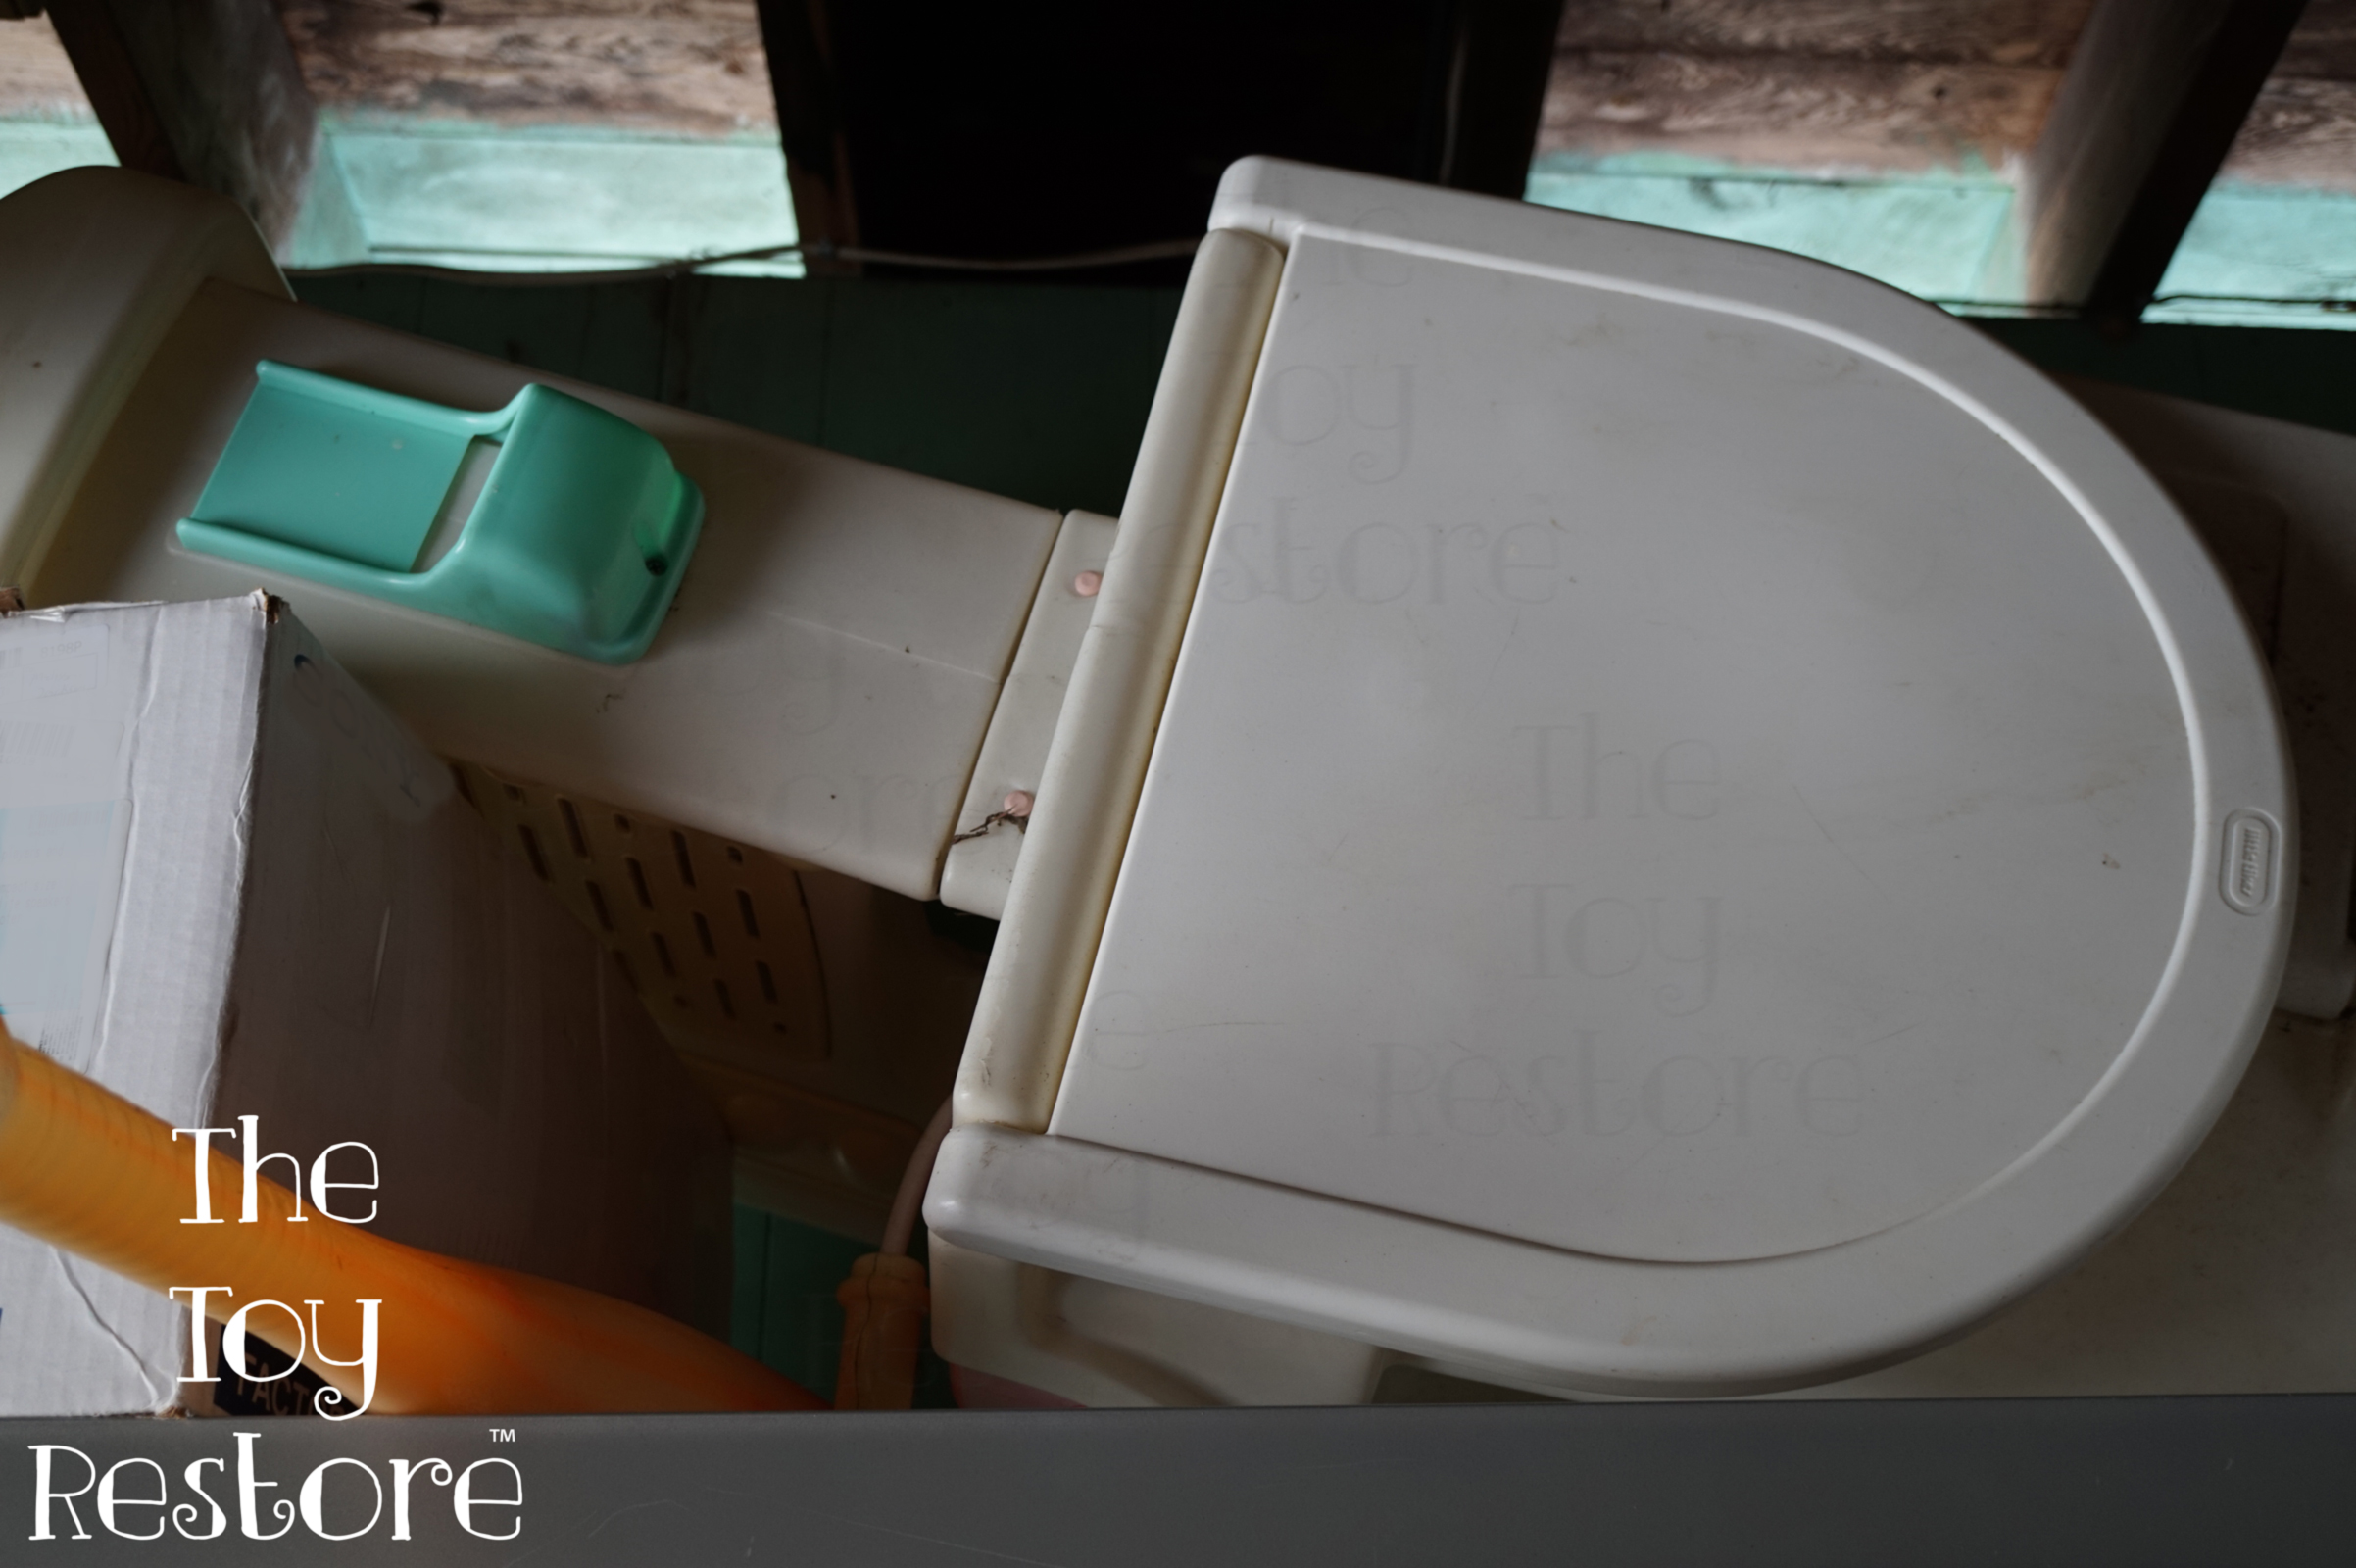
Sun Bleached Vintage Little Tikes Beauty Salon

How to bleach Whiten Yellow Plastic Toys : Yes, you can over do it! Plastic become brittle.

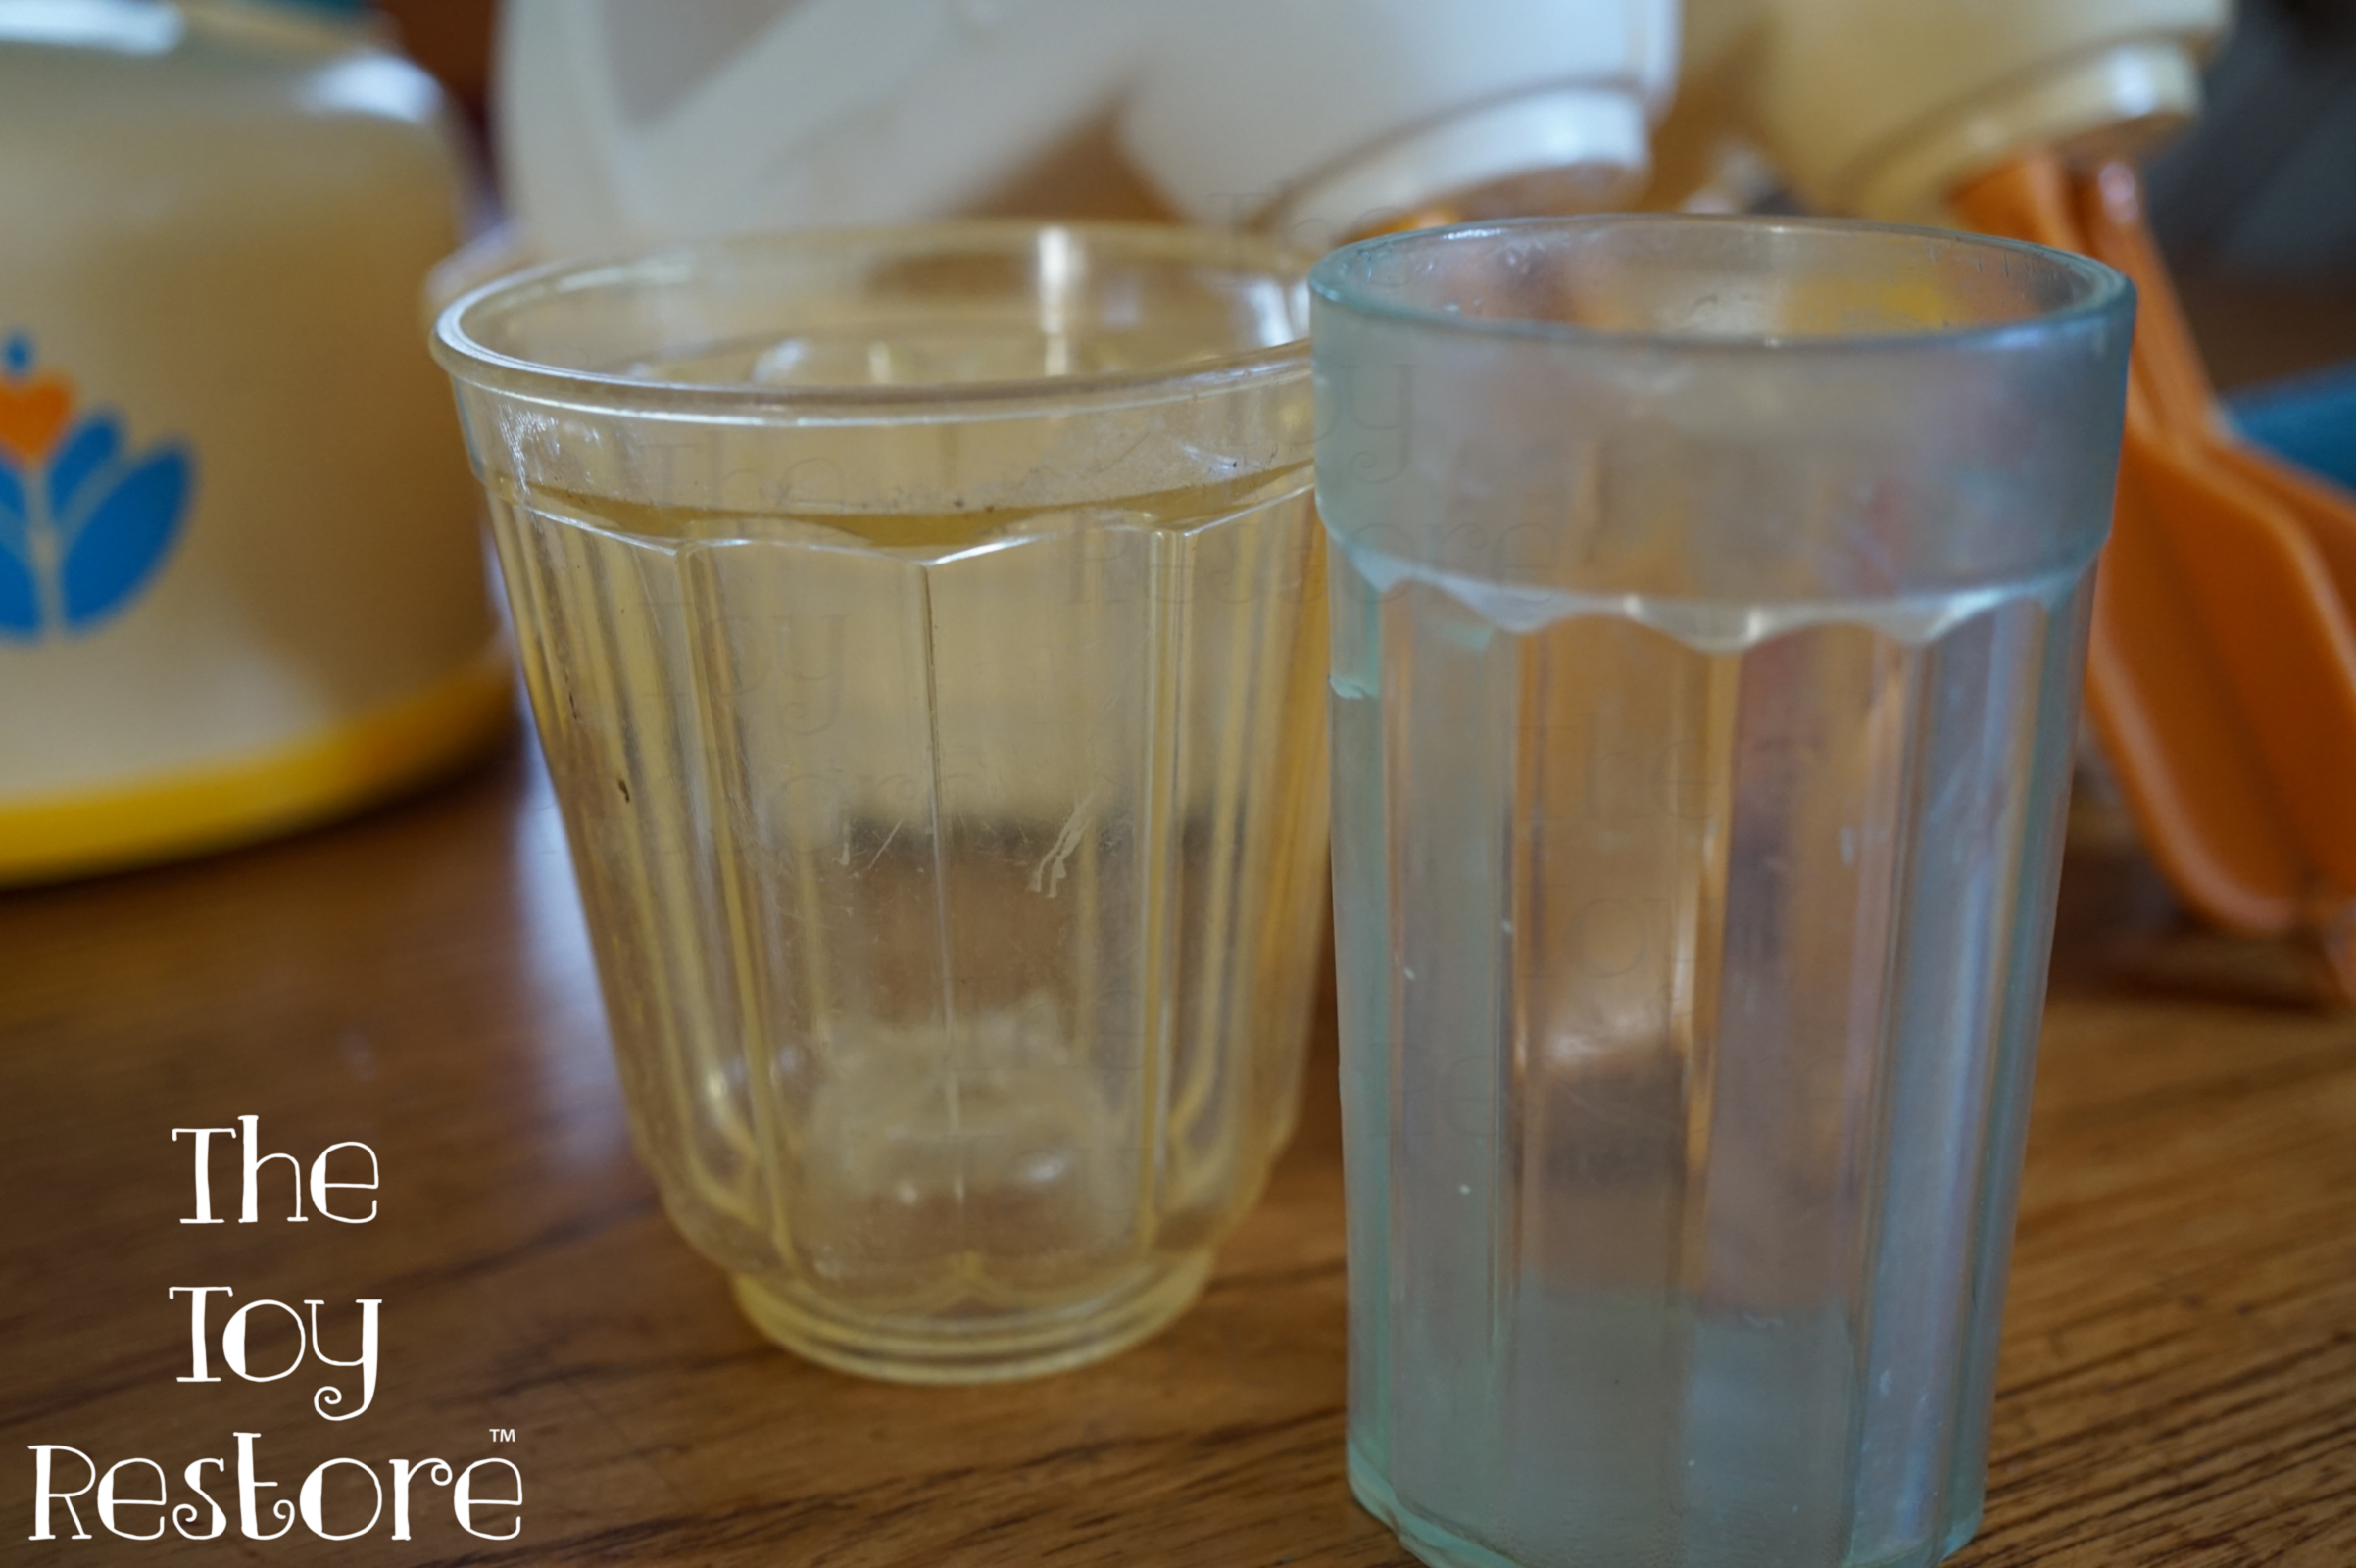
I tried removing the yellow from some clear Fisher Price Fun with Food glasses, and I got busy and forgot about them.
Sun Bleached Vintage Little Tikes Beauty Salon

When I came out to look at them, they were very brittle, and they crumbled along the edges. I do have some pictures of my older work, but I can’t find them at the moment. Here is an example of just a little bit too much bleaching, the plastic will crack easily.
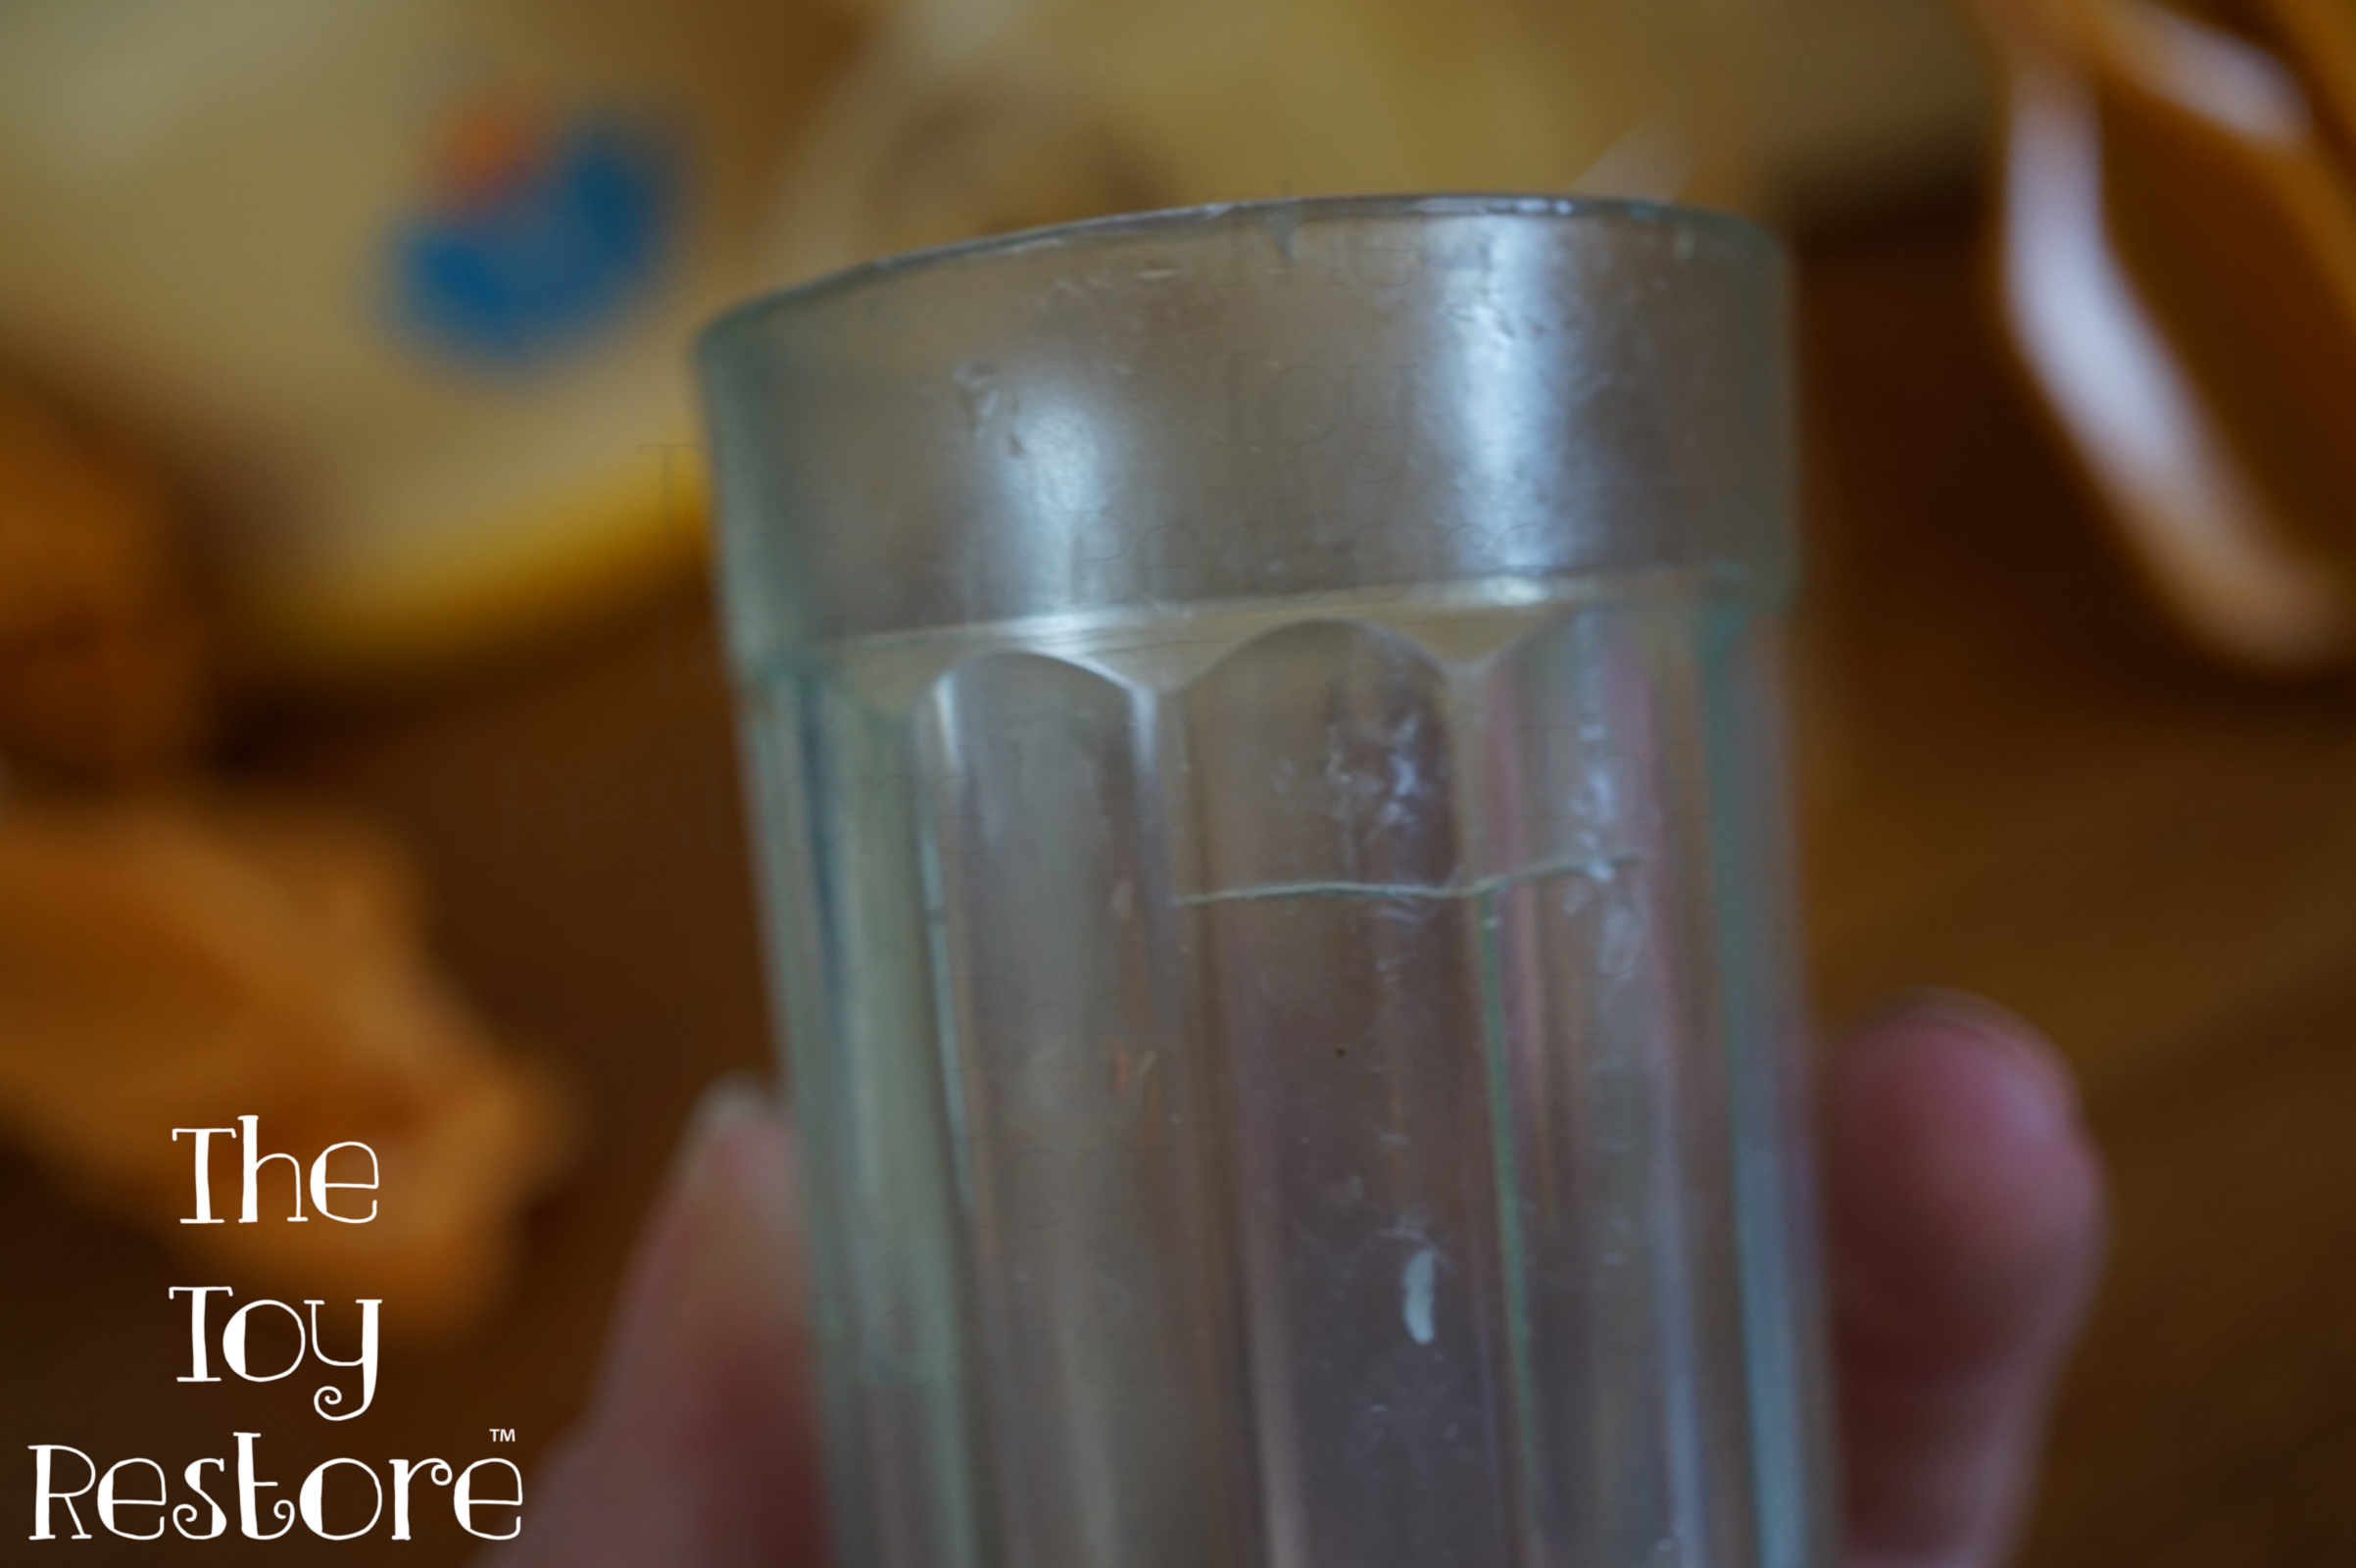
Bleached out clear Vintage Fisher Price Fun With Food Glass becomes brittle, and cracks easily.

When you bleach them, you are removing the bromine that migrated to the outside. When the bromine is gone, the plastic looses its flexibility.

The same can be said about play kitchens that are left outside. The knobs particularly from the Vintage Little Tikes ones, will become very brittle if they are left outside. So be careful if you have to remove them.

How to bleach Whiten Yellow Plastic Toys : Yes, you can over do it! Colored Plastic becomes White

When you forget about colored plastic, it can get bleached out to white, and if it is not evenly put on, the white will be blotchy as well. Here is an example of a Fisher Price Fun With Food cupcake tray, that I forgot about too.
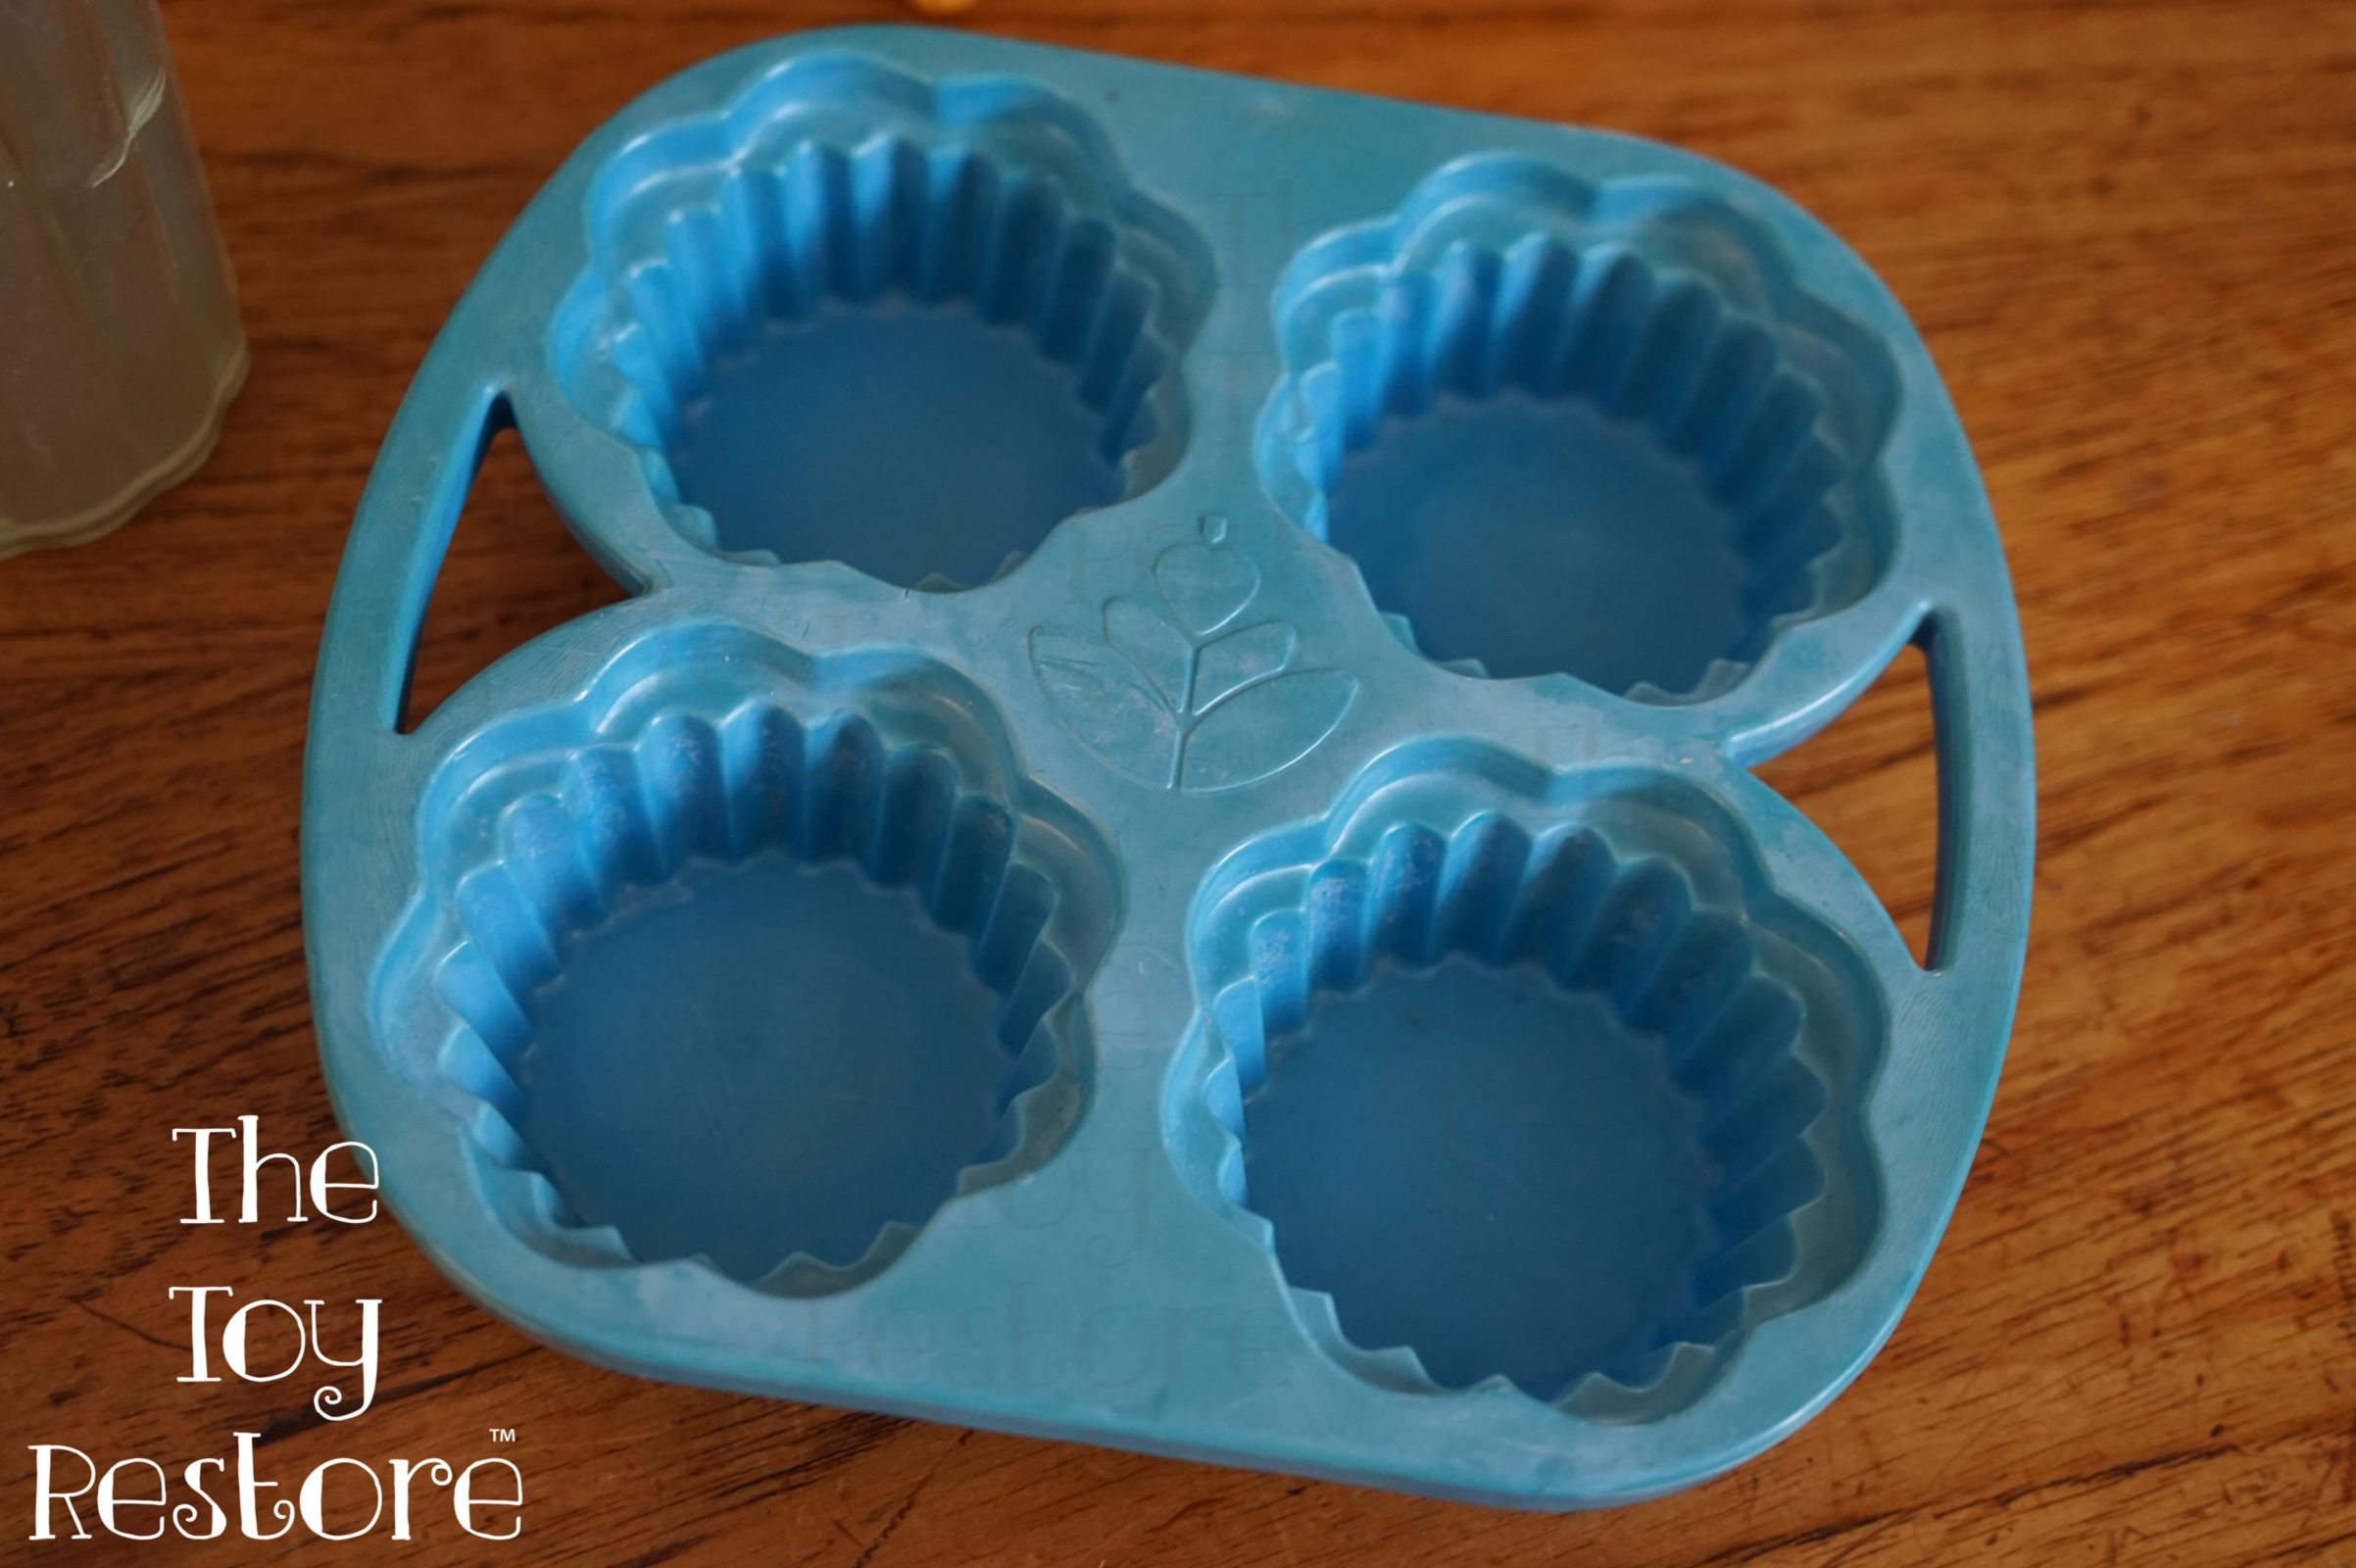
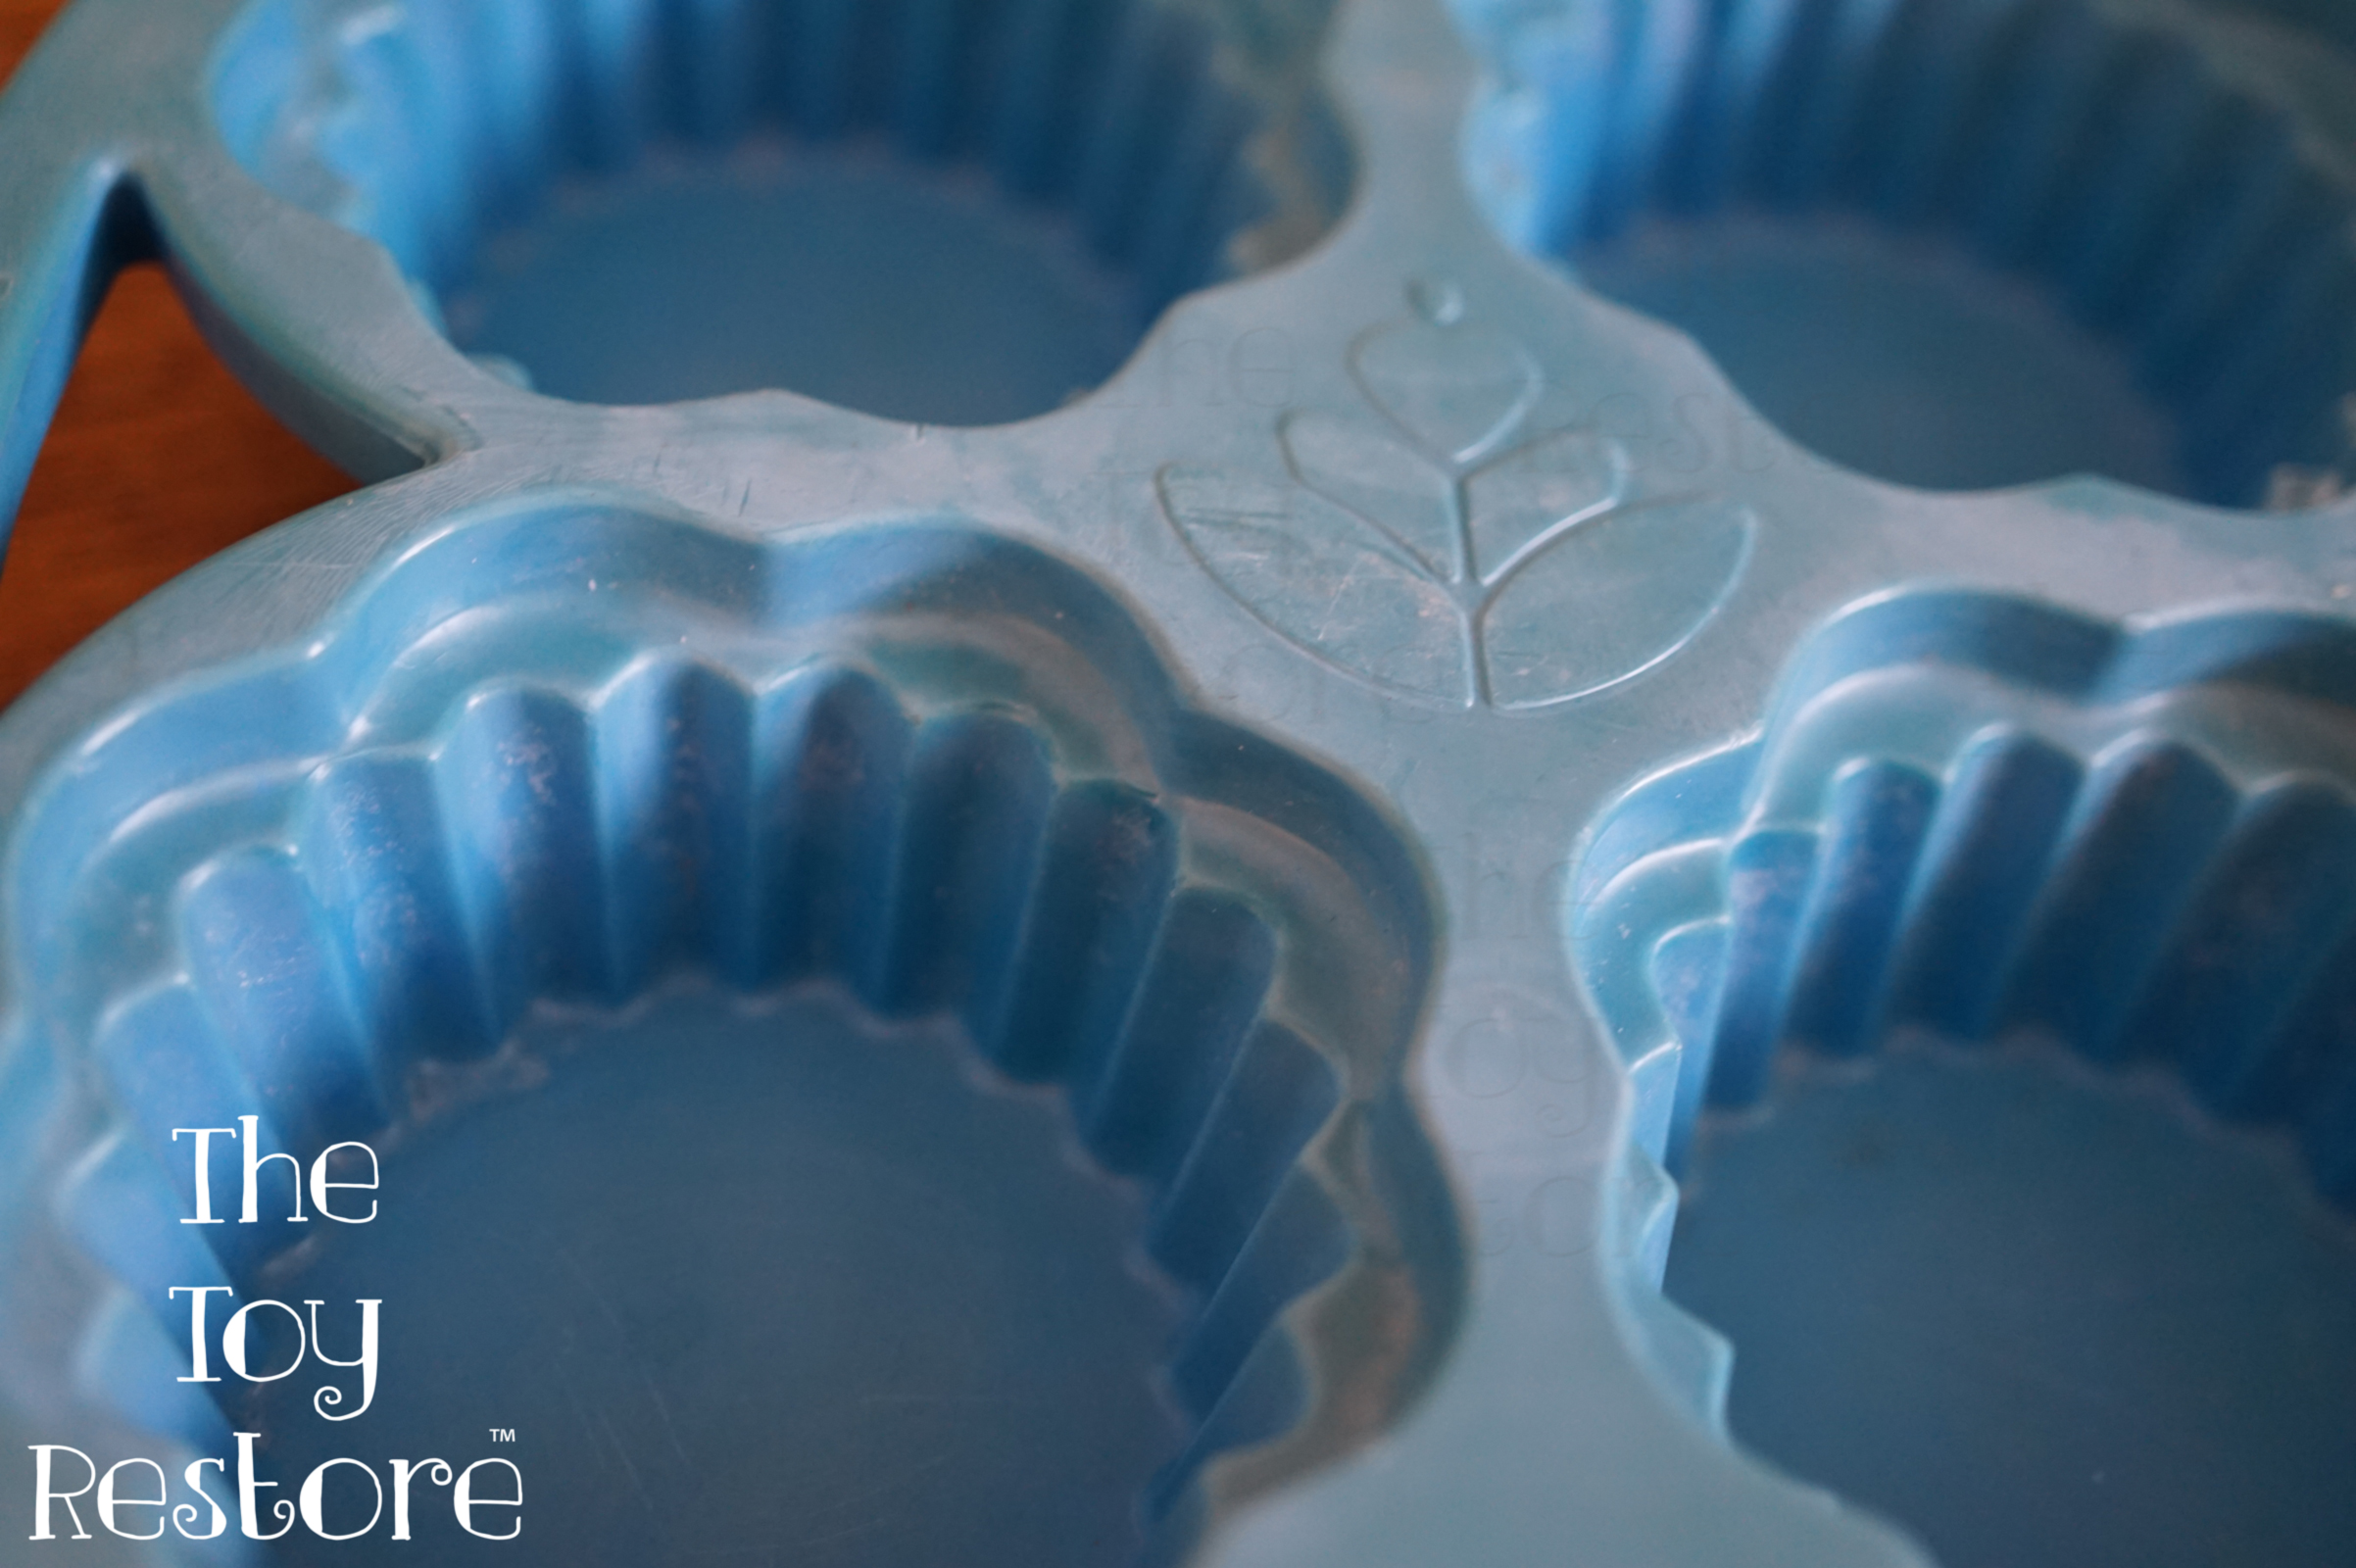
Fisher Price Fun With Food CupCake pan, was bleached too long. It got white and blotchy


I realize here I am showing mostly my mistakes, but I do have lots of examples of successful projects. You wouldn’t even think it was bleached. For me, I learn from mistakes, and I hope that my readers will be able to learn from them as well.

My knowledge of chemistry is limited, so if I have made errors, please let me know.


I will be adding to this post more in the future.

How To Fix The Gas Cap on Your Vintage Little Tikes Toy

How To Fix Vintage Cozy Coupe Gas Cap

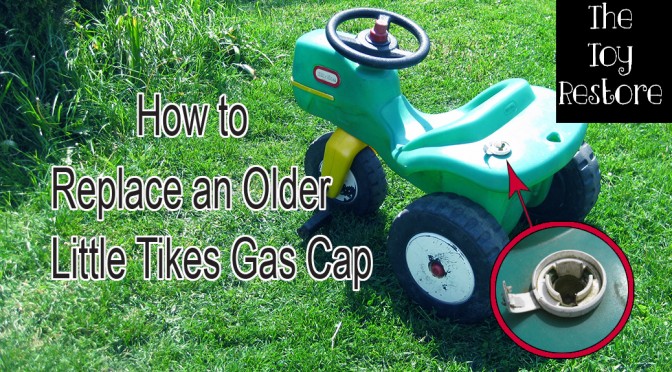
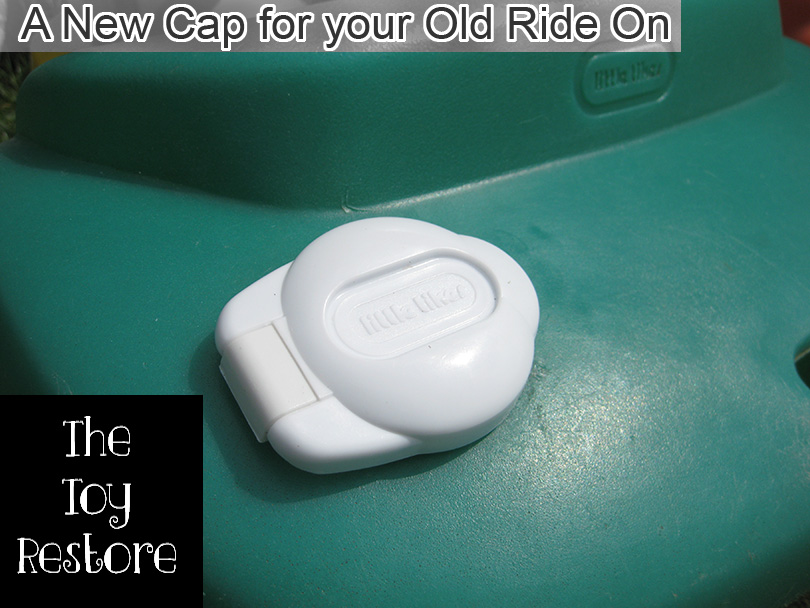
What child doesn’t like to fill up their car with gas? Usually when I find a vintage Little Tikes ride on the first thing gone is the gas cap.  Here’s how I fix the gas cap on these toys. They originally had flimsy plastic tabs to hold the top of the gas cap on, and they broke off over the years. With design changes, the newer Little Tikes replacement parts don’t fit the older ones anymore, but you can easily make them fit, by drilling a hole.

How To Fix Vintage Cozy Coupe Gas Cap : Each Project is Different

As with any case of modifying new replacement parts to fit older toys, these instructions will vary depending on future design changes on the gas cap. In this case, I used a replacement part from a 1990s version Little Tikes Cozy Coupe, on a vintage Little Tikes petal tractor. I believe the 30th Anniversary model is the same basic design as well, but I have to double-check my measurements on that, and I will update this post when I do.

How To Fix Vintage Cozy Coupe Gas Cap :

Find the Replacement Part


  •  Call the 1-800 number on your toy, or visit the Little Tikes website to see if they offer replacement gas caps. If not  you can easily find sellers on Ebay who will offer them. If I have any available you can order them HERE.

How To Fix Vintage Cozy Coupe Gas Cap :

Remove the Old One

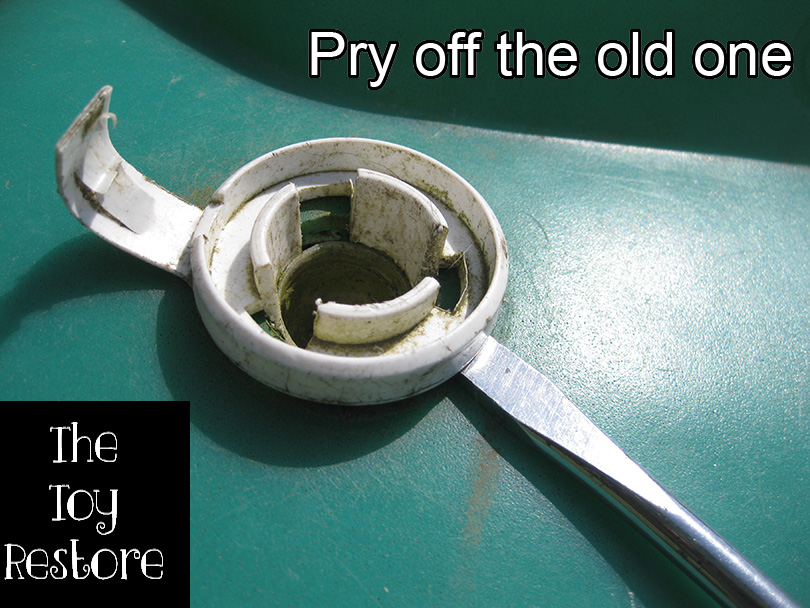
  • Pry off the old one, and clean the plastic.
How To Fix Vintage Cozy Coupe Gas Cap : Replacing an old style Little Tikes gas petro cap with a new one

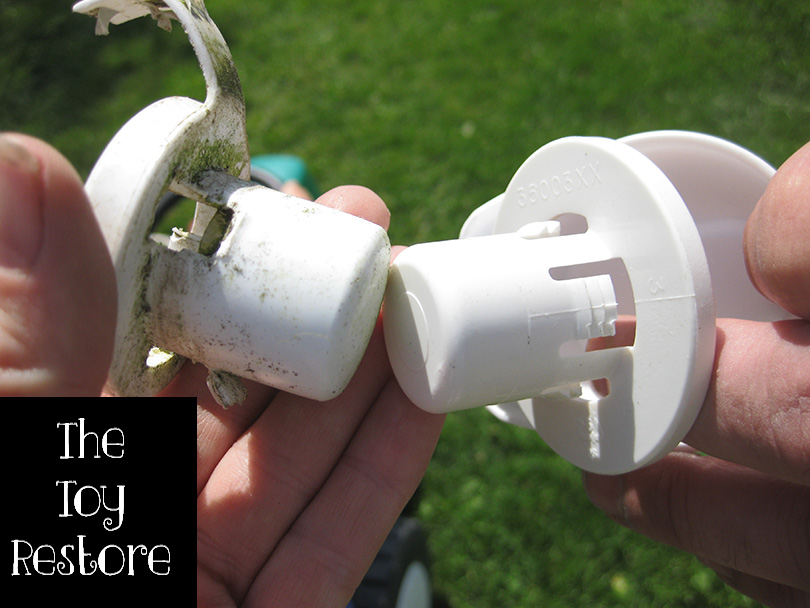
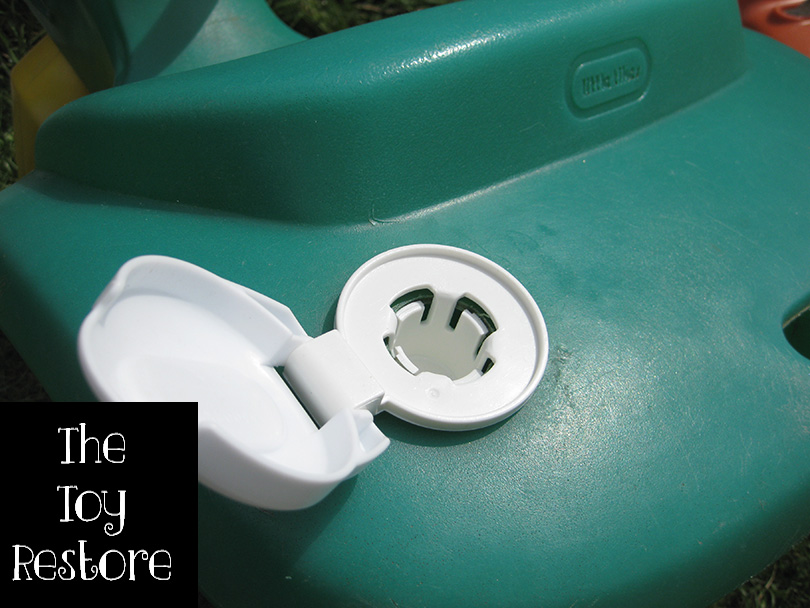
When you compare the vintage style to the newer style, you will note that the vintage one has a larger diameter then the newer one. Luckily there is a smaller plastic column in the newer one to help hold it in place, otherwise the newer gas cap would just fall out.


How To Fix Vintage Cozy Coupe Gas Cap : A comparison of an early 1990s vintage gas / petrol cap versus a newer late 1990s - early 2000s Little Tikes Cozy Coupe gas cap.
How To Fix Vintage Cozy Coupe Gas Cap : A comparison of an early 1990s vintage gas / petrol cap versus a newer late 1990s – early 2000s Little Tikes Cozy Coupe gas cap.


How To Fix Vintage Cozy Coupe Gas Cap :

Measure


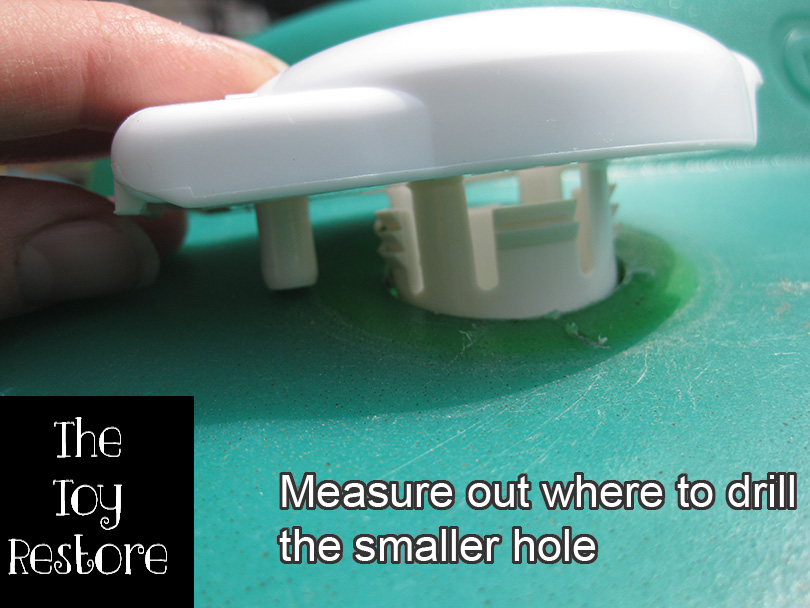
How To Fix Vintage Cozy Coupe Gas Cap : Measure out there to drill the smaller hole for the Little Tikes Ride-On

Just for when the design changes, you should double-check to see where to drill your hole. When I first did this, I didn’t measure a thing, I just eye-balled it all. I marked the place to drill the hole, in the above photo, and I eye-balled the drill bit size, as in the next photo.

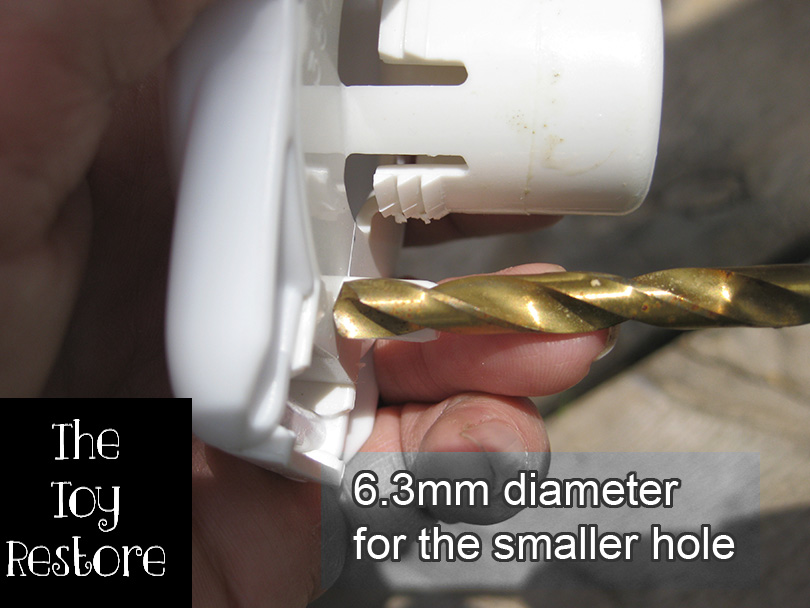
How To Fix Vintage Cozy Coupe Gas Cap : Find the right grill bit. You can eye ball the size by placing the bit in front of the plastic column. If you should just barely be able to see it on each side.
How To Fix Vintage Cozy Coupe Gas Cap : Find the right grill bit. You can eye-ball the size by placing the bit in front of the plastic column. If you should barely be able to see it on each side.

When eyeballing things, you want the drill bit to be the same size  or slightly smaller. So place the grill bit in front of the plastic column, if you can slightly see the plastic column on each side of the grill bit, then you have a good size. You don’t want it too small, or too large. If you make it too small you can re-drill it with a larger grill bit, or crave it larger with a box cutter. I measured the plastic column for the newer replacement part and it is 6.3mm, so  6 mm grill bit would work fine. I will add the equivalent imperial measurement when I find my imperial drill bits, or my scientific calculator.

How To Fix Vintage Cozy Coupe Gas Cap :

Drill the Hole


How To Fix Vintage Cozy Coupe Gas Cap : gas-cap-5
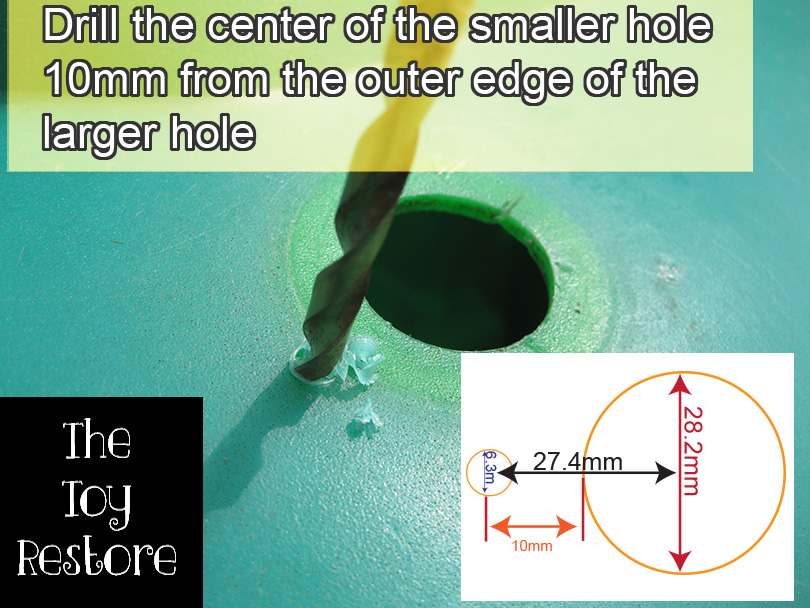
How To Fix Vintage Cozy Coupe Gas Cap : For my example, using a 1990s version replacement gas / petrol cap on a vintage Little TIkes petal tractor, I drilled the hole 10mm from the outside edge of the large hole, to the center of the smaller hole.
  • Drill your hole, and push in the new cap. Hopefully it all fits snuggly, if not, you could thicken the larger column of plastic on the replacement cap with electrical or duct tape to make a snug fit. But I have never had to resort to that, the drilling always seems to work out fine for me. You could also choose to turn the cap a different direction and drill again. The first hole would be hidden behind the cap.

How To Fix Vintage Cozy Coupe Gas Cap :

Pop it in


How To Fix Vintage Cozy Coupe Gas Cap : New gas / petrol cap for your vintage little tikes ride on.
How To Fix Vintage Cozy Coupe Gas Cap : New gas / petrol cap for your vintage little Tikes ride on.


How To Fix Vintage Cozy Coupe Gas Cap : New gas / petrol cap for your vintage little tikes ride on.
How To Fix Vintage Cozy Coupe Gas Cap : New gas / petrol cap for your vintage little Tikes ride on.

Please feel free to ask me questions, I will gladly update this file as I can.

How To Restore a Little Tikes Football Toy Box

How To Restore a Little Tikes Football Toy Box

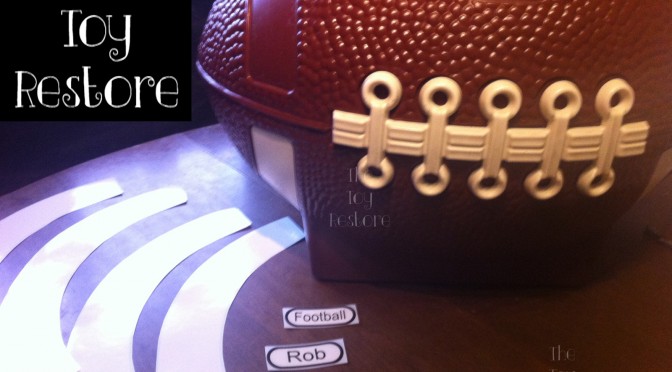
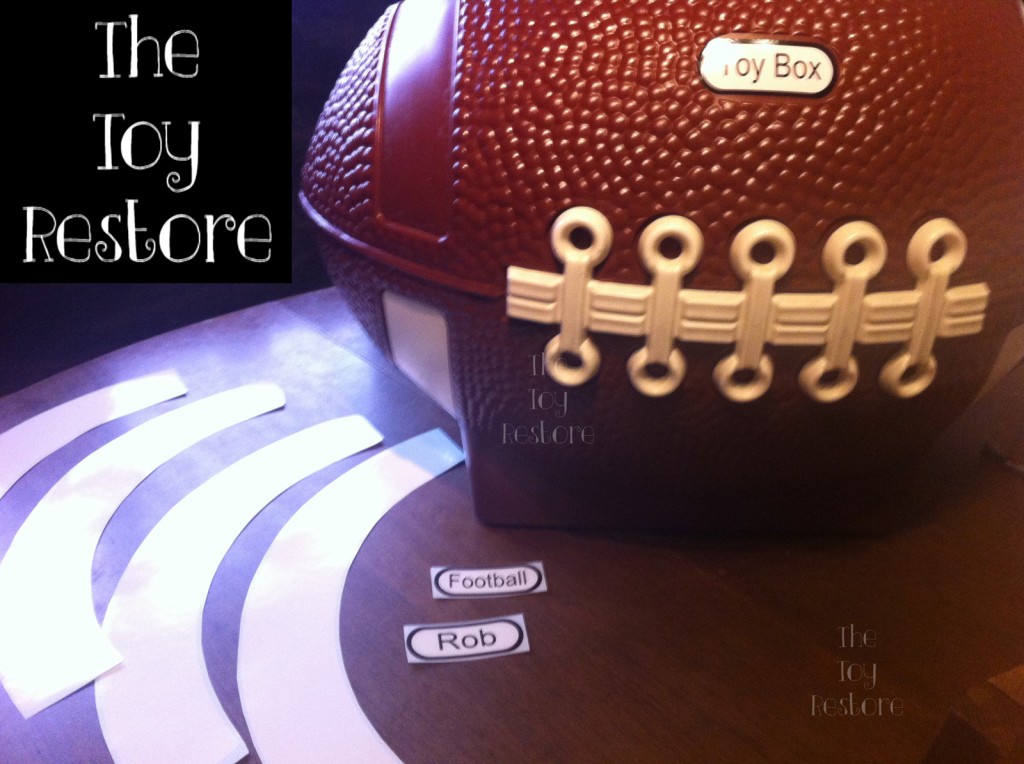
How To Restore a Little Tikes Football Toy Box : Replacement stickers or decals to fix up your Little Tikes Football Toy Box.

How To Restore a Little Tikes Football Toy Box. These have been around since the 1970s, and are still going strong. Usually the only thing missing is the decals to restore them to like new condition. I sell replacement decals for it (HERE), and here are some tips on applying them.

How To Restore a Little Tikes Football Toy Box:

Remove the Old Decals First

How To Restore a Little Tikes Football Toy Box : Football Toy Box Restoration 1
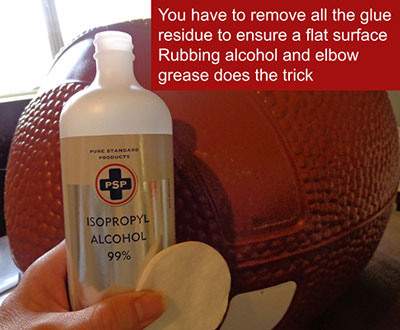
How To Restore a Little Tikes Football Toy Box : Rubbing Alcohol

First remove the old decals, by pulling them off, as much as possible. Then you can use rubbing alcohol to move all the glue residue. If you leave some of the residue on, it will show underneath as lumps.  Also be sure to wash off the rubbing alcohol before applying as it will weaken the adhesive.

How To Restore a Little Tikes Football Toy Box:

Apply The New Decals

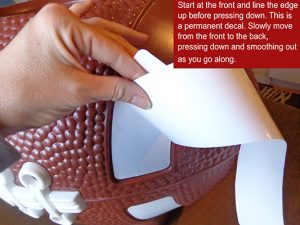
Once it is clean, dry and smooth, apply the stripe decals, starting from the front, lining them up to the front outside indent. And removing the backing as you move from the front to the back, smoothing out the creases, and any air bubbles as you go along.

How To Restore a Little Tikes Football Toy Box : Football toy box smoothing out
How To Restore a Little Tikes Football Toy Box : Apply the new decals

These are made from a strong material that won’t rip or tear, but it can stretch, so be sure to place them properly first before pressing down and smoothing out.

How To Restore a Little Tikes Football Toy Box:

Yes, I can Customize it

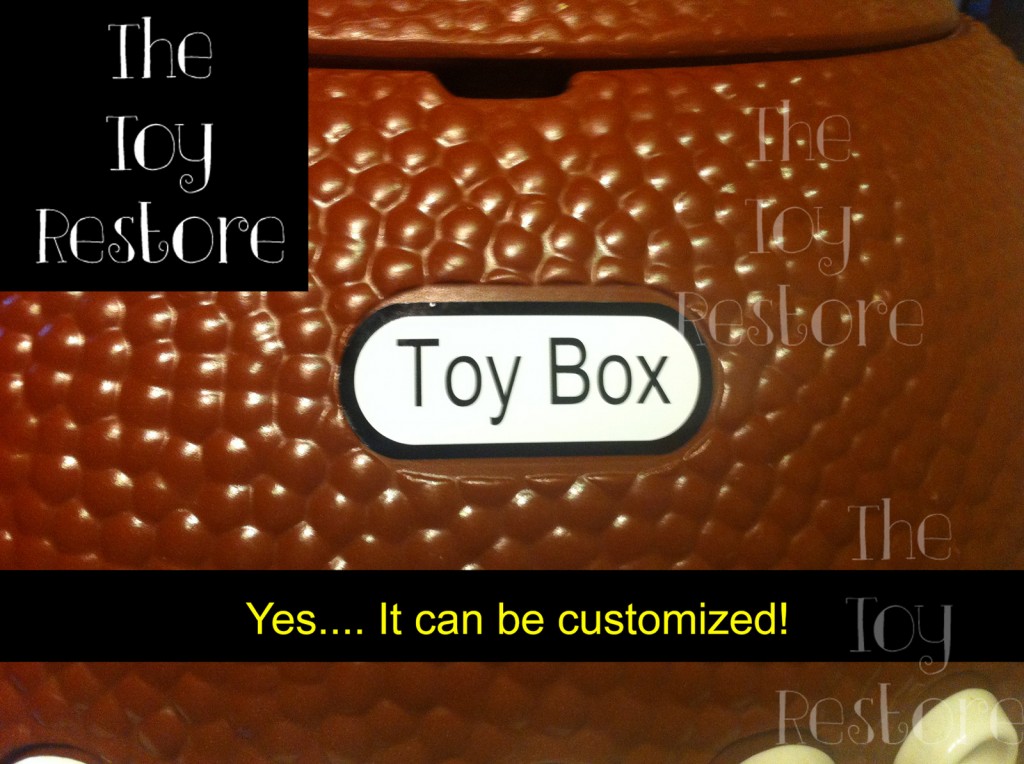
How To Restore a Little Tikes Football Toy Box : Replacement decals for Little Tikes Football Toy Box, customized replacment logo plate.

Yes, I can customize the logo plate. I can put your favorite team, family name, your child’s name. The colors can change, and the font can change.  I just don’t have the Original Little Tikes Logo in stock.


Please feel free to ask me questions.

Melissa 🙂